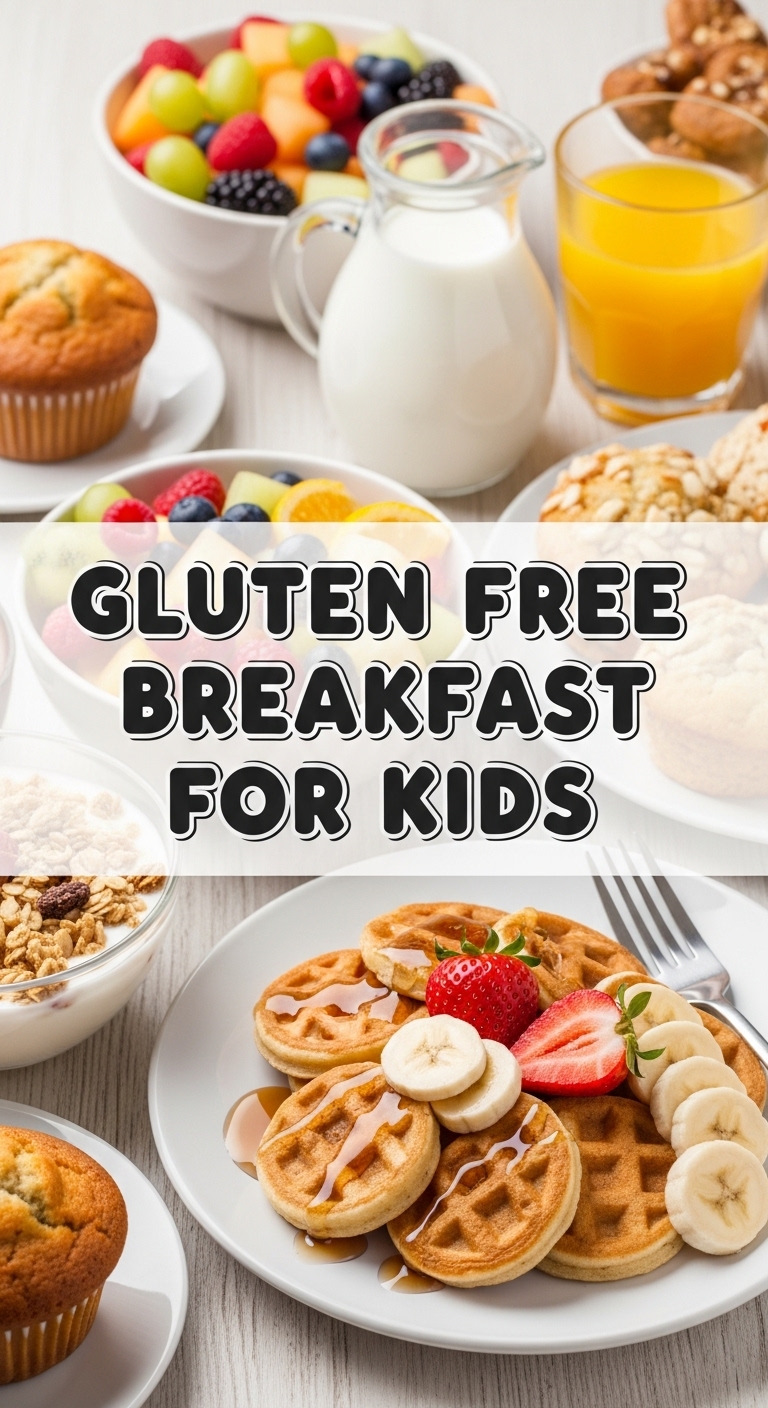
Tired of breakfast battles? Wish you could serve something delicious AND sneak in some goodness without triggering the ‘EW, WHAT’S THAT GREEN THING?!’ alarm? Friend, I got you. We’re diving headfirst into a breakfast recipe that’s so good, so easy, and so kid-friendly, you’ll wonder where it’s been all your life. Think fluffy, think sweet, think gluten-free, and definitely think, “OMG, I actually made this!”
Why This Recipe is Awesome
These aren’t just any pancakes; they’re the secret weapon against picky eaters and morning chaos. They’re fluffy, naturally sweet, packed with good stuff (hello, fiber from oats!), and so easy, you can practically make them with one eye open (which, let’s be honest, is often our reality pre-coffee). Plus, they’re gluten-free, so no tummy woes for sensitive little ones! It’s basically a hug in pancake form. Bonus: The kids will actually EAT them. Seriously, it’s idiot-proof. Even I didn’t mess it up, and my kitchen regularly stages culinary disasters. What’s not to love?
Ingredients You’ll Need
Gather ’round, my culinary comrades! Here’s what you’ll need for these magical morning morsels:
- 1 cup Certified Gluten-Free Rolled Oats: The OG, but the GF version. Don’t skip the ‘certified’ part unless you like tummy trouble!
- 2 Really Ripe Bananas: You know, the ones sitting on your counter giving you the side-eye. The browner, the better! These are our natural sweeteners and binders.
- 2 Large Eggs: Nature’s glue. And protein!
- 1/2 cup Milk of Choice: Almond, cow, oat, whatever floats your boat (or your kid’s preference).
- 1 teaspoon Baking Powder: For that glorious fluff. Don’t use baking soda, unless you like flat disappointment.
- 1 teaspoon Vanilla Extract: Because everything tastes better with vanilla. It’s a fact.
- A tiny pinch of Salt: Just a quarter teaspoon. Balances all that sweet goodness.
- Optional (but highly recommended) additions: A sprinkle of cinnamon, chocolate chips (because, kids!), fresh berries, maple syrup for serving.
Step-by-Step Instructions
Alright, apron on, game face ready! Let’s get cooking:
- Transform the Oats: Grab your blender (or food processor, you fancy pants). Toss in the certified gluten-free rolled oats and blend until they resemble a fine flour. This is key for that smooth pancake texture.
- Combine the Magic: Add the really ripe bananas, eggs, milk of choice, baking powder, vanilla extract, and that tiny pinch of salt to the blender with the oat flour.
- Blend Away: Secure the lid and blend until the batter is smooth and lump-free. It should be thick but pourable. If it’s too thick, add another tablespoon or two of milk.
- Heat Things Up: Place a non-stick pan or griddle over medium heat. Lightly grease it with a little butter or oil. You’ll know it’s ready when a drop of water sizzles instantly.
- Pancake Time!: Pour about 1/4 cup of batter per pancake onto the hot griddle. Don’t overcrowd the pan; give them some space to breathe and expand.
- Flip It Good: Cook for 2-3 minutes per side, or until golden brown and bubbles start forming on the surface. That’s your cue to flip! Cook for another minute or two until cooked through.
- Serve with Flair: Transfer your glorious pancakes to a plate. Pile ’em high and top with whatever your heart (or your kids’ demands) desires: maple syrup, fresh fruit, a dollop of yogurt, or more chocolate chips (no judgment here!).
Common Mistakes to Avoid
Even the best of us stumble. Here’s how to sidestep those common pancake pitfalls:
- Not preheating your pan: Seriously, don’t be that person. Cold pan = sad, stuck pancakes. Give it a minute or two to get nice and toasty.
- Overmixing the batter: Once everything’s blended and smooth, step away from the blender! Overmixing can make ’em tough. We’re going for fluffy, not rubbery.
- Not using ripe bananas: Green bananas are for smoothies, not pancakes. You need those spotty, brown ones for natural sweetness and easier blending. Trust me on this; it makes all the difference.
- Impatience: Don’t rush the flip! Wait for those glorious bubbles before you try to turn ’em. It’s a sign they’re ready for their big moment.
Alternatives & Substitutions
Life happens, ingredients run out. Fear not, creative cook!
- No bananas? Gasp! But okay. Pumpkin puree or unsweetened applesauce can work, though the flavor will obviously change. Great for a seasonal twist though!
- No eggs? Try a ‘flax egg’ (1 tablespoon ground flaxseed + 3 tablespoons water, let sit for 5 minutes). The texture might be slightly different, but it’s a solid plant-based option.
- Milk alternatives: Any non-dairy milk works here: almond, soy, oat. Whatever your little one prefers or what you have on hand.
- Add-ins: Get wild! Chocolate chips (because, duh), blueberries, a sprinkle of cinnamon, or even some finely chopped walnuts (if no allergies).
FAQ (Frequently Asked Questions)
Got questions? I’ve got answers (mostly, don’t ask me about astrophysics).
- Can I make the batter ahead of time? Oh, absolutely! Whip it up the night before, cover, and stash in the fridge. Just give it a good stir in the morning. Life-saver for busy mornings, IMO!
- My pancakes are falling apart, what gives? Rookie mistake, eh? Usually, it’s either not enough binder (your eggs might be tiny, or your bananas weren’t ripe enough) or too much liquid. Try adding another tablespoon of oat flour (just blend more oats!) or half an egg.
- Can I add protein powder? Sure, but proceed with caution! Protein powders can sometimes dry things out. Start with just a scoop and add a splash more milk if the batter gets too thick.
- Are these really gluten-free? If you use certified GF oats, then yes! Regular oats are often cross-contaminated with wheat during processing, so the ‘certified’ bit is key for true GF folks.
- What if my kids won’t eat bananas? Gasp! But okay. You can try subbing with applesauce or pumpkin puree as mentioned, or just go for a less banana-forward oat pancake recipe (but that’s a whole other article, friend!).
- How do I store leftovers? If there are any, you mean? Pop ’em in an airtight container in the fridge for 2-3 days, or freeze them for quick toasting later. Future you will thank you!
Final Thoughts
So there you have it, folks! Your new go-to, no-fuss, kid-approved, gluten-free breakfast champion. Go forth and conquer those mornings, one fluffy pancake at a time. Now go impress someone—or yourself—with your new culinary skills. You’ve earned it! And don’t forget to pour yourself a generous cup of coffee; you just adulted like a boss.

