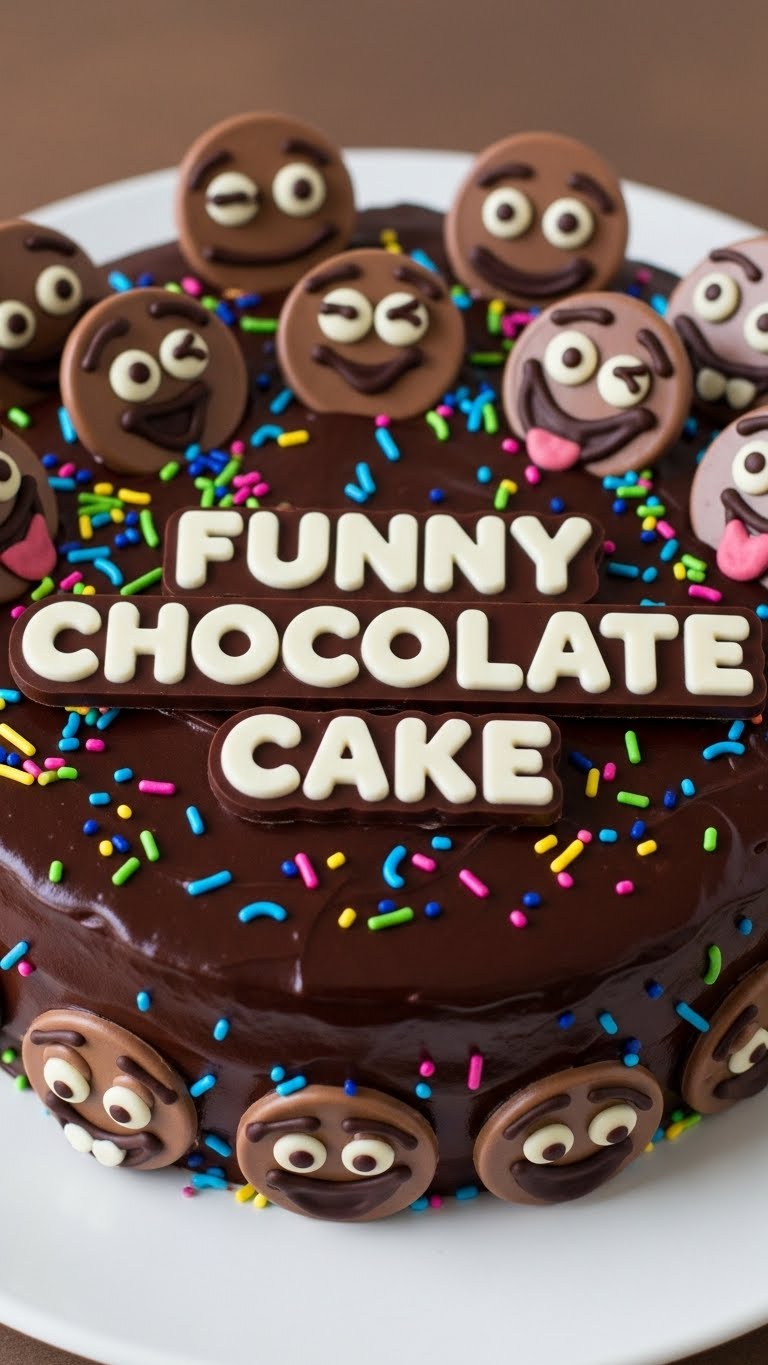
So you’ve decided to tackle the ultimate challenge: making a chocolate cake that doesn’t taste like regret. Good for you! Or maybe you just scrolled past a picture of cake and now you’re in a full-blown “GIVE ME CHOCOLATE NOW” emergency. Been there, friend. Either way, you’re in the right place because we’re about to whip up a “Funny Chocolate Cake.” What makes it funny? Well, it’s so ridiculously easy, you’ll laugh at how little effort you put in for such glorious results. Plus, if you accidentally use salt instead of sugar, that’s pretty funny too, right? (Don’t do that, though.)
Why This Recipe is Awesome
Let’s be real, you’re busy. You’ve got cat videos to watch, laundry to ignore, and a general air of fabulousness to maintain. You don’t have time for fussy, pretentious baking projects that require a degree in pastry arts and a magic wand. This recipe? It’s the culinary equivalent of wearing sweatpants: comfy, reliable, and gets the job done without judging you.
- It’s so easy, even your slightly confused uncle could probably nail it. Seriously, it’s idiot-proof. I didn’t mess it up, and that’s saying something.
- The ingredients are likely already lurking in your pantry. No obscure, ancient grains required!
- It bakes up moist, rich, and ridiculously chocolatey. Like, “did a chocolate factory explode in my mouth?” chocolatey.
- It’s a fantastic way to impress friends, family, or your reflection in the mirror when you’re eating the whole thing yourself. You deserve it!
Ingredients You’ll Need
Gather your troops! No special quest items here, just the good stuff.
- All-Purpose Flour: 1 ½ cups. Because we’re not fancy today, and “all-purpose” just sounds so… useful.
- Granulated Sugar: 1 ½ cups. The good stuff. Don’t skimp, your soul needs it.
- Unsweetened Cocoa Powder: ½ cup. The darker the better, for maximum chocolate drama.
- Baking Soda: 1 teaspoon. The secret lift-off agent. Don’t forget this or your cake will be a brick!
- Salt: 1 teaspoon. Just a pinch, to make everything taste *more* like chocolate, not less. It’s science!
- Eggs: 2 large. Happy little protein bundles. Room temp if you’re feeling ambitious and organized (I rarely am).
- Milk: 1 cup. Any kind works, even oat milk if you’re trying to fool yourself into thinking it’s healthy.
- Vegetable Oil: ½ cup. Or canola. Or melted butter if you’re a high roller and prefer the extra flavor.
- Vanilla Extract: 2 teaspoons. Because vanilla makes chocolate even better. It’s science, part two.
- Hot Water or Hot Coffee: 1 cup. This is your secret weapon for an unbelievably moist, deep chocolate flavor. Coffee amplifies the chocolate without making it taste like coffee, FYI.
Step-by-Step Instructions
Ready? Set? Bake! These steps are so simple, you could probably do them blindfolded. (Please don’t.)
- Preheat and Prep: First things first, get that oven nice and toasty at 350°F (175°C). Then, grab an 8 or 9-inch round cake pan (or a 9×13-inch rectangular pan if you’re feeling less “fancy cake” and more “feed a crowd”). Grease and flour it, or line it with parchment paper for easy release. Nobody wants a stuck cake!
- Whisk the Dry Stuff: In a large bowl, dump in your flour, sugar, cocoa powder, baking soda, and salt. Give ’em a good whisk until they’re all mixed up and there are no weird lumps. This ensures your cake bakes evenly.
- Add the Wet Wonders: Now, crack in your eggs, pour in the milk, oil (or melted butter), and vanilla extract. Mix it all together with an electric mixer on low speed, or just a good old whisk, until barely combined. Don’t overmix!
- The Hot Liquid Magic: Carefully pour in your hot water (or coffee). The batter will look really thin. That’s okay! It’s supposed to be like that. Mix just until it’s smooth. This is where the magic happens for that super moist crumb.
- Bake It Up: Pour the glorious batter into your prepared pan. Slide it into the preheated oven.
- Wait (Patiently-ish): Bake for 30-35 minutes for round pans, or 35-40 minutes for a 9×13-inch pan. You’ll know it’s done when a toothpick inserted into the center comes out clean.
- Cool Down: Let the cake cool in the pan for about 10-15 minutes before attempting to invert it onto a wire rack to cool completely. This is crucial! Trying to frost a warm cake is a recipe for a melted, gooey mess. (Unless that’s your vibe, no judgment.)
- Frost (or Don’t!): Once it’s completely cool, slather on your favorite chocolate frosting, whipped cream, or just a dusting of powdered sugar. Or eat it plain, we won’t tell.
Common Mistakes to Avoid
We’ve all been there, staring at a baking fail like, “What did I do wrong?!” Here are a few traps to sidestep:
- Forgetting to Preheat the Oven: Rookie mistake! A cold oven means your cake won’t rise properly and will probably bake unevenly. Always preheat.
- Overmixing the Batter: This is a big one for chocolate cakes. Mixing too much develops the gluten in the flour, making your cake tough and dense instead of light and fluffy. Mix just until combined.
- Opening the Oven Door Too Early: Resist the urge to peek! Especially in the first 20 minutes, opening the door can cause your cake to deflate.
- Not Letting the Cake Cool: Frosting a warm cake is like trying to ice skate on a melted pond – it’s going to be a disaster. Patience is a virtue here!
- Using Old Baking Soda/Powder: These are your leavening agents. If they’re old, they’re dead, and your cake won’t rise. Check their expiry dates!
Alternatives & Substitutions
Feeling adventurous? Or just realized you’re missing an ingredient? Here are some simple swaps:
- Flour: You can use a 1:1 gluten-free all-purpose flour blend if you’re GF.
- Milk: Any dairy milk (whole, skim, whatever) works. Non-dairy options like almond, soy, or oat milk are also perfectly fine!
- Oil: Melted butter can be swapped for oil for a richer flavor, or even unsweetened applesauce (same amount) for a lower-fat option (though it might slightly alter the texture).
- Hot Water/Coffee: If you don’t have coffee, just use hot water. The coffee just enhances the chocolate, it’s not essential for the structure.
- Spice It Up: Add a pinch of cinnamon or a tiny dash of cayenne pepper to the dry ingredients for a subtle, complex kick. Sounds weird, tastes amazing!
- Mix-ins: Fold in some chocolate chips, mini marshmallows, or chopped nuts (pecans or walnuts, IMO) into the batter before baking for extra texture.
FAQ (Frequently Asked Questions)
Got questions? I’ve got (casual, humorous) answers!
- “Can I use margarine instead of butter/oil?” Well, technically yes, but why hurt your soul like that? If that’s all you have, go for it, but expect a slight flavor difference.
- “My cake sunk in the middle! What happened?” Oh, the dreaded crater! Common culprits are overmixing, an oven that’s too hot/cold, or old baking soda/powder. Or maybe the cake just got shy.
- “Do I *really* need the hot water/coffee?” Yes, for real! It helps bloom the cocoa powder, deepening the chocolate flavor, and contributes to that amazing moist texture. Don’t skip it!
- “How long does this cake last?” If it survives past day one, congratulations! Covered at room temperature, it’s usually good for 3-4 days. In the fridge, maybe a week. But let’s be honest, it won’t last that long.
- “Can I make this into cupcakes?” Absolutely! Fill cupcake liners about two-thirds full and bake for 18-22 minutes, or until a toothpick comes out clean. Instant party!
- “Is it really funny?” It is if you bake it naked while singing opera. Otherwise, it’s just really, really good chocolate cake.
Final Thoughts
And there you have it! Your very own Funny Chocolate Cake, ready to bring joy, solve all problems (temporarily), and generally make life better. You just accomplished something amazing with minimal fuss, you magnificent baking beast! Now go impress someone—or yourself—with your new culinary skills. You’ve earned it! Grab a slice (or five), put your feet up, and pat yourself on the back. You’re awesome.


