Hot day got you feeling a bit melty, or maybe you just binged a whole season of *[insert your current obsession here]* and now you need a palate cleanser that isn’t another bag of chips? Look no further, my friend! We’re making sorbet today, and it’s so easy, you might just wonder if you’ve accidentally become a Michelin-star chef. Seriously, strap in, because your taste buds are about to go on a very chill, very delicious ride.
Why This Recipe is Awesome
Okay, let’s be real. Nobody wants a complicated recipe when the sun is blazing or when your brain is already fried from adulting. This raspberry sorbet is your new bestie for several reasons:
- It’s **super refreshing**. Like a cool breeze on a hot day, but edible.
- Minimal ingredients, maximum flavor. We’re talking like, four things. You probably have them already.
- No fancy equipment needed. If you have a blender or food processor, you’re golden. No industrial ice cream maker required, thank goodness.
- It’s healthy-ish! Made with actual fruit, so you can pretend you’re making good life choices while devouring it.
- And the best part? It looks super fancy but requires **zero actual effort**. It’s practically idiot-proof. Even I didn’t mess it up, and that’s saying something.
Ingredients You’ll Need
Get ready for a shockingly short list. Prepare to be amazed:
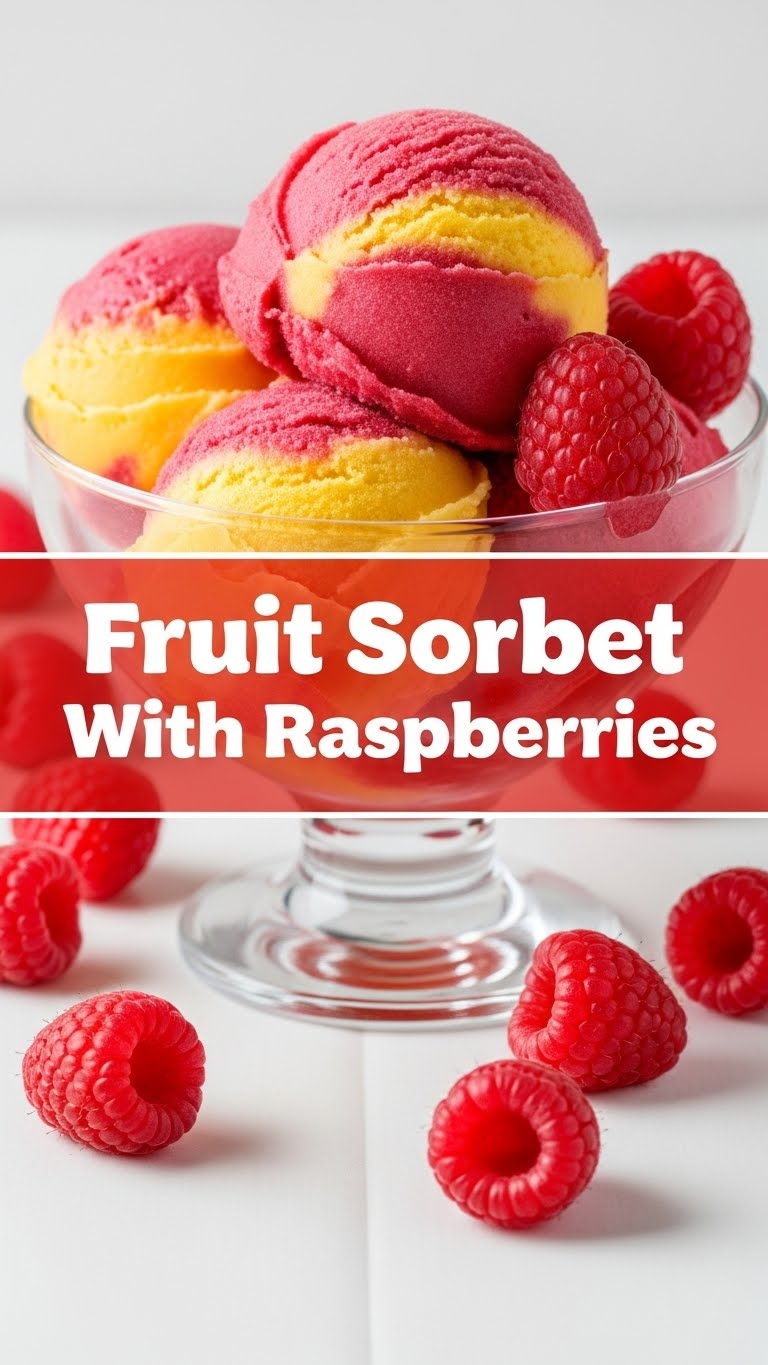
- 2 cups Raspberries: The undisputed star of our show. Fresh or frozen, totally your call. If using frozen, let them thaw just a smidge so they’re easier to blend.
- ½ cup Granulated Sugar: Just a touch to sweeten the deal. We’re not making candy, just a perfectly balanced sorbet.
- ½ cup Water: The unsung hero. It helps us make that simple syrup magic and gets everything blending smoothly.
- 1-2 tablespoons Fresh Lemon Juice: This is your sorbet’s tiny, sour secret weapon. It brightens everything up and makes the raspberry flavor sing. Don’t skip it!
Step-by-Step Instructions
Alright, time to get down to business. But like, chill business. You got this.
- First up, the Simple Syrup. In a small saucepan, combine the sugar and water. Heat it over medium heat, stirring occasionally, until the sugar completely dissolves. Once it’s clear, remove it from the heat and **let it cool completely**. This is crucial, my friend. Don’t rush this step unless you want sad, melted berries.
- Time to Blend! Once your simple syrup is nice and cool, pour it into your blender or food processor. Add the raspberries and the fresh lemon juice.
- Blitz it Good. Blend everything until the mixture is super smooth. We’re talking silky, no chunky bits allowed. If it looks a bit too thick, add a tiny splash more water, a tablespoon at a time, until it’s moving freely.
- Strain for Perfection (Optional, but highly recommended). If you’re a purist and want that truly professional, seedless texture, push the raspberry mixture through a fine-mesh sieve into a shallow, freezer-safe container. Use the back of a spoon or a spatula to really work it through, leaving those pesky seeds behind. This step makes a huge difference, trust me!
- Chill Out, Literally. Pour your beautiful, vibrant mixture into your chosen freezer-safe container. Make sure it’s fairly shallow; this helps it freeze more evenly.
- Freeze & Stir. Pop it into the freezer for at least 3-4 hours. For the first couple of hours, make it a point to stir the mixture every 30-60 minutes. This breaks up ice crystals and helps achieve that perfectly scoopable, smooth sorbet texture. If you skip this, it might get a bit too icy.
- Scoop and Serve! Once it’s firm but scoopable, you’re ready to enjoy! If it’s rock-hard (which can happen if it freezes overnight), just let it sit on the counter for 5-10 minutes to soften slightly before scooping.
Common Mistakes to Avoid
Nobody’s perfect, but we can try to avoid these rookie blunders, right?
- Using Warm Simple Syrup: I warned you! This will melt your berries before they even hit the freezer, leading to a watery, sad excuse for sorbet. **Always cool it down!**
- Not Blending Enough: Chunky sorbet is just… frozen fruit with extra steps. Aim for smooth, silky perfection. Blend it until there are no visible pieces of fruit.
- Forgetting the Lemon Juice: It seems like such a small thing, but that little acidic kick makes a HUGE difference in brightening and enhancing the raspberry flavor. Don’t be a hero, use the lemon.
- Impatience: Taking it out of the freezer too soon will result in a smoothie, not sorbet. Give it the full freezing time, especially if you want that proper scoopable texture.
- Skipping the Straining (if you hate seeds): Unless you’re a fan of raspberry seeds getting stuck in your teeth (no judgment if you are!), strain it for a truly professional, smooth-as-silk texture.
Alternatives & Substitutions
Feeling adventurous? Good! This recipe is super flexible. Think of it as a base for your frozen fruit dreams.
- Other Berries: Blackberries, strawberries, blueberries—go wild! A mix of berries? Even better. Mango or peach sorbet? Absolutely, just make sure they’re ripe.
- Sweetener Swap: Honey or agave nectar can work in place of granulated sugar. Just adjust the quantity as they’re often sweeter. Start with a bit less and taste as you go.
- Citrus Kick: Lime juice instead of lemon for a slightly different, zesty tang.
- Herbal Infusion: For a sophisticated twist, try infusing a sprig of fresh mint or basil into your simple syrup while it’s still warm. Remove the herb before cooling. **Trust me on the basil; it’s surprisingly delicious with raspberries!**
- Boozy Boost: A tiny splash of vodka or a raspberry liqueur (like Chambord) can lower the freezing point, making for a softer, more scoopable sorbet. Just don’t go overboard, or it won’t freeze properly!
FAQ (Frequently Asked Questions)
Got questions? I’ve got answers. Probably. Let’s see:
- “Do I *have* to strain out the seeds? I’m lazy.”
Look, I get it. No, you *don’t have* to. But for that ultra-smooth, store-bought vibe without the seed-picking, it’s totally worth the extra minute. Your tongue will thank you. Plus, it’s pretty satisfying.
- “Can I use frozen raspberries?”
Absolutely! In fact, they often result in a thicker mixture initially, so you might need less time to freeze. Just let them thaw slightly on the counter for about 10-15 minutes before blending. Easy peasy!
- “My sorbet is rock hard. What gives?”
Ah, the classic sorbet brick! This usually means too much water or not enough sugar, or it’s been chilling in the freezer for *way* too long without being stirred. Let it sit out on the counter for 5-10 minutes to soften before scooping. **Patience, grasshopper.**
- “How long does it last?”
In an airtight container, it’s good for about a week. After that, ice crystals start to get a bit aggressive, and the texture can change. But let’s be real, it usually doesn’t last that long anyway, does it?
- “Can I add alcohol?”
Ooh, fancy! A splash (like, one or two tablespoons max) of vodka or a raspberry liqueur can indeed lower the freezing point and make it softer. Just don’t go overboard, or it won’t freeze properly and you’ll end up with a slushie.
- “Is this actually healthy?”
Well, it’s fruit, sugar, and water. Definitely a healthier alternative to a tub of premium ice cream! It’s all about balance, right? Plus, antioxidants from those raspberries! So yeah, go you!
Final Thoughts
There you have it! Your ticket to a refreshing, easy-peasy, impressive-as-heck dessert. Who knew you had this culinary genius inside you, just waiting to blend some berries? Now go on, enjoy your sorbet, brag a little, and maybe even share a scoop (or not, I won’t tell). You’ve earned this, you magnificent sorbet-making maestro!


