Tired of your kids looking at fruit like it’s a villain in their personal cartoon? Or maybe you just need a healthy-ish snack that actually gets eaten without a full-blown negotiation? You’ve come to the right place, friend. Because today, we’re not just making a fruit plate; we’re crafting a *strategy*.
Why This Recipe is Awesome
Okay, let’s be real. “Recipe” might be a strong word for arranging fruit on a plate. But hear me out! This isn’t just a collection of various natural sugars; it’s a strategic operation to get tiny humans to consume actual vitamins. And it works! Mostly. Plus, it requires **zero oven-watching, no stirring, and absolutely no actual cooking**. It’s idiot-proof, even I didn’t mess it up. It’s colorful, customizable, and makes you look like a domestic goddess (or god) with minimal effort. Talk about a win-win, right?
Ingredients You’ll Need
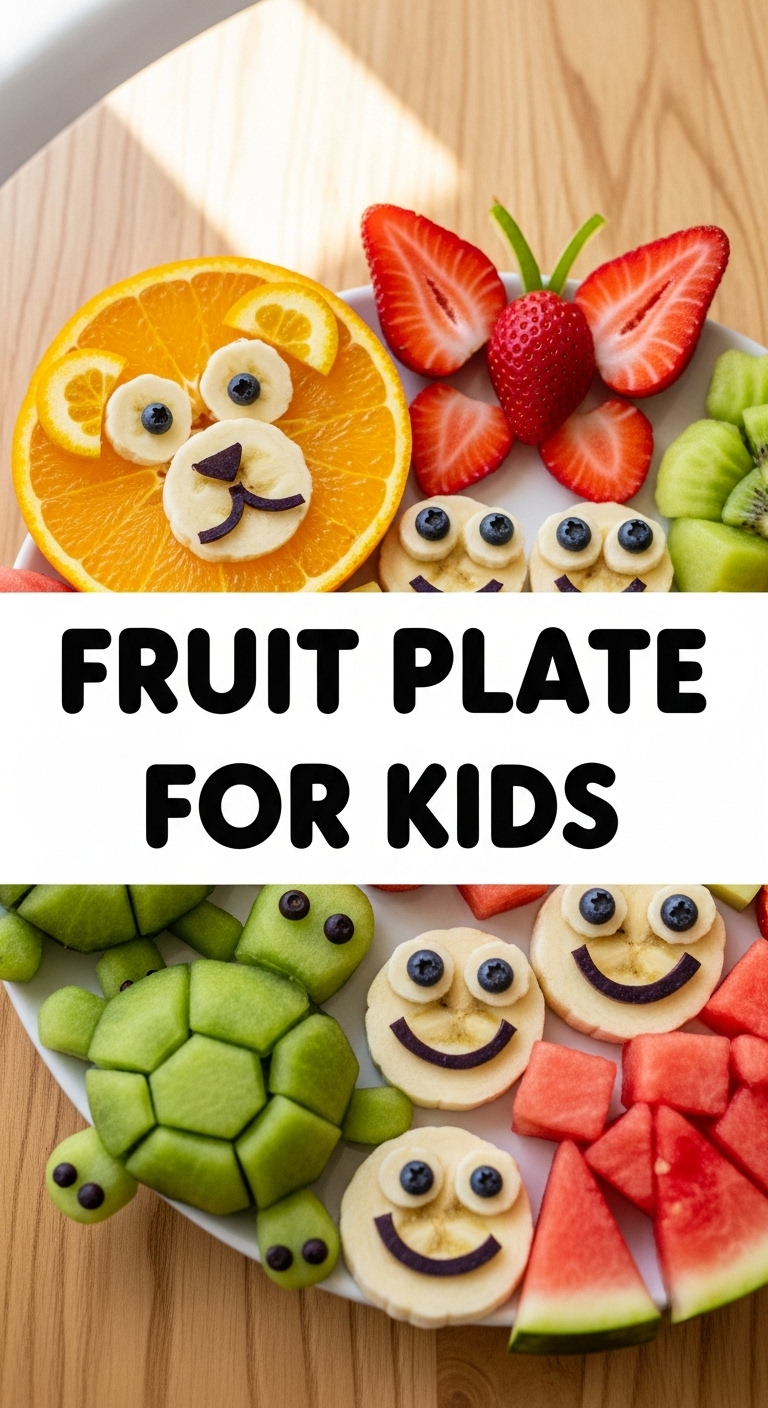
- A rainbow of fruits: Think strawberries, blueberries, melon (cantaloupe, honeydew), grapes, kiwi, oranges, apples, bananas. The brighter and more varied, the better for those little eyes (and their taste buds!). Aim for 3-5 different types.
- Cookie cutters (optional but highly recommended): For turning boring fruit into fun shapes like stars, hearts, or dinosaurs. Because everything tastes better as a star, especially fruit.
- A fun dip (also optional, but let’s be real, a game-changer): A small container of Greek yogurt with a tiny drizzle of honey, or a light cream cheese dip. It’s like a secret weapon.
- A big, flat plate or platter: This is your canvas, artist!
Step-by-Step Instructions
- Wash ’em Clean: Give all your fruits a good rinse under cold water. No one wants gritty grapes, right? Pat them dry gently.
- Chop-Chop, Baby: Cut bigger fruits like melon, pineapple, or oranges into kid-friendly, bite-sized pieces. For grapes, **always halve them, especially for toddlers**, to prevent choking hazards. Peel and slice kiwi and bananas just before assembly to keep them fresh.
- Shape It Up (If You’re Feeling Fancy): Grab those cookie cutters! Use them on firmer fruits like melon, apple slices, or even mango. It takes a tiny bit more effort, but the “OMG, a star!” factor is totally worth it. Pro tip: Use the smaller cookie cutters for easier handling and less waste.
- Arrange with Flair: Now for the fun part! Start placing your colorful fruit pieces on the plate. Think patterns, rainbows, or just a beautiful, vibrant jumble. The messier and more eclectic, the more ‘abstract art’ it looks, IMO. Don’t overthink it!
- Dip It Good: If you’re using a dip, put it in a small ramekin or a cute little bowl and place it in the center or to the side of your fruit masterpiece.
- Serve and Conquer: Present your masterpiece to your toughest critics. Watch the little ones (hopefully) devour it, and revel in your snack-time victory!
Common Mistakes to Avoid
- Forgetting to wash the fruit: C’mon, hygiene first! That produce has been places.
- Leaving grapes whole for toddlers: Seriously, people, **halve those grapes lengthwise**! It’s such an easy step to avoid a scary situation.
- Only using green fruit: We’re aiming for visual appeal here. A plate of just green grapes and kiwi might scream “healthy,” but it won’t scream “EAT ME!” to a five-year-old.
- Making it *too* healthy: A tiny dollop of yogurt dip isn’t going to derail their nutrition. Sometimes a little bribe in the form of a yummy dip helps seal the deal.
- Pre-cutting bananas/apples too early: They brown fast! Save them for the very last step of assembly or give them a quick lemon juice bath.
Alternatives & Substitutions
This recipe is basically a suggestion, not a strict rulebook! Feel free to mix and match.
- Different Fruits: Got picky eaters? **Stick to their faves but introduce one new, tiny fruit** to expand their horizons. Or just use whatever’s in season and looks good at the market. Frozen berries work too, especially if you’re doing a dip.
- Dips Galore: Plain Greek yogurt, honey-sweetened yogurt (or maple syrup), a light cream cheese dip (maybe with a tiny bit of vanilla), or even a tiny amount of melted dark chocolate for a *real* treat. (Shhh, don’t tell the health gurus!)
- Presentation Pizzazz: If your kids are old enough (and responsible with pointy things), fruit skewers are always a hit. Or, for individual portions, use colorful mini muffin liners to separate different fruits. So cute, BTW!
FAQ (Frequently Asked Questions)
- My kid hates all fruit. What now? Ugh, the ultimate challenge! Try the cookie cutters, a fun dip, or letting them “help” arrange it. Sometimes, ownership works wonders. If they helped make it, they might be more inclined to try it.
- How far in advance can I make this? You can prep most of the fruit a few hours ahead and keep it in the fridge in an airtight container. But for peak freshness (and cuteness), it’s best assembled right before serving.
- Do I need special tools? Nah, a knife and a cutting board are truly all you *need*. The cookie cutters are just for extra credit, you overachiever!
- What if my fruit turns brown? A quick squeeze of lemon juice on apples or bananas helps prevent browning. But honestly, kids usually don’t care that much, especially if it’s in fun shapes!
- Is this *actually* healthy? Compared to a bag of chips or a candy bar? Heck yes! It’s loaded with vitamins, fiber, and natural sugars. Just go easy on the super sugary dips, unless it’s a party. Then all bets are off!
Final Thoughts
So there you have it! A fruit plate that’s almost as easy as ordering takeout but way more satisfying (and probably cheaper!). You’ve created something vibrant, healthy (ish!), and appealing, all without breaking a sweat. Go forth and conquer those snack-time battles, you culinary genius. Your little munchkins (and your sanity) will thank you. Now, where’s my gold star?


