So you’re craving something tasty but too lazy to spend forever in the kitchen, huh? Same, friend, same. We’ve all been there: staring into the freezer, a beacon of hope in the form of a bag of frozen breaded chicken tenders, just begging to be transformed into something glorious. But wait, how do you make them *actually* good? Like, restaurant-level good, without, you know, being a restaurant? Don’t sweat it. We’re about to embark on a culinary journey that’s so simple, even your pet goldfish could probably follow along. Get ready for crispy, juicy perfection that requires minimal effort and maximum deliciousness!
Why This Recipe is Awesome
Let’s be real, this isn’t just a recipe; it’s a life hack disguised as a meal. Why is it awesome, you ask? Because it’s practically **idiot-proof**. Even I, a self-proclaimed culinary adventurer who once set off the smoke alarm making toast, manage to nail this every single time. It’s fast, it’s easy, and it requires zero complicated steps. Plus, the cleanup? Minimal! You’ll spend more time choosing your dipping sauce than actually cooking. It’s perfect for those weeknights when you want to feel like a five-star chef but only have a two-star energy level. Trust me, your taste buds (and your Netflix queue) will thank you.
Ingredients You’ll Need
Gather ’round, fellow non-chefs! This list is short, sweet, and to the point. No obscure ingredients here, just the good stuff you probably already have, or can grab with one eye closed.
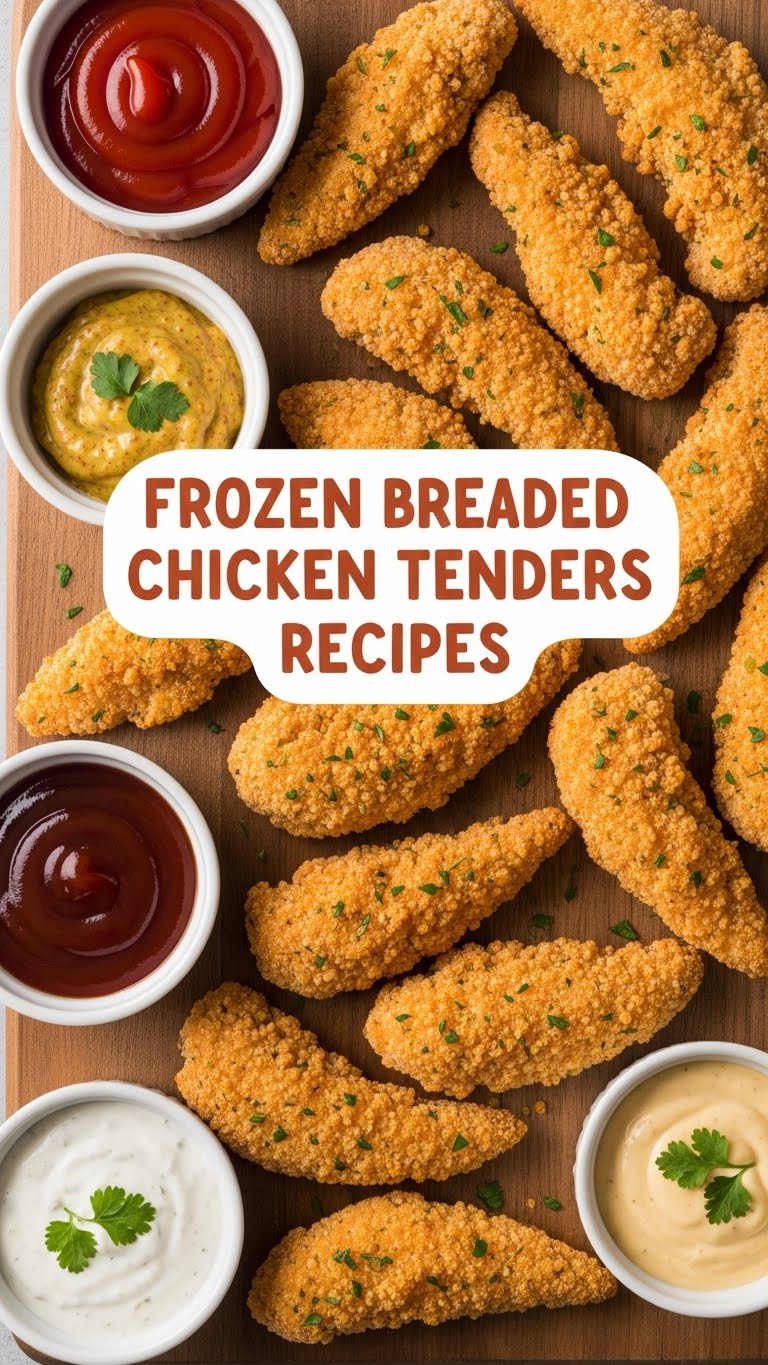
- **One Bag of Your Favorite Frozen Breaded Chicken Tenders:** The star of our show, obviously. Don’t cheap out too much, though; quality matters even in convenience food.
- **A Little Drizzle of Olive Oil or Cooking Oil Spray:** For that extra crisp, because nobody wants a sad, pale tender.
- **Your Go-To Dipping Sauce:** Ketchup, ranch, honey mustard, BBQ, sriracha mayo… the world is your oyster! This is where you really let your personality shine.
- **Optional Sides:** Frozen fries, a quick salad mix, or some steamed veggies. Whatever helps you pretend this is a balanced meal.
Step-by-Step Instructions
Alright, let’s get down to business. Follow these super-simple steps, and you’ll be chowing down in no time. Promise!
- **Preheat Your Oven to 400°F (200°C):** This is non-negotiable, folks. A properly preheated oven is the secret to crispy perfection. Don’t rush it; patience is a virtue, especially when chicken tenders are involved.
- **Prep Your Baking Sheet:** Line a baking sheet with parchment paper or foil for easy cleanup. Arrange your frozen tenders in a single layer, giving them some breathing room. **Don’t overcrowd the pan**, or they’ll steam instead of crisping up.
- **Give ‘Em a Little Spritz:** Lightly spray or drizzle the tenders with a tiny bit of olive oil. This helps them get that beautiful golden-brown color and extra crunch.
- **Bake ‘Em Good:** Pop that baking sheet into your preheated oven. Bake for about **15-20 minutes**, or according to the package directions, which are usually pretty reliable.
- **The Flip & Finish:** Around the halfway mark (about 8-10 minutes in), **flip those bad boys over**. This ensures even browning and crispiness on both sides. Continue baking until they’re golden brown and cooked through.
- **Check for Doneness:** The easiest way to tell if they’re done is to cut one open. It should be white all the way through, with no pink. For ultimate food safety, use a meat thermometer – the internal temperature should reach 165°F (74°C).
- **Serve and Devour:** Carefully remove the tenders from the oven. Let them rest for a minute or two (if you can wait!) before serving with your chosen dipping sauce and any sides. Enjoy your crispy masterpiece!
Common Mistakes to Avoid
We’re all about making life easier, so let’s quickly go over some pitfalls that can turn your tender dreams into soggy nightmares. Learn from my mistakes, so you don’t have to make your own!
- **Forgetting to Preheat the Oven:** Rookie mistake! Cold ovens lead to pale, sad, rubbery tenders. Always wait for that preheat beep.
- **Overcrowding the Baking Sheet:** Resist the urge to pile them high. Tenders need space to breathe and get crispy. If they’re too close, they’ll steam each other and come out limp.
- **Not Flipping Them:** Want one side golden and the other pale? No? Then flip them! It’s a simple step that makes a huge difference in achieving even crispiness.
- **Eyeballing the Cook Time (Without Checking):** While the package is a good guide, ovens vary. Always confirm they’re cooked through, either by cutting one open or using a thermometer. Nobody wants raw chicken, FYI.
- **Forgetting the Dipping Sauce:** This isn’t a mistake, it’s a tragedy. Dipping sauce is mandatory.
Alternatives & Substitutions
Feeling adventurous? Or just out of oven space? Here are a few ways to switch things up without breaking a sweat.
- **Air Fryer Method:** Oh, sweet air fryer, where have you been all my life? If you have one, this is IMO the absolute best way to get super crispy tenders. Cook at 375-400°F (190-200°C) for 10-15 minutes, shaking the basket halfway. They come out unbelievably crunchy!
- **Pan-Frying (as a last resort):** If your oven is on the fritz, you can pan-fry them. Heat about 1/2 inch of oil in a skillet over medium-high heat. Fry for 2-4 minutes per side, until golden brown and cooked through. Be careful, and monitor closely!
- **Spice It Up:** Want a kick? Before baking, sprinkle a little garlic powder, onion powder, paprika, or even a dash of cayenne pepper over the tenders.
- **Serve Them Differently:** Don’t just stick to the classic plate! Slice them up and add to a Caesar salad, wrap them in a tortilla with some salsa, or make a chicken tender sandwich with your favorite toppings. Get creative!
FAQ (Frequently Asked Questions)
Got questions? I’ve got answers! (Mostly.)
- **”Can I microwave frozen chicken tenders?”** *Gasp!* No, friend, no. Please don’t hurt your soul (or your taste buds) like that. You’ll end up with a sad, rubbery mess. Stick to the oven or air fryer for crispy goodness.
- **”How do I know for sure they’re cooked?”** The safest bet is a meat thermometer: 165°F (74°C) internal temp. No thermometer? Cut into the thickest part of a tender. If it’s uniformly white and juicy, you’re good to go!
- **”My tenders came out soggy, what happened?”** Most likely, you either overcrowded the pan, didn’t preheat enough, or didn’t flip them. Go back and check the “Common Mistakes” section, young padawan!
- **”Can I refreeze cooked chicken tenders?”** While technically possible, the quality goes down significantly. They’ll likely be dry and less appealing when reheated. Best to cook what you plan to eat!
- **”What if I don’t have parchment paper?”** Foil works just fine! Just make sure to give it a good spray with cooking oil so the tenders don’t stick.
- **”Are these healthy?”** Well, it’s chicken, so it’s got protein! But “breaded” and “fried” (even baked) usually means a little indulgence. Let’s not get *too* serious about health when we’re talking about delicious, easy comfort food, okay?
Final Thoughts
And there you have it! Your ticket to crispy, delicious, and utterly fuss-free chicken tenders. Who knew being a culinary wizard could be so incredibly easy? This isn’t just about cooking; it’s about reclaiming your evening, satisfying your cravings, and maybe, just maybe, impressing someone (or yourself!) with your newfound mastery of the humble frozen tender. So go forth, my friend, preheat that oven, and get ready to enjoy a meal that proves you don’t need to spend hours in the kitchen to eat well. You’ve earned this deliciousness!


