You know that feeling when you’re craving something absolutely epic for dessert, but your brain cells are already on vacation and “complicated” just isn’t in your vocabulary? Yeah, me too. And that’s exactly why we’re diving headfirst into the glorious, slightly rebellious world of Fried Ice Cream with Whipped Cream today. It’s like magic, but with actual steps you can follow without needing a wizard’s degree.
Why This Recipe is Awesome
Seriously, this isn’t some fancy chef-level sorcery that requires a decade of culinary school. It’s shockingly simple. You’re basically taking something already universally adored (ice cream) and making it *more* delicious by giving it a quick, hot bath in oil. Plus, it looks ridiculously impressive, so your friends will think you’re a culinary genius. **Spoiler alert: you basically are, with minimal effort.** It’s the kind of recipe that screams “I’m fancy!” but whispers “I spent 15 minutes total on this.”
Ingredients You’ll Need
Gather your troops, er, ingredients! Here’s what you’ll need to create this masterpiece:
- **Vanilla Ice Cream:** About half a gallon. The classic, no need to get wild… unless you *want* to. Then go for it, rebel!
- **Cornflakes:** Roughly 3-4 cups. Crushed, obviously. This is our crispy armor against the hot oil.
- **Ground Cinnamon:** 1 teaspoon. Just a dash for that warm, “mmm” factor.
- **Large Eggs:** 2, whisked. Our sticky glue for the coating. Don’t worry, no gross egg taste, promise!
- **Vegetable Oil (or similar):** About 4-6 cups, for frying. Canola or peanut oil also work great. Whatever you usually use for a deep fry, duh.
- **Whipped Cream:** For topping, because why stop at just fried ice cream? Go big or go home!
- **Optional Toppings:** Chocolate syrup, caramel sauce, sprinkles, fresh berries – this is your playground, friend. Go wild!
Step-by-Step Instructions
- **Scoop & Freeze:** Start with your ice cream. Scoop it into nice, firm balls (about the size of a tennis ball or smaller). **The firmer the better, folks!** Place them on a baking sheet lined with parchment paper and freeze for at least 3-4 hours, or ideally, overnight. This step is super crucial!
- **Crush ‘Em Good:** While the ice cream is getting its chill on, prepare your coating. Crush your cornflakes. You can put them in a zip-top bag and smash them with a rolling pin (therapeutic, IMO) or pulse them in a food processor until they’re fine crumbs. Mix the crushed cornflakes with the ground cinnamon in a shallow bowl.
- **Egg Wash Time:** In another shallow bowl, whisk the two eggs until well combined. This is our sticky, magical binder.
- **Coat & Freeze Again:** Once your ice cream balls are rock-solid, work quickly! Dip each ball first in the egg wash, making sure it’s fully coated. Then, roll it generously in the cornflake-cinnamon mixture. Press lightly to ensure good adhesion. **Double coat for extra crunch and protection!** Place the coated balls back on the parchment-lined baking sheet and freeze for *at least* another hour. Seriously, do NOT skip this re-freeze step.
- **Heat the Oil:** When you’re ready to fry, pour about 2-3 inches of oil into a deep, heavy-bottomed pot or Dutch oven. Heat it to **350-375°F (175-190°C)**. Use a thermometer – please, for the love of crispy dessert, use a thermometer!
- **Fry, Baby, Fry:** Carefully drop one or two (don’t overcrowd the pot!) frozen ice cream balls into the hot oil. Fry for only **20-30 seconds**, just until the coating is golden brown and crispy. This happens super fast! Use a slotted spoon to remove them and quickly transfer them to a paper towel-lined plate to drain any excess oil.
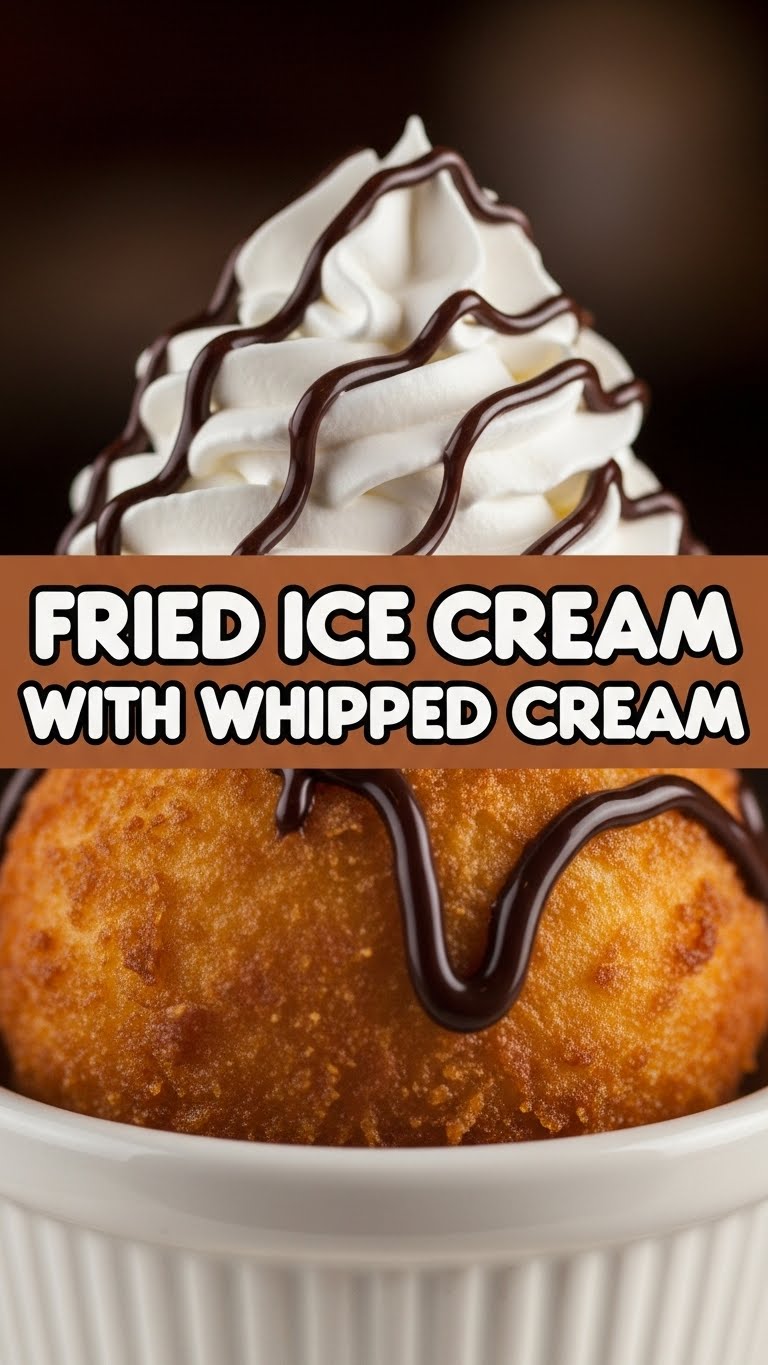
- **Serve Immediately:** Top your gloriously fried ice cream with a generous dollop of whipped cream and your favorite optional toppings. Eat it before it melts into a delicious (but sad) puddle!
Common Mistakes to Avoid
Listen up, buttercup! A few missteps can turn your fried ice cream dream into a soggy nightmare. Learn from my potential past failures (and yours, probably):
- **Not Freezing Enough:** This is the cardinal sin of fried ice cream. If your ice cream isn’t rock-solid, it will just melt into the oil. Don’t be that person.
- **Oil Not Hot Enough:** Soggy, greasy ice cream, anyone? No thanks. Get that oil to temperature, or the coating won’t crisp up properly.
- **Overcrowding the Pot:** Trying to fry too many balls at once drops the oil temperature dramatically. Patience, grasshopper. Fry in small batches.
- **Thinking You Can “Just Eyeball” the Oil Temp:** Unless you’re a seasoned fry cook (pun intended!), use a thermometer. Seriously. It’s worth it.
Alternatives & Substitutions
Feeling creative? Here are a few ways to switch things up:
- **Ice Cream Flavor:** Vanilla is classic, but why not try coffee, chocolate, strawberry, or even mint chip? Your dessert, your rules!
- **Crusting Material:** No cornflakes? Crushed tortilla chips (for a savory-sweet vibe), graham cracker crumbs, crushed shortbread cookies, or even a mix of crushed nuts (pecans, walnuts) work too. **Experimentation is the spice of life!**
- **Add Sweetness to Coating:** For an extra touch of caramelization, whisk a tablespoon of granulated sugar into your egg wash.
- **No Deep Fryer? No Problem!** A sturdy, deep pot or a Dutch oven works perfectly fine for deep-frying. Just be careful with the hot oil!
FAQ (Frequently Asked Questions)
Got questions? I got answers!
- **”Can I make these ahead of time?”** Oh absolutely! The longer they’re frozen before the final fry, the better. You can coat and freeze them for days, even weeks, as long as they’re well-wrapped in plastic wrap or an airtight container.
- **”My ice cream is melting too fast when I’m coating it. Help!”** You gotta work fast, champ! Also, make sure your ice cream is *super* frozen to begin with. Maybe chill your hands under cold water beforehand? Just kidding (mostly).
- **”What if I don’t have a deep-fry thermometer?”** Okay, listen up. While I strongly recommend one, if you’re in a pinch, you can test the oil with a tiny piece of cornflake. If it sizzles vigorously and browns in 2-3 seconds, you’re probably good. But really, get a thermometer, they’re like $10.
- **”Can I bake this instead of frying?”** Technically, yes, you *could* bake it for a “baked Alaska” kind of vibe, but it won’t be “fried” ice cream. The magic is in the quick, hot oil kiss that creates that distinct crispy-hot-outside, creamy-cold-inside contrast. Don’t disappoint the crispy gods.
- **”Is this healthy?”** Hah! Are you serious? It’s fried ice cream, my friend. It’s delicious. That’s all you need to know for now. We can discuss kale salads tomorrow.
Final Thoughts
So there you have it, folks! Fried ice cream that’s so easy, you’ll wonder why you haven’t tried it before. Go on, unleash your inner dessert wizard. Impress your friends, impress your cat, but most importantly, impress yourself with this ridiculously fun and delicious treat. You’ve earned it! Now go make some magic (and try not to eat it all before anyone else gets a bite).


