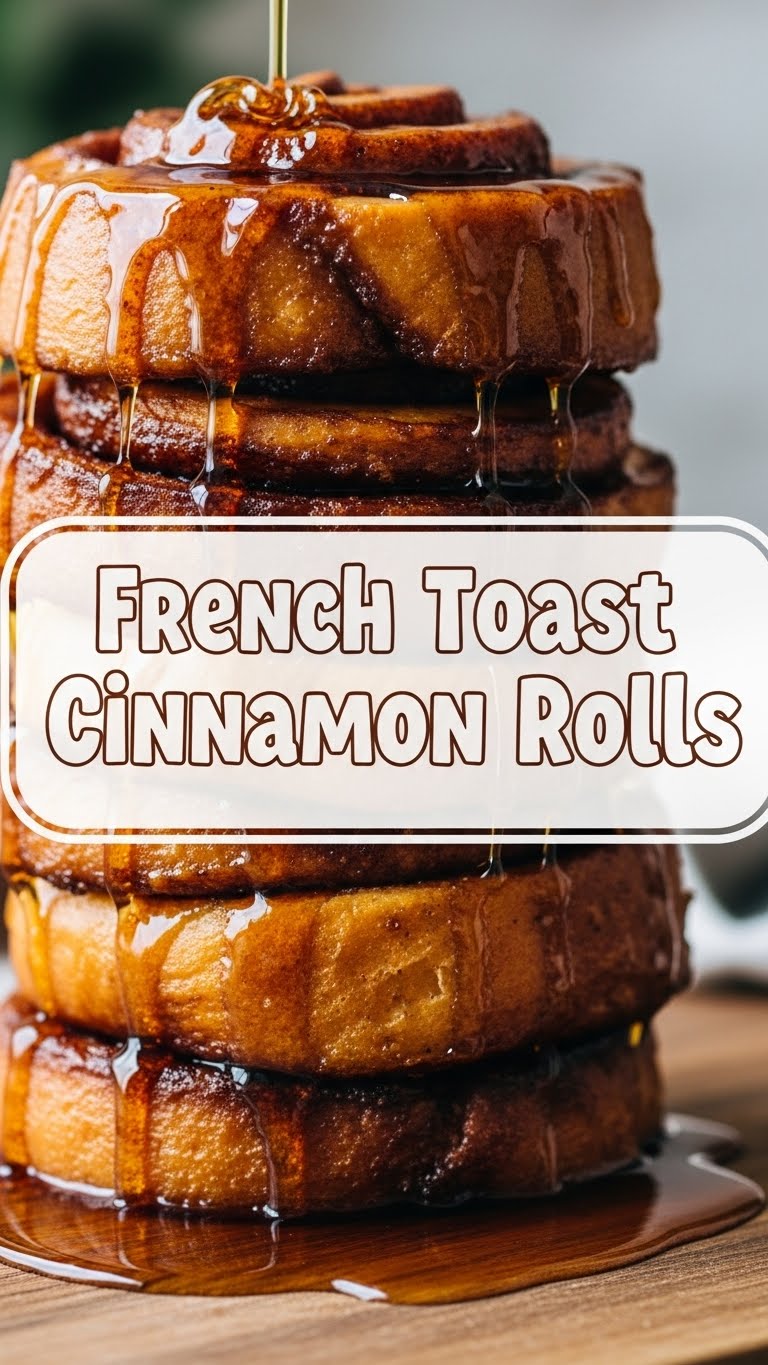
You know that feeling when you want something sweet, something comforting, but also kinda fancy without, like, *effort*? Yeah, me too. And that’s why we’re here today, my friend, to talk about French Toast Cinnamon Rolls – the ultimate breakfast mashup that tastes like a dream but won’t make you wanna cry in the kitchen.
Why This Recipe is Awesome
Seriously, it’s like two of your favorite things had a delicious baby. And that baby is super easy to make. No fancy techniques, no obscure ingredients. Just pure, unadulterated sugary joy that’ll trick everyone into thinking you spent hours slaving away. It’s idiot-proof, honestly, even I didn’t mess it up! **Plus, it makes your whole house smell amazing**, which is basically free aromatherapy. Who doesn’t love that?
Ingredients You’ll Need
Gather ’round, buttercups. Here’s what you need to whip up this magic:
- One (1) can of store-bought cinnamon rolls: Yes, the pre-made kind. Don’t judge, we’re going for delicious *and* lazy here. (Any brand works, FYI!)
- 2 large eggs: For that essential French toast vibe, obvs.
- 1/4 cup milk: Whole milk if you’re feeling extra decadent, skim if you’re pretending to be healthy. Your call!
- 1 teaspoon vanilla extract: Because everything is better with vanilla. It’s like a warm hug for your tastebuds.
- 1/2 teaspoon ground cinnamon: A dash of extra cinnamon – because… cinnamon rolls, duh.
- 2 tablespoons melted unsalted butter: A little bit of magic never hurt anyone.
- (Optional) A sprinkle of powdered sugar: For that extra “I’m a fancy chef” look if you decide not to use the canned glaze.
Step-by-Step Instructions
- First things first, **preheat that oven!** Check the cinnamon roll can for the exact temperature, usually around 375°F (190°C). Then, lightly grease a baking dish (a 9×13 inch or similar works great).
- Next, let’s make our French toast dippy goodness. In a shallow bowl, whisk together the eggs, milk, vanilla extract, and the extra ground cinnamon until it’s all smooth and bubbly.
- Pop open that can of cinnamon rolls! Separate them, but save that little container of frosting for later. Don’t you dare throw it out!
- Now for the fun part: take each cinnamon roll and give it a quick dunk in your egg mixture. Make sure both sides get coated, but don’t let it soak for too long, or you’ll have soggy sadness. A quick dip and flip is perfect.
- Arrange the dipped cinnamon rolls in your prepared baking dish. Try not to overcrowd them too much – they need a little space to breathe and expand.
- Melt your butter and then drizzle it evenly over the tops of all the dipped rolls. This is where the real golden-brown magic happens.
- Bake in your preheated oven for about 15-20 minutes, or until they’re beautifully golden brown and puffed up. Keep an eye on them, ovens vary!
- Once they’re out of the oven, immediately drizzle that saved frosting (or powdered sugar if you’re feeling extra) over the warm rolls. The heat will melt it into a luscious glaze.
- Serve warm and bask in the glory of your culinary genius!
Common Mistakes to Avoid
- Over-soaking the rolls: As tempting as it is, don’t let those rolls swim in the egg bath forever. A quick dip is all they need, otherwise, they’ll turn into soggy, sad dough instead of fluffy French toast.
- Forgetting to preheat the oven: Yep, classic rookie move. A cold oven equals weirdly baked goods that are either undercooked or take forever. **Always preheat!** Your patience will be rewarded.
- Crowding the pan: Give ’em space, people! Overcrowding the pan leads to uneven cooking and rolls that steam instead of crisp up. Think of it as social distancing for your pastries.
- Burning the butter: When melting butter, keep an eye on it. Browned butter is delicious, but burnt butter is… well, it’s just burnt. Nobody wants that bitter taste.
Alternatives & Substitutions
Feeling adventurous? Here are some ways to jazz up your French Toast Cinnamon Rolls:
- Add-ins: Sprinkle some mini chocolate chips, chopped nuts (pecans or walnuts, yum!), or even some fresh berries (raspberries, blueberries) between the rolls before baking. Chocolate chips are always a good idea, IMO.
- Spice it up: A pinch of nutmeg, cardamom, or even a tiny bit of allspice in your egg mixture can add another layer of cozy flavor.
- Glaze variations: If you’re skipping the canned frosting, mix powdered sugar with a splash of milk and a dash of maple syrup for a killer maple glaze. Or, warm up some cream cheese frosting for an even richer topping.
- Sugar Swap: If you’re out of powdered sugar, a light dusting of regular granulated sugar mixed with a little extra cinnamon right out of the oven can give a nice crunch.
FAQ (Frequently Asked Questions)
Got questions? I’ve got (casual) answers!
- Can I use homemade cinnamon rolls? Absolutely! If you’re feeling ambitious and have a spare few hours, go for it. This recipe is for the *speedy* folks though, so no judgment if you stick to the can.
- Can I make them ahead of time? You can prep the dipping mixture a day in advance (store it in the fridge!), but I recommend dipping and baking right before serving for maximum deliciousness. Stale French toast cinnamon rolls? Nobody wants that.
- What if I don’t have vanilla extract? You can skip it, but your rolls might feel a little… naked. It really adds to that “French toast” flavor, so try to grab some if you can!
- My rolls are browning too fast on top, but not cooked through! What gives? Your oven might be running hot! Try covering the dish loosely with foil for the last 5-10 minutes of baking.
- Can I use margarine instead of butter? Well, technically yes, but why hurt your soul like that? Butter just tastes better here, trust me.
- Best way to serve these? Warm, with a cup of coffee and zero regrets. Maybe a side of fresh fruit if you’re trying to balance out the deliciousness.
Final Thoughts
So there you have it, folks! Your new favorite breakfast/brunch/dessert recipe that’s sure to impress with minimal effort. It’s comforting, it’s decadent, and it’s ridiculously easy. Go forth and conquer your cravings! And hey, if you mess up, just eat the evidence. Nobody needs to know. 😉 Now go impress someone—or yourself—with your new culinary skills. You’ve earned it!


