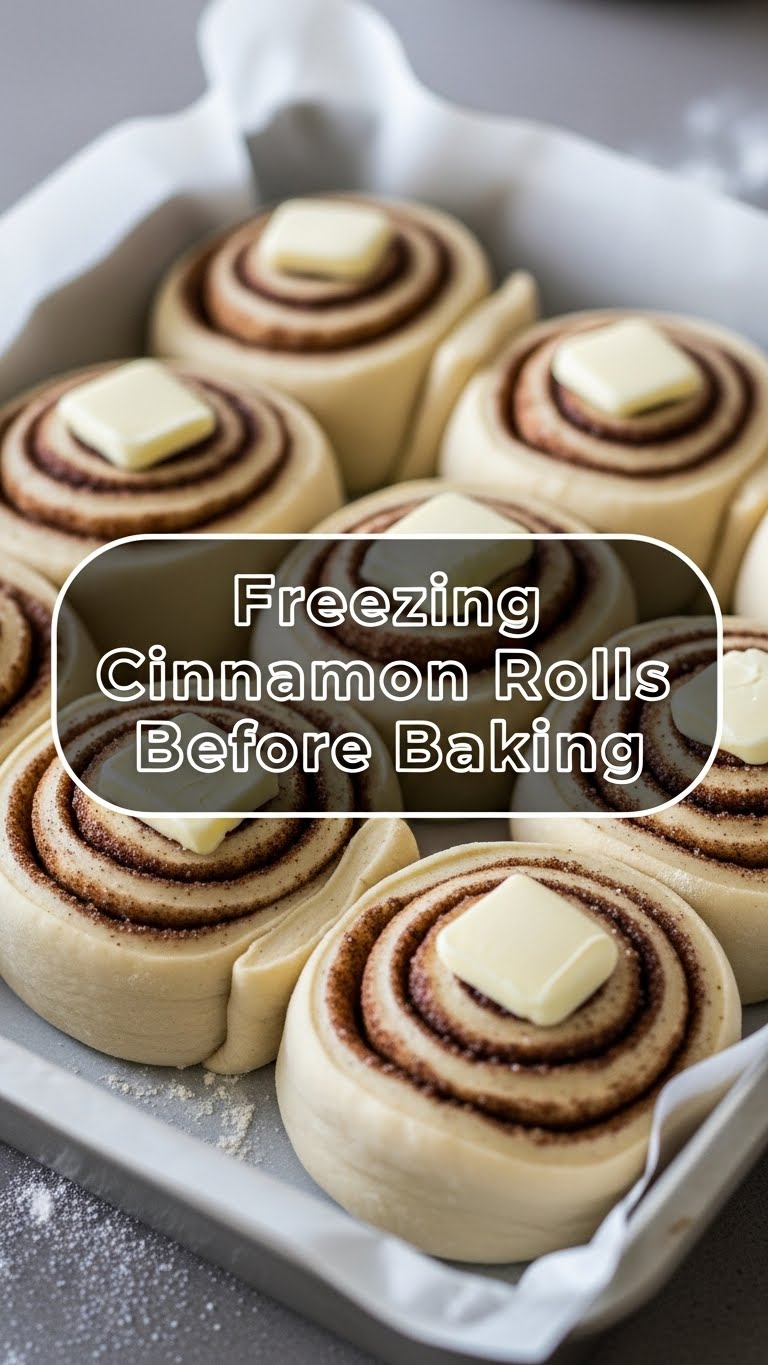
So you’re craving something warm, gooey, and absolutely heavenly, but the thought of spending hours in the kitchen sounds like a punishment? Same, friend, *same*. What if I told you there’s a magical way to have fresh cinnamon rolls ready with minimal effort on ‘Baking Day’? We’re talking about freezing those beautiful spirals of joy *before* they even hit the oven. Prepare to have your mind blown (and your mornings deliciously upgraded)!
Why This Recipe is Awesome
Because let’s be real, who wants to wake up at the crack of dawn to make dough from scratch when all you want to do is sip coffee and pretend you’re a morning person? This little hack is pure genius. You do the heavy lifting (which, let’s be honest, isn’t *that* heavy) when you have a spare moment, and then BAM! Future you gets to be a culinary wizard with zero stress. It’s practically a superpower. Plus, they taste *just* as good as freshly made, maybe even better because the anticipation builds. It’s truly idiot-proof, even I didn’t mess it up, and my kitchen adventures often involve smoke alarms.
Ingredients You’ll Need
Okay, so you’ll need the usual suspects for your cinnamon roll masterpiece. Whether you’re a seasoned dough whisperer or a ‘store-bought dough is my bestie’ kind of person, we’ve got you covered.
- Your Favorite Cinnamon Roll Dough: This is the star of the show. Go homemade if you’re feeling ambitious, or snag some pre-made dough from the store for an easy win. No judgment here, just deliciousness.
- Butter (softened): For that rich, spreadable goodness. Don’t skip this, your taste buds will thank you.
- Brown Sugar: The sticky, sweet backbone of the filling.
- Ground Cinnamon: Clearly, non-negotiable. More is more, IMO.
- Optional Frosting Ingredients: Cream cheese, powdered sugar, vanilla extract, a splash of milk – for the grand finale. We’ll tackle this closer to baking time.
Step-by-Step Instructions
Alright, let’s get these beauties ready for their deep freeze nap. It’s simpler than trying to assemble IKEA furniture!
On Freezing Day:
- Prep Your Dough: Roll out your cinnamon roll dough into a large rectangle, about 1/4 inch thick. Don’t stress too much about perfect edges; this isn’t a geometry test.
- Spread the Love: Generously spread your softened butter all over the dough, almost to the edges.
- Sprinkle the Magic: In a small bowl, mix your brown sugar and cinnamon. Then, sprinkle this glorious mixture evenly over the butter. Be generous!
- Roll ‘Em Up: Tightly roll the dough from one long side to the other. Try to keep it snug so your spirals are nice and pretty.
- Slice and Dice: Using a sharp, un-serrated knife or even dental floss (seriously, it works wonders!), cut your roll into individual cinnamon rolls, about 1 to 1.5 inches thick.
- The First Freeze: Place the cut rolls on a baking sheet lined with parchment paper. Make sure they aren’t touching each other. Stick the whole tray in the freezer for about 1-2 hours, or until they’re solid. This step is crucial for preventing them from sticking together later!
- Bag ‘Em Up: Once frozen solid, transfer the individual rolls into a freezer-safe, airtight bag or container. Label it with the date and baking instructions (trust me, Future You will thank Present You). They can chill out in the freezer for up to a month.
On Baking Day:
- The Big Wake-Up: Take the desired number of frozen cinnamon rolls out of the freezer and arrange them in a greased baking dish (or a disposable aluminum pan if you’re feeling extra lazy, no judgment). Make sure they have a little space between them, as they’re about to get puffy.
- Proof for Puffy Perfection: This is the most important part! Cover the baking dish loosely with plastic wrap and let the rolls thaw and rise in a warm spot for about 6-8 hours, or even overnight in the fridge. They need to **double in size** and look wonderfully puffy. If you try to bake them without this step, they’ll be dense little pucks, and nobody wants that.
- Preheat and Bake: Once they’re gloriously puffed up, preheat your oven to the temperature specified in your original cinnamon roll recipe (usually around 375°F / 190°C). Remove the plastic wrap and bake for 20-25 minutes, or until they’re golden brown and bubbly.
- Frost and Devour: Let them cool for a few minutes, then slather them with your favorite frosting. Now, go impress someone—or yourself—with your new culinary skills. You’ve earned it!
Common Mistakes to Avoid
We’ve all been there, staring at a culinary disaster wondering where it all went wrong. Here are a few traps to sidestep:
- Skipping the Initial Freeze: Trying to bag up soft, sticky rolls? Rookie mistake. They’ll freeze into one giant, cinnamon-flavored blob. Always flash-freeze them individually first.
- Forgetting to Proof: This is like trying to run a marathon without stretching. Your yeast needs time to wake up and do its thing. Baking them from frozen *without* a long proofing period will result in dense, sad rolls.
- Not Sealing Properly: Freezer burn is real, and it’s a deliciousness killer. Make sure your rolls are in an airtight container or bag.
- Over-Baking: Keep an eye on them! Over-baked cinnamon rolls are dry cinnamon rolls, and that’s a tragedy.
Alternatives & Substitutions
Feeling spicy? Or just out of an ingredient? No worries, we can totally improvise!
- Different Fillings: Instead of just cinnamon, try adding a pinch of nutmeg or cardamom for a warmer spice profile. Or, get wild and sprinkle in some finely chopped nuts (pecans or walnuts are divine) or even a few chocolate chips. Yum!
- Frosting Fantasies: Cream cheese frosting is iconic, but you could also do a simple vanilla glaze (powdered sugar + milk + vanilla), or even a maple glaze. Don’t like frosting? You’re weird, but okay, just a dusting of powdered sugar works too!
- Store-Bought Dough vs. Homemade: Seriously, either works perfectly for this method. If you’re new to baking or short on time, grab that tube of pre-made dough. You still get warm, fresh rolls!
FAQ (Frequently Asked Questions)
- Can I use margarine instead of butter? Well, technically yes, but why hurt your soul like that? Butter just tastes better, IMO. But if that’s all you have, go for it!
- How long do they last in the freezer? Ideally, up to a month. After that, they might start to get a bit freezer-burnt or the yeast might lose some oomph.
- Do I *have* to proof them for 6-8 hours? That seems like forever! Yes, you absolutely do if you want fluffy, soft rolls. Yeast needs time and warmth to do its magic. You can stick them in the fridge overnight for a slow, cold proof if that fits your schedule better!
- My rolls didn’t rise, what gives? Probably one of two things: either your yeast was old/dead (check the expiration date!), or your proofing spot wasn’t warm enough, or you didn’t give them enough time. Patience, grasshopper!
- Can I freeze them *after* baking? Yep, you totally can! Just freeze them un-frosted, then thaw and warm them up in the microwave or oven, and frost right before serving. But freezing before baking gives you that ‘fresh from the oven’ magic.
Final Thoughts
So there you have it, your new secret weapon for conquering those cinnamon roll cravings without all the fuss. This method is a game-changer for brunch, unexpected guests, or just because it’s Tuesday and you deserve something amazing. Now go forth and create deliciousness, you magnificent culinary wizard! Your future self (and anyone lucky enough to be around you) will thank you. Happy baking!


