So you’re craving something tasty but too lazy to spend forever in the kitchen, huh? Same. We’ve all been there: sudden cookie emergency, but the thought of getting all your ingredients out, mixing, baking, and then cleaning up feels like an Olympic sport. Well, my friend, I’m about to blow your mind with a little something called Freezer Chocolate Chip Cookies. It’s like having a personal cookie factory on standby, just waiting for your next craving. You’re welcome.
Why This Recipe is Awesome
Okay, let’s be real. This recipe isn’t just “awesome”; it’s borderline magical. Why? Because it pre-empts your future self’s snack attack. You do the work once, then bask in the glory of warm, fresh-baked cookies with minimal effort for weeks (or days, depending on your self-control, no judgment here!). It’s idiot-proof, honestly, even I didn’t mess it up. Plus, you can bake one cookie, two cookies, or a whole batch without any extra fuss. It’s perfect for those “Oh crap, unexpected guests!” moments or simply when you need a single, warm hug in cookie form. The dough actually gets *better* with a little chill time, deepening those glorious flavors. Talk about a win-win!
Ingredients You’ll Need
Get ready for the usual suspects, with a few personal touches. Nothing fancy, just good ol’ deliciousness.
- Unsalted Butter (1 cup, 2 sticks): The good stuff. Room temp, but not melted. We’re making cookies, not soup.
- Granulated Sugar (½ cup): For that classic sweetness.
- Brown Sugar (1 ½ cups, packed): This is where the chewiness magic happens. Don’t skimp!
- Eggs (2 large): Your binding agents. Happy chickens lay happy eggs, they say.
- Vanilla Extract (2 teaspoons): A good splash. Don’t use the imitation stuff unless you *want* to disappoint your taste buds.
- All-Purpose Flour (2 ¼ cups): The bulk of our cookie dreams.
- Baking Soda (1 teaspoon): Helps them puff up nicely.
- Salt (1 teaspoon): Essential! It balances the sweetness and makes everything taste better. Don’t skip it; it’s not just for salty snacks.
- Chocolate Chips (2 cups): Your choice! Semisweet, milk, dark – mix ’em up for an adventure. I usually do a combo, because why choose?
Step-by-Step Instructions
- Cream the Butter & Sugars: In a large bowl, or your fancy stand mixer, cream together the room-temperature butter, granulated sugar, and brown sugar until it’s light and fluffy. This usually takes about 2-3 minutes. Don’t rush this step; it’s crucial for texture!
- Add Eggs & Vanilla: Beat in the eggs, one at a time, making sure each is fully incorporated before adding the next. Then, stir in that glorious vanilla extract. Scrape down the sides of the bowl to ensure everything is mixed evenly.
- Combine Dry Ingredients: In a separate bowl, whisk together your flour, baking soda, and salt. Whisking ensures everything is evenly distributed, so no weird pockets of baking soda later.
- Mix Wet & Dry: Gradually add the dry ingredients to the wet ingredients, mixing on low speed until *just* combined. Do not overmix! Overmixing develops the gluten too much, leading to tough cookies, and nobody wants a tough cookie.
- Fold in the Chips: Gently fold in your chocolate chips by hand. Distribute them evenly, so every bite is a chocolatey delight.
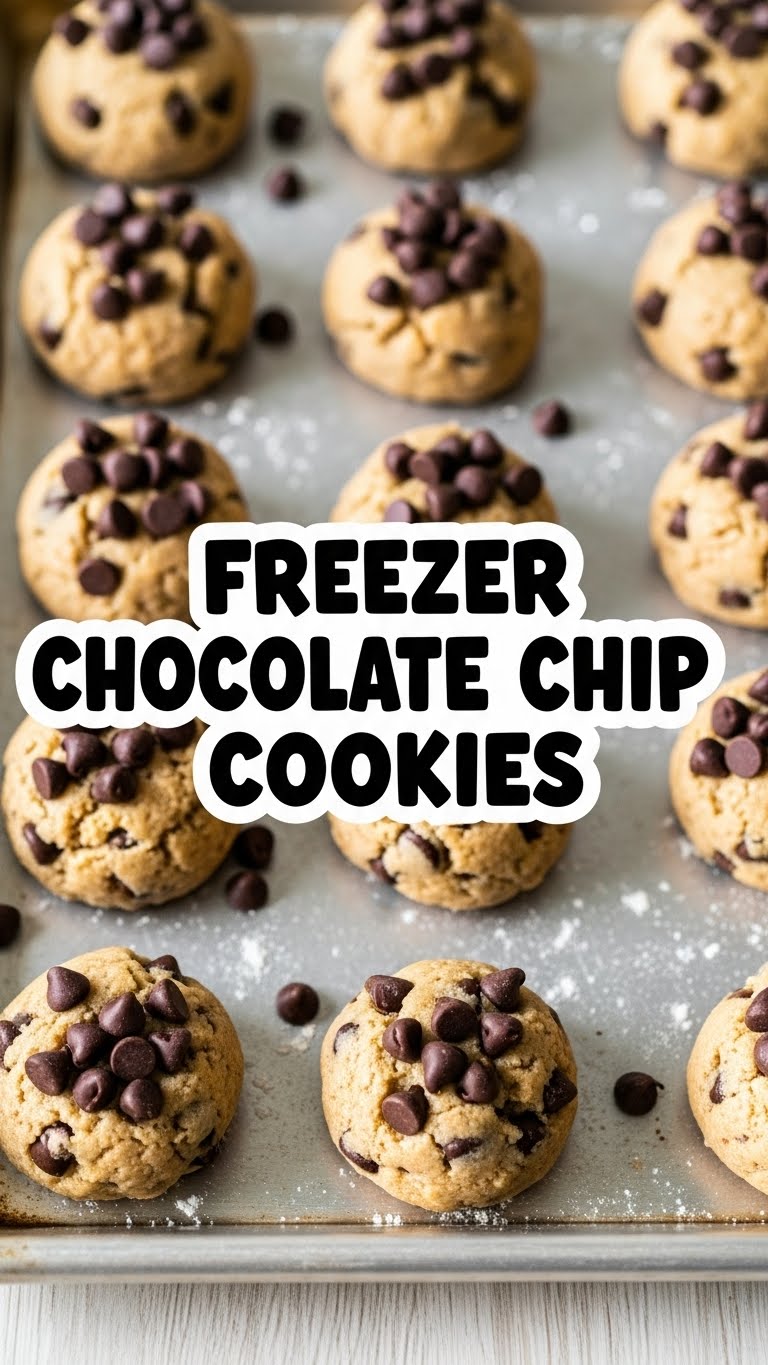
- Portion for Freezing: Using a cookie scoop (my personal hero for consistent cookie size) or two spoons, scoop uniform balls of dough onto a parchment-lined baking sheet. They can be close together at this stage; we’re not baking yet.
- Flash Freeze: Pop the baking sheet into the freezer for about 30-60 minutes, or until the cookie dough balls are firm. This “flash freeze” prevents them from sticking together when you bag them up.
- Store ’em Up: Once firm, transfer the frozen cookie dough balls to a freezer-safe zip-top bag or airtight container. Label it with the date and baking instructions (optional, but helpful if you’re like me and forget things). They’ll keep for up to 3 months!
To Bake from Frozen: When a craving strikes, simply place the frozen cookie dough balls on a parchment-lined baking sheet, leaving about 2 inches between them. Bake in a preheated oven at 375°F (190°C) for 12-16 minutes, or until the edges are golden brown and the centers are still slightly soft. You might need an extra minute or two compared to fresh dough. Let them cool on the baking sheet for a few minutes before transferring to a wire rack. Devour!
Common Mistakes to Avoid
- Overmixing the Dough: We talked about it, but it bears repeating. Unless you’re into hockey pucks, mix until *just* combined. Seriously.
- Not Chilling/Freezing Long Enough: Rushing the flash freeze means your dough balls will just become one giant, sad dough blob in the bag. Patience, grasshopper.
- Ignoring Room Temp Butter: Trying to cream cold butter is like trying to make friends with a cat that hates you. It’s just not going to work out well. Conversely, melted butter is also a no-go; it messes with the cookie’s structure.
- Thinking You Don’t Need to Preheat the Oven: Rookie mistake! A cold oven means uneven baking and sad, flat cookies. Get that oven nice and hot before those precious dough balls go in.
- Skipping the Salt: I know, it feels counterintuitive in a sweet treat, but trust me, salt elevates all the flavors. Without it, your cookies will taste… flat.
Alternatives & Substitutions
Feeling adventurous or missing an ingredient? No stress, we can totally adapt!
- Chocolate Varieties: Mix in white chocolate chips, chopped nuts, toffee bits, or even M&M’s for a fun twist. Dark chocolate chunks are my personal fave; they melt so beautifully.
- Flour Power: You can experiment with half whole wheat flour for a nuttier flavor, but stick to AP flour for the main part unless you’re a seasoned baker. Gluten-free 1:1 baking flour can also work, but results may vary slightly.
- Butter Swaps: While butter is king, if you absolutely must, you can use shortening for a softer cookie, or a dairy-free butter substitute. Just be aware that the flavor profile and texture might shift a bit. IMO, stick with real butter if you can.
- Brown Sugar Only: If you’re out of granulated sugar, you can use all brown sugar for an even chewier, moister cookie with a deeper molasses flavor. It’s a legit move!
FAQ (Frequently Asked Questions)
- Can I bake these straight from the freezer?
Absolutely! That’s the whole point, my friend! Just add a minute or two to your baking time.
- How long do the frozen cookie dough balls last?
They’re good for about 2-3 months in an airtight container or freezer bag. After that, they might start to get a bit of freezer burn, affecting the taste.
- Do I need to thaw the dough before baking?
Nope! Baking from frozen is ideal. If you let them thaw completely, they might spread a bit more, but they’ll still be delicious.
- Can I use margarine instead of butter?
Well, technically yes, but why hurt your soul like that? Margarine has a higher water content and different fat composition, which means your cookies won’t have the same rich flavor or chewy texture. FYI, stick to butter for the best results.
- My cookies are spreading too much, what gives?
Could be a few things! Your butter might have been too soft, your oven temperature might be off, or you might have too little flour. Make sure to measure your flour correctly (spoon into the measuring cup and level off, don’t scoop directly from the bag!). Also, ensure your baking sheets aren’t hot when you put the dough on them.
- Can I add nuts or other mix-ins to the dough?
Yes, please! This dough is super versatile. Walnuts, pecans, sprinkles, dried cranberries – go wild! Just add them in when you fold in the chocolate chips.
Final Thoughts
So there you have it, your passport to instant cookie gratification! This freezer chocolate chip cookie recipe isn’t just about baking; it’s about giving your future self a gift. The gift of warm, gooey, homemade chocolate chip cookies whenever the mood strikes, without the immediate mess or fuss. Now go impress someone—or yourself—with your new culinary superpowers. You’ve earned it!


