So you just whipped up a masterpiece of banana bread, and now you’re looking at your creation thinking, “How am I going to eat all this before it turns into a sad, moldy science experiment?” Don’t panic, my friend. We’re about to become freezer superheroes and save that deliciousness for a rainy day (or, let’s be real, a Tuesday afternoon craving).
Why This Recipe is Awesome
Okay, so technically this isn’t a *baking* recipe, but it’s a *life-saver* recipe! It’s the ultimate hack for anyone who loves banana bread but also loves not throwing away perfectly good food. Plus, imagine always having a secret stash of deliciousness just waiting for you, ready to be defrosted and devoured at a moment’s notice. It’s like a culinary superpower, no cape required. And honestly, it’s so idiot-proof, even I didn’t mess it up.
Ingredients (or Rather, Supplies!) You’ll Need
To embark on this noble quest of banana bread preservation, you don’t need exotic spices or fancy flours. You just need a few basic things to protect your precious loaf:
- Your glorious, already-baked banana bread: The star of our show. Make sure it’s completely cooled down, or things will get soggy. Nobody wants soggy bread.
- Plastic wrap: The clingy stuff that loves to stick to itself more than it loves sticking to your bread. Embrace the struggle.
- Aluminum foil: Your banana bread’s superhero cape, offering an extra layer of defense against the dreaded freezer burn.
- Freezer-safe bags: The sturdy kind, not those flimsy sandwich bags. We’re serious about protection here.
- A marker and labels (or a Sharpie directly on the bag): So you don’t discover a mysterious, unidentifiable frozen object six months from now. Trust me, future you will thank present you for this.
Step-by-Step Instructions
Alright, let’s get your banana bread ready for its icy slumber. It’s super simple, promise!
Cool It Down, Baby: This is probably the most crucial step, so don’t even think about skipping it. Your banana bread needs to be completely, utterly, 100% cool before you even *think* about wrapping it. Warm bread traps moisture, and moisture turns into ice crystals, which leads to sad, soggy bread and freezer burn. Let it chill on a wire rack for a good few hours, or even overnight.
Slice or Keep Whole?: This is where you decide your future self’s convenience level. You can freeze the whole loaf, or slice it into individual portions. Slices are great for grabbing one piece at a time; a whole loaf feels more impressive for unexpected guests (or just a really big craving).
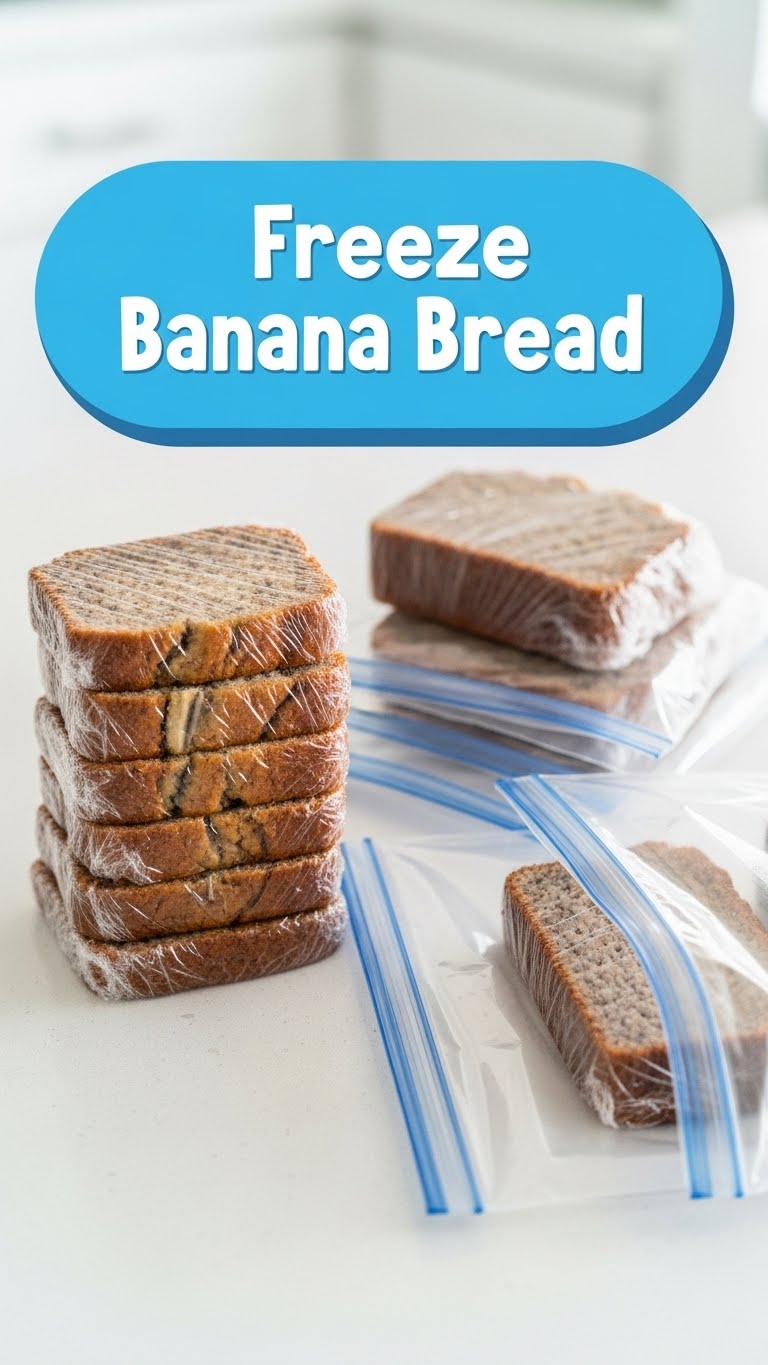
The First Wrap (Plastic Power!): Whether it’s a whole loaf or individual slices, wrap each piece tightly in plastic wrap. We’re talking multiple layers here, like you’re swaddling a very delicious baby. The goal is to create an airtight seal, preventing any pesky air from sneaking in.
The Second Wrap (Foil Fortification!): Now, for extra protection, wrap your plastic-swaddled banana bread in a layer of aluminum foil. This is your shield against freezer burn. Make sure it’s snug and secure. Double duty, baby!
Bag It Up: Carefully place your double-wrapped banana bread (or slices) into a freezer-safe bag. Squeeze out as much air as possible before sealing it shut. This is another critical step in keeping things fresh.
Label It, Smarty Pants: Grab your marker and label that bag! Include the date you froze it and what’s inside (“Grandma’s Best Banana Bread” or “Mystery Loaf from 2024” – your call!). This helps you keep track and avoids any freezer archaeology projects later on.
Into the Frosty Abyss: Gently place your perfectly packaged banana bread in the freezer. Try to lay it flat until it’s solid to maintain its shape.
The Glorious Thaw: When that craving hits, simply take your frozen treasure out. For individual slices, you can often pop them straight into a toaster oven or microwave on low until warmed through. For a whole loaf, transfer it to the fridge overnight to thaw, or place it on the counter for a few hours. For an extra treat, warm it slightly in the oven before serving. OMG, so good.
Common Mistakes to Avoid
Look, we all make mistakes. But with these tips, you won’t be making *these* banana bread freezing blunders:
- Freezing Warm Bread: Rookie mistake! As mentioned, this is a one-way ticket to soggy, ice-crystal-laden bread. Always ensure your bread is stone-cold before wrapping.
- Skimping on the Wrapping: Thinking one layer of plastic wrap will cut it? Nope. That’s how freezer burn happens. Be generous with the plastic and foil, like you’re wrapping a precious gift. Because it is.
- Forgetting to Label: Future you will be staring at a white brick, wondering what delightful (or horrifying) thing lies beneath the frost. Don’t play guessing games with your taste buds. Label everything!
- Using Flimsy Bags: Your sandwich bags are great for, well, sandwiches. But for long-term freezer storage, invest in actual freezer bags. They’re thicker and less prone to punctures, which keeps air out.
Alternatives & Substitutions
Since we’re talking about preserving an already-baked item, “alternatives” here mostly mean different ways to wrap or store. But hey, variety is the spice of life, right?
- Vacuum Sealer Fan? Go Wild! If you’re fancy enough to own a vacuum sealer, now’s its time to shine! That’s the ultimate air-removal system, meaning your banana bread will last even longer and be super protected. IMO, worth it if you freeze a lot of stuff.
- The Pre-Freeze Tray Method: If you’re freezing individual slices and want to make sure they don’t stick together like sad, frozen bread buddies, lay them flat on a baking sheet lined with parchment paper. Freeze them for an hour or two until solid, then transfer them to your freezer bag. No sticking, easy peasy!
- Freezer-Safe Containers: While plastic wrap and foil are great, you can also use airtight, freezer-safe containers for slices. Just make sure the bread fits snugly with minimal air space.
FAQ (Frequently Asked Questions)
Got questions? I’ve got answers (and maybe a little sass)!
- How long can I really keep banana bread in the freezer?
Seriously, for quite a while! For best quality and taste, aim for 2-3 months. After that, it’s still safe to eat, but the texture and flavor might start to diminish. Don’t push it too far, you know?
- Can I freeze the banana bread batter instead of baking it first?
Oh, you brave soul! Yes, actually, you can! Pour the batter into lined loaf pans (or even muffin tins) and wrap them super well. Thaw in the fridge overnight and then bake as usual. Just make sure your leavening agents (baking soda/powder) are still active. FYI, the texture might be slightly different, but still delish!
- Do I need to slice the loaf before freezing? What’s better?
Totally up to you and your future cravings! Slicing it beforehand is super convenient for grabbing just one piece. Freezing a whole loaf means it takes longer to thaw but feels more substantial. Pick your fighter!
- What even IS freezer burn, and how do I avoid it?
Freezer burn is the enemy! It’s when food gets dried out and discolored by exposure to cold, dry air. You’ll see icy patches and a weird texture. Avoid it by, you guessed it, wrapping your bread like a pro – airtight seals are your best friend!
- How do I thaw a whole loaf without it getting soggy?
Patience, young grasshopper! The best way is to transfer it from the freezer to the fridge overnight, still wrapped. For a faster thaw, you can leave it on the counter for a few hours. Whatever you do, don’t microwave a whole loaf unless you want a sad, rubbery mess.
- Can I just throw it in the fridge instead of freezing?
For a few days, sure! Banana bread lasts about 3-4 days in the fridge (tightly wrapped, of course). But if you’re looking for a long-term relationship with your bread, the freezer is where it’s at. We’re talking extended bliss here!
Final Thoughts
And there you have it! You’re now a banana bread preservation guru. No more sad, wasted loaves turning green on your counter. Just pure, unadulterated future deliciousness waiting to be discovered. Go forth and freeze, my friend. Your future self (and stomach) will absolutely thank you for this culinary wisdom. You’ve earned it!


