Alright, summer’s officially here, the grills are firing up, and you’re probably thinking, “What can I whip up for the kiddos that screams Fourth of July but won’t make me sweat more than the actual summer heat?” Same, friend. Same. Because who wants to be slaving over a hot stove when there are fireworks to watch and fun to be had? Not us, that’s who. So, get ready for the easiest, most patriotic, and downright delicious dessert that even your overly critical Aunt Carol won’t find a fault with (probably).
Why This Recipe is Awesome
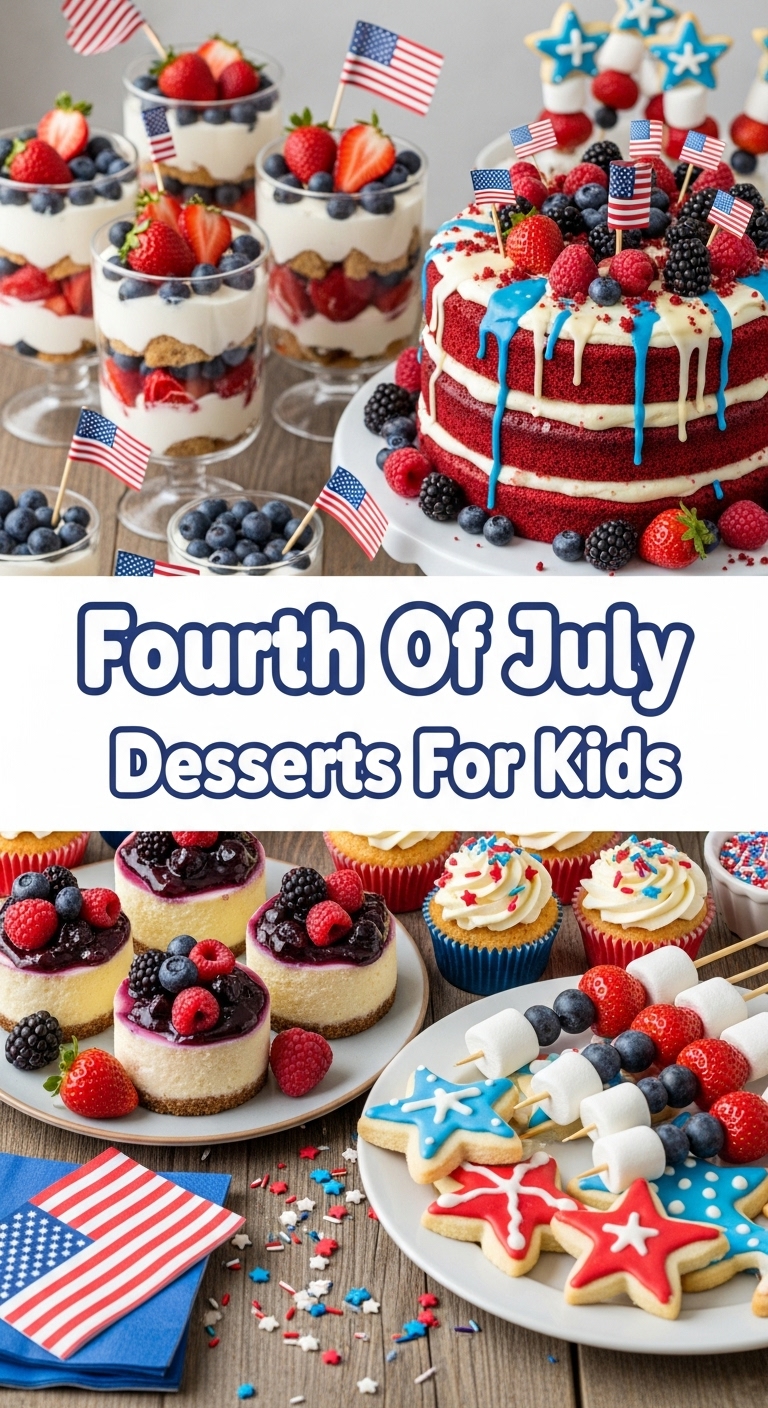
Let’s be real, turning on your oven in July is practically a crime against humanity. This recipe? It’s **no-bake**, baby! That means minimal effort, maximum chill. It looks super impressive, like you actually tried, but it’s embarrassingly simple. We’re talking layers of creamy goodness, fresh berries, and a satisfying crunch that makes everyone go “Ooh, ahh!” Plus, it’s red, white, and blue, so it’s basically the official dessert of freedom. And since it has fruit, it’s practically health food. Don’t argue with me on this one; I’m calling it.
Ingredients You’ll Need
Gather your troops, because these ingredients are common heroes ready for their moment in the spotlight. No fancy schmancy stuff, just pure, unadulterated deliciousness.
- **1 large (16 oz) tub of whipped topping, thawed:** The MVP of no-bake desserts. Don’t skimp here, folks.
- **2 cups fresh strawberries:** Washed, hulled, and sliced. The red star of our show!
- **1 cup fresh blueberries:** Washed. Our little blue gems. So vibrant!
- **1 ½ cups graham cracker crumbs:** You can buy them pre-crushed (smart!) or crush about 10-12 full sheets yourself (therapeutic!).
- **Pinch of cinnamon (optional):** For that extra “oomph” in the graham cracker layer. Trust me.
- **8-10 clear glasses or mason jars:** Because layers are meant to be seen!
Step-by-Step Instructions
Get ready to become a dessert layering ninja! These steps are so easy, you’ll wonder why you ever bothered with actual baking. (JK, baking is great, sometimes).
- **Prep Your Berries:** First things first, get those strawberries sliced and blueberries ready. A little pro tip: make sure they’re mostly dry after washing so they don’t make everything soggy.
- **Crush Those Crackers:** If you’re doing it yourself, put your graham cracker sheets in a Ziploc bag and get out some aggression with a rolling pin. Or, use a food processor for a super-fine crumb. Mix with a tiny pinch of cinnamon if you’re feeling fancy.
- **Layer 1: The Crumb Base:** Spoon about 2 tablespoons of graham cracker crumbs into the bottom of each glass. Press down *gently*. We want a base, not a brick.
- **Layer 2: Creamy Dreamy:** Add a generous dollop of thawed whipped topping over the crumbs. Use the back of a spoon to spread it evenly. Don’t be shy!
- **Layer 3: Red Power!** Arrange a layer of sliced strawberries over the whipped topping. Try to get them to hug the sides of the glass for that pretty visual effect.
- **Layer 4: More Cream, Please!** Add another spoonful of whipped topping over the strawberries.
- **Layer 5: Blueberries Galore!** Now for the blue! Sprinkle a good handful of blueberries on top of the whipped topping.
- **Repeat the Magic:** Continue layering with crumbs, whipped topping, and berries until your glass is full, ending with a beautiful display of berries on top. You might have enough for two full cycles of layers depending on your glass size.
- **Chill Out:** Pop those beauties in the fridge for at least 30 minutes to let everything chill and meld. This is important for flavor fusion!
- **Serve and Shine!** When it’s party time, pull them out, maybe add a tiny American flag toothpick if you’re extra, and watch them disappear faster than a firework show finale.
Common Mistakes to Avoid
Even though this recipe is practically fail-proof, there are a few rookie errors we can laugh about (and then avoid, obviously).
- **Over-crushing the Graham Crackers:** We want crumbs, not dust! Too fine and they’ll just dissolve into mush. We want texture, people!
- **Not Thawing the Whipped Topping:** Trying to scoop frozen whipped topping is like trying to reason with a toddler – it’s just not going to happen smoothly. Plan ahead!
- **Packing Layers Too Tightly:** You want light, airy layers, not a dense, impossible-to-eat brick. Be gentle with that spoon!
- **Eating Half the Ingredients Before You Start:** (Guilty as charged). Try to save *some* for the actual dessert. It’s a challenge, I know.
Alternatives & Substitutions
Feeling adventurous? Or maybe you just ran out of something? No worries, we’ve got options!
- **Different Cookies:** Instead of graham crackers, try crushed vanilla wafers, shortbread cookies, or even gingersnaps for a spiced twist (though maybe less patriotic).
- **Cream Cheese Layer:** For an extra decadent middle layer, mix an 8 oz block of softened cream cheese with 1/2 cup powdered sugar and 1 tsp vanilla extract. Fold in about 1 cup of whipped topping, and use that as one of your creamy layers. **OMG, yum!**
- **Yogurt Power:** Want to make it slightly healthier? Swap out some (or all!) of the whipped topping for vanilla Greek yogurt. You’ll get a tangy kick that’s surprisingly good.
- **Mixed Berries:** While red and blue are key for the 4th, feel free to add raspberries or blackberries for extra flavor.
FAQ (Frequently Asked Questions)
Got questions? We’ve got answers. No judgment here, just helpful tips from one dessert lover to another.
Q: Can I make these ahead of time?
A: Yes! You totally can, and **IMO**, they taste even better after a few hours in the fridge. Just try to keep them covered so the whipped topping doesn’t get a “skin.” Don’t make them more than 24 hours in advance, though, or the crackers might get too soggy.
Q: My kids hate blueberries! What do I do?
A: First, how dare they?! Just kidding! If blueberries aren’t their jam, you can use more strawberries, or perhaps sliced raspberries for another red layer. Or maybe try some purple grapes sliced in half? Get creative!
Q: Can I use aerosol whipped cream?
A: Technically, yes, but I wouldn’t recommend it for the layers themselves. It tends to deflate really quickly and won’t hold its structure. Save the aerosol for a fun topping right before serving, **FYI**.
Q: What if I don’t have clear glasses?
A: Any bowl or cup will do! The clear glasses just make it look extra fancy because you can see the layers. A large trifle bowl also works wonderfully for a crowd!
Q: Is this *actually* healthy because of the fruit?
A: Let’s just say it’s “healthier-ish” than a triple chocolate fudge cake. It has fruit, fiber, and joy! That’s what matters on the Fourth of July, right?
Final Thoughts
And there you have it, folks! Your new go-to Fourth of July dessert that’s easy, delicious, and looks like you hired a pastry chef. Now go impress someone – or yourself – with your new culinary skills. You’ve earned it! Don’t forget to snap a pic and send it my way; I love seeing your masterpieces. Happy Fourth, and may your dessert be as sweet as your freedom!


