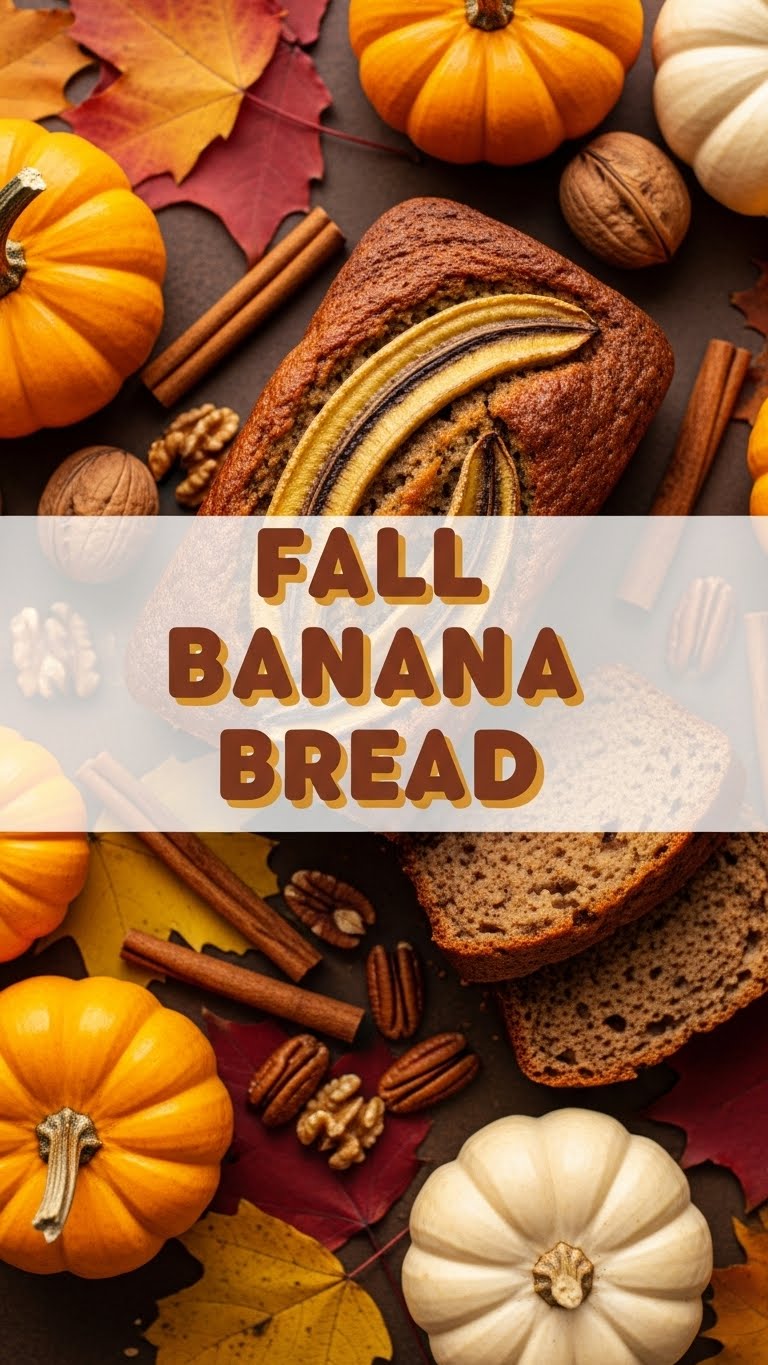
So, you’re staring at those spotty bananas on your counter, feeling a mix of guilt and potential? Good news! They’re not garbage; they’re destined for greatness. Specifically, the kind of greatness that makes your house smell like a warm hug and your taste buds do a happy dance. We’re talking Fall Banana Bread, baby!
Why This Recipe is Awesome
Okay, first off, this isn’t just any banana bread. This is the “I-can’t-believe-I-made-this-it’s-so-good” kind. It’s incredibly moist, perfectly spiced for fall, and honestly, pretty much idiot-proof. Seriously, if I can nail it after a long day of pretending to be a responsible adult, you absolutely can too. Plus, it’s a fantastic excuse to use up those bananas that are basically begging for a new life. No fancy equipment needed, just a bowl, a spoon, and your sparkling personality (and maybe an oven, obvs).
Ingredients You’ll Need
- Ripe bananas (3-4 medium): The browner, the better! Think leopard print, not yellow. These are your flavor bombs.
- All-purpose flour (1 ½ cups): The backbone. Don’t go rogue with cake flour, unless you’re feeling really adventurous.
- Granulated sugar (½ cup): Sweetness! Adjust if your bananas are basically candy already.
- Brown sugar, packed (¼ cup): Adds that deep, caramelly fall vibe. Trust me.
- Egg (1 large): Binder extraordinaire. Gives it structure.
- Melted unsalted butter (½ cup or 1 stick): Flavor, moisture, everything good. Unsalted is best so you control the salt.
- Milk (2 tablespoons): Any kind works. A little extra moisture insurance.
- Baking soda (1 teaspoon): The lift! Don’t skip it.
- Salt (½ teaspoon): Balances everything out. Crucial.
- Vanilla extract (1 teaspoon): Non-negotiable. Pure magic.
- Cinnamon (1 teaspoon): Hello, fall!
- Nutmeg (½ teaspoon): Just a whisper, but it makes a difference.
- Optional add-ins (½ cup): Walnuts, pecans, chocolate chips, a cheeky splash of maple syrup… live a little!
Step-by-Step Instructions
- Preheat & Prep: Get your oven to 350°F (175°C). Grease and flour a 9×5 inch loaf pan. Or line it with parchment paper for easy removal. Your choice, superstar.
- Mash those Bananas: In a large bowl, mash your ripe bananas with a fork until they’re mostly smooth but still have a few small lumps. We’re not making baby food here.
- Wet Ingredients Party: Add the melted butter, granulated sugar, brown sugar, egg, milk, and vanilla extract to the mashed bananas. Mix until just combined. Don’t overdo it, okay? We’re aiming for moist, not tough.
- Dry Ingredients Unite: In a separate medium bowl, whisk together the flour, baking soda, salt, cinnamon, and nutmeg. Make sure there are no lumps—this ensures even distribution.
- Combine Forces: Gradually add the dry ingredients to the wet ingredients. Mix until just combined. A few streaks of flour are totally fine; do not overmix! That’s how you get dry, crumbly bread, and nobody wants that.
- Add Your Flair (Optional): If using, gently fold in your walnuts, chocolate chips, or whatever deliciousness you’ve chosen.
- Bake It Up: Pour the batter into your prepared loaf pan. Bake for 50-65 minutes, or until a wooden skewer inserted into the center comes out clean. If the top starts to brown too quickly, tent it loosely with foil.
- Cool Down: Let the banana bread cool in the pan for about 10-15 minutes before transferring it to a wire rack to cool completely. Or, if you’re like me, cut off a slice while it’s still warm and slightly gooey. YOLO.
Common Mistakes to Avoid
- Under-ripe bananas: Trying to use yellow bananas is like trying to convince your cat to walk on a leash. It’s just not going to work well. Wait for those brown spots!
- Overmixing the batter: This is the cardinal sin of baking. Mix until just combined. A little lumpy is totally fine; a tough loaf is not.
- Not preheating the oven: Seriously, don’t be that person. Your oven needs to be hot and ready to go for proper rising.
- Baking too long: Keep an eye on it. A dry loaf is a sad loaf. Check with a skewer!
- Eating it all in one sitting: Okay, maybe not a mistake, but your stomach might disagree. Share the love (or don’t, I won’t judge).
Alternatives & Substitutions
- Butter vs. Oil: You can use an equal amount of vegetable oil instead of butter for a slightly different texture, but IMO, butter gives it that rich, irresistible flavor. Why mess with perfection?
- Sugar Swap: Feeling less sweet? Reduce the sugar slightly, especially if your bananas are super ripe. You could also swap some granulated sugar for maple syrup or honey for a different flavor profile.
- Dairy-Free: Use your favorite plant-based milk (almond, soy, oat) and dairy-free butter or coconut oil. Easy peasy!
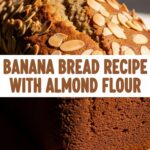
- Gluten-Free: Swap the all-purpose flour for a 1:1 gluten-free baking blend. Results may vary slightly, but it often works great!
- Spice It Up: Add a pinch of ground cloves, allspice, or ginger for an even more intense fall flavor. Go wild!
FAQ (Frequently Asked Questions)
- Can I use frozen bananas? Absolutely! Just thaw them completely, drain any excess liquid (don’t skip this!), and then mash as usual. They’ll be extra soft and perfect.
- My banana bread is dry. What went wrong? Probably overmixing the batter or baking it too long. Remember: mix until just combined and test for doneness with a skewer!
- How long does it last? On your counter, tightly wrapped, about 3-4 days. In the fridge, maybe a week. But honestly, it rarely lasts that long, does it? 😉
- Can I add other fruits or nuts? Heck yeah! Chocolate chips, walnuts, pecans, dried cranberries, a sprinkle of streusel on top… go wild! Just keep the total “add-in” amount around ½ to ¾ cup so it doesn’t get too dense.
- What’s the best way to store it? Once completely cool (super important!), wrap it tightly in plastic wrap or foil, or pop it in an airtight container. This keeps it moist and delicious.
- Can I freeze it? Yes! Wrap cooled loaf slices individually or the whole loaf in plastic wrap, then foil. It’ll keep for up to 3 months. Thaw on the counter. Future you will thank past you.
Final Thoughts
See? You’re practically a master baker now! This Fall Banana Bread isn’t just a recipe; it’s an experience. The smell alone is worth the effort (which, let’s be real, is minimal). So go on, bake this glorious loaf, enjoy every single crumb, and maybe, just maybe, share a slice or two. Or don’t. Your call. Now go impress someone—or yourself—with your new culinary skills. You’ve earned it!

