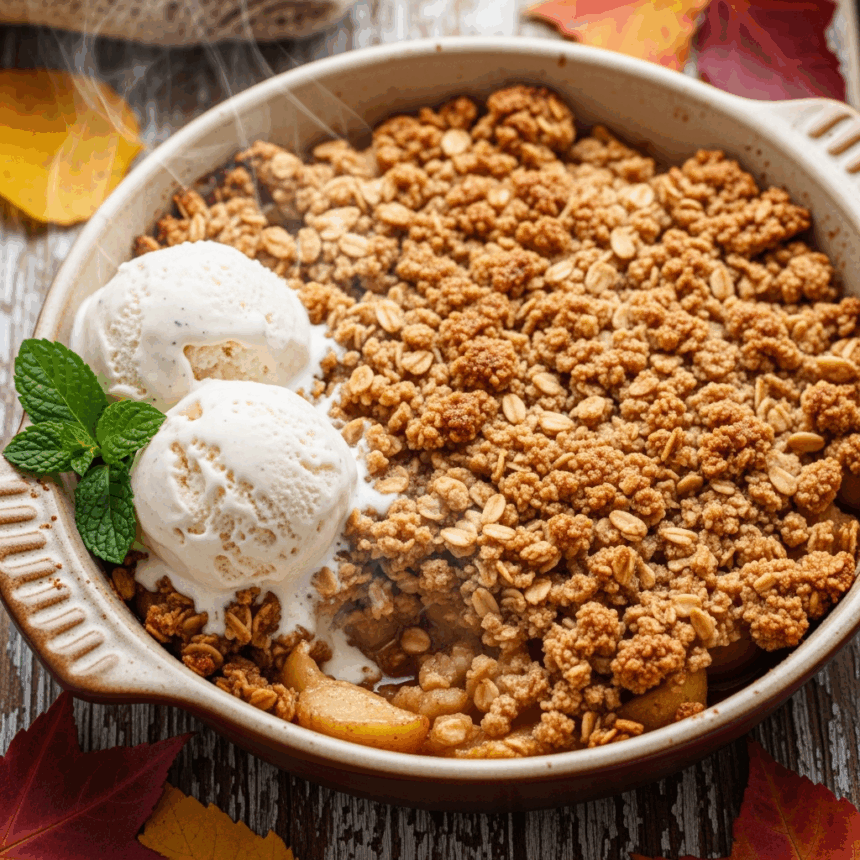
Ah, fall! The season when apples are everywhere, sweaters come out of hiding, and suddenly you find yourself craving something warm, sweet, and utterly comforting. If you’re staring at that pile of apples wondering what to do (besides taking the obligatory apple-picking Instagram photos), I’ve got you covered. This apple crisp is literally the easiest way to transform those apples into something that’ll make your kitchen smell like a fall-scented candle—except it’s actually edible!
Why This Recipe is Awesome
Let me count the ways. First, this isn’t one of those fussy desserts with 27 steps that requires equipment you don’t own. It’s basically “chop stuff, mix stuff, bake stuff.” Done. Second, the oat topping gets all golden and crispy while the apples underneath turn into this glorious, cinnamon-spiced situation that’s basically autumn in a spoonful.
Plus, it’s weirdly impressive to people. Like, serve this with a scoop of vanilla ice cream and suddenly everyone thinks you’re some kind of pastry wizard. Don’t correct them. Just nod mysteriously and accept the compliments.
Ingredients You’ll Need
For the apple filling:
- 6 medium apples (Honeycrisp, Granny Smith, or any apple that isn’t mushy—life’s too short for mushy apples)
- 2 tablespoons lemon juice (bottled is fine, nobody’s judging)
- 1/3 cup granulated sugar (the white stuff)
- 2 tablespoons all-purpose flour (prevents apple soup syndrome)
- 1 teaspoon cinnamon (more if you’re a cinnamon fiend like me)
- 1/4 teaspoon nutmeg (freshly grated if you’re fancy, pre-ground if you’re normal)
- Pinch of salt (yes, it matters)
For the crisp topping (the best part, let’s be honest):
- 1 cup old-fashioned rolled oats (not quick oats—they’ll turn to mush)
- 3/4 cup all-purpose flour
- 3/4 cup packed brown sugar (light or dark, dealer’s choice)
- 1/2 teaspoon cinnamon (because why not more cinnamon?)
- 1/2 cup cold butter, cubed (unsalted preferred, but salted works too)
- 1/4 cup chopped nuts (walnuts or pecans are great, or skip if nuts aren’t your jam)
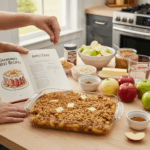
Step-by-Step Instructions
- Preheat your oven to 350°F (175°C). Yes, actually preheat it before you start chopping. Trust me.
- Peel and core those apples, then slice them about 1/4-inch thick. Not too thin (they’ll disintegrate) and not too thick (nobody wants to bite into an apple chunk the size of Rhode Island).
- Toss the apple slices with lemon juice in a large bowl. This prevents browning and adds a little zing that balances the sweetness.
- In a small bowl, mix together the sugar, flour, cinnamon, nutmeg, and salt. Sprinkle this over your apples and toss until they’re evenly coated. It’ll look like there’s not enough, but there is.
- Dump the apple mixture into a 9×9 inch baking dish or a 9-inch pie plate. Spread them out evenly, but don’t press down—we want some air pockets.
- Now for the topping: In a medium bowl, mix together the oats, flour, brown sugar, and cinnamon.
- Add the cold butter cubes and use your fingers to work it into the dry ingredients. Keep pinching and rubbing until the mixture resembles coarse crumbs. This is oddly therapeutic after a long day, so enjoy it.
- Stir in the chopped nuts if you’re using them.
- Sprinkle the topping evenly over the apples. Don’t pat it down—we want it rustic and craggy for maximum crispiness.
- Bake for 40-45 minutes, or until the topping is golden brown and the apple filling is bubbling around the edges.
- Let it cool for at least 15 minutes before serving (I know it’s hard to wait, but molten apple filling is basically napalm).
Common Mistakes to Avoid
Let’s keep you from falling into these common apple crisp pitfalls:
- Using the wrong apples – Red Delicious apples are for school lunches, not baking. They’ll turn into sad, flavorless mush. Stick with firmer varieties.
- Skipping the lemon juice – “It’s just a little acid, how important could it be?” Very. It balances the sweetness and keeps your apples from turning brown faster than a teenager gets embarrassed by their parents.
- Using melted butter in the topping – This creates a sad, soggy situation instead of the crispy, crumbly topping we’re after. Cold butter = crispy topping. Physics or something.
- Rushing the cooling time – I get it, you want that warm apple crisp NOW. But unless you enjoy the sensation of molten apple lava on your tongue, give it those 15 minutes.
Alternatives & Substitutions
Because life happens and sometimes your pantry situation is… creative:
- No brown sugar? Use white sugar with a tablespoon of molasses. Or just white sugar with a teaspoon of vanilla added to the topping.
- Gluten-free? Swap the all-purpose flour for a gluten-free blend and make sure your oats are certified gluten-free (oats are naturally gluten-free but often processed in facilities with wheat).
- Vegan? Replace butter with coconut oil or a vegan butter substitute. The texture will be slightly different but still delicious.
- Fruit options: Pears work beautifully here. Or go wild and do a mix of apples and pears. You can even throw in some cranberries for a tart pop of flavor.
- Topping add-ins: Besides nuts, try adding shredded coconut, a handful of raisins, or even a few tablespoons of quick oats for texture variety.
FAQ (Frequently Asked Questions)
Do I really need to peel the apples?
Technically no, but unless you enjoy random bits of tough skin in your dessert, I’d recommend it. Plus, it’s a great time to practice your continuous-peel party trick.
Can I make this ahead of time?
Absolutely! You can assemble the whole thing, cover it tightly, and refrigerate it unbaked for up to 24 hours. Just add about 10 minutes to the baking time if you’re baking it cold from the fridge.
How do I store leftovers? (If there are any, which is doubtful)
Cover and refrigerate for up to 4 days. The topping will soften a bit over time, but a few minutes in a 350°F oven will crisp it back up.
Can I freeze apple crisp?
Yes! Freeze it unbaked for best results. Wrap it well and freeze for up to 3 months. Bake it straight from frozen, just add about 15-20 extra minutes to the baking time.
Is this breakfast food or dessert?
Yes. (It has fruit and oats, which makes it a perfectly acceptable breakfast, IMO. I won’t tell if you won’t.)
Can I double this recipe?
For sure! Use a 9×13 inch baking dish and prepare for everyone to ask you for the recipe.
Final Thoughts
This apple crisp is basically fall in a baking dish—warm, comforting, and impossible to mess up (seriously, I believe in you). It’s the perfect thing to make when you want to feel like you’ve got your life together without actually doing anything too complicated.
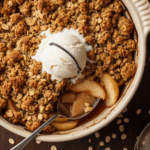
Serve it warm with a scoop of vanilla ice cream, a drizzle of caramel sauce if you’re feeling fancy, or eat it cold straight from the fridge at midnight while standing in the glow of the refrigerator light. No judgment here.
Now go unleash this apple crisp on your friends, family, or just yourself (self-care dessert is totally a thing). Your kitchen will smell amazing, and you’ll have officially conquered fall baking. Cozy sweater and pumpkin spice latte optional, but encouraged.
