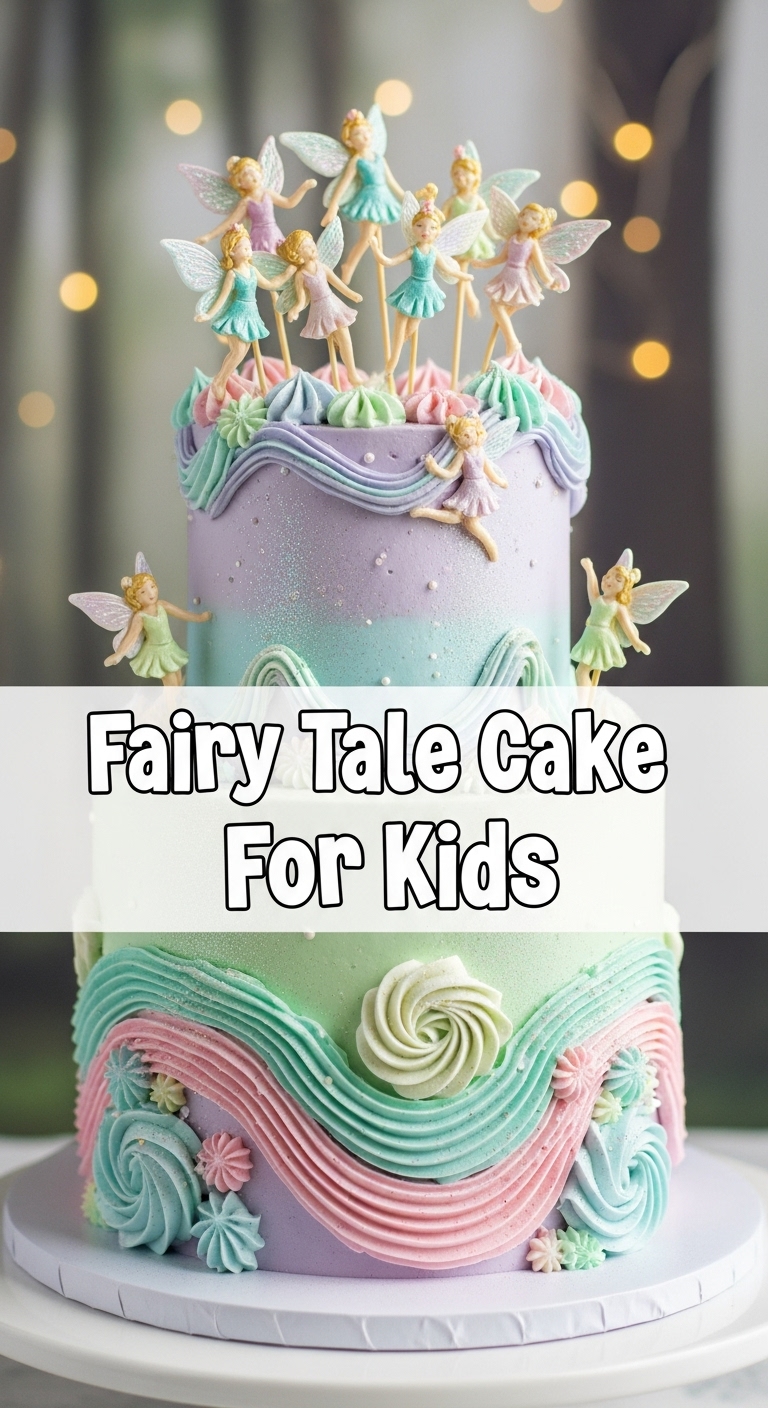
Ever feel like your kitchen needs a little more sparkle, but you’re fresh out of magic wands? Same, friend, same. Or maybe you’re just tired of bland desserts that just… exist? Well, grab your imaginary tiara because we’re about to whip up something so delightful, so easy, and so utterly charming, it’ll make even the grumpiest goblin crack a smile: the one and only **Fairy Tale Cake for Kids**!
Why This Recipe is Awesome
Listen, if you’re looking for a recipe that requires obscure ingredients found only in enchanted forests or a technique that makes you question your life choices, you’re in the wrong place. This Fairy Tale Cake is basically **idiot-proof**. Seriously, I made it, and my baking track record is… colorful, let’s just say. It’s perfect for little hands to help (or “help,” you know the drill), it uses ingredients you probably already have, and the end result is a vibrant, fun, and utterly delicious cake that screams “party!” without requiring a wizard’s spell book. Plus, it’s a total mood booster – who can be sad looking at sprinkles?!
Ingredients You’ll Need
- 1 ½ cups All-Purpose Flour: The OG of cake bases. Don’t go fancy here; plain and simple is our jam.
- 1 ½ teaspoons Baking Powder: Our little lift-off specialist. Without it, your cake would be a sad pancake.
- ½ teaspoon Salt: Because every good story needs a little balance, and every good cake needs a pinch of salt to make the sweetness pop.
- ¾ cup Unsalted Butter: Room temperature, please! Soft enough for a gentle poke, not a melted puddle.
- 1 cup Granulated Sugar: For that irresistible sweetness. Life’s too short for unsweetened cake, **IMO**.
- 2 Large Eggs: Room temp, again! They bind all our magical ingredients together.
- 1 teaspoon Vanilla Extract: The secret handshake of deliciousness. Don’t skip it!
- ½ cup Milk: Any kind works, adds moisture, keeps things from getting too dry and sad.
- Food Coloring Gels: (Optional, but highly recommended!) Think rainbow colors, bright and playful. This is where the “fairy tale” really comes alive!
- For the Frosting:
- 1 cup (2 sticks) Unsalted Butter: Softened, for that dreamy buttercream.
- 4 cups Powdered Sugar: Sifted, unless you like lumpy frosting (you don’t).
- 2-4 tablespoons Milk or Cream: To get that perfect spreadable consistency.
- 1 teaspoon Vanilla Extract: More vanilla, because why not?
- Pinch of Salt: To cut through the sweetness.
- Lots of Sprinkles: Non-negotiable fairy dust! Unicorn sprinkles, rainbow sprinkles, anything that sparkles!
Step-by-Step Instructions
- Get Prepped: Preheat your oven to 350°F (175°C). Grease and flour two 8-inch round cake pans or line with parchment paper. This is key, trust me.
- Dry Mix Magic: In a medium bowl, whisk together the flour, baking powder, and salt. Set aside your dry potion.
- Wet Mix Whimsy: In a large bowl, cream together the softened butter and granulated sugar until light and fluffy. This usually takes about 2-3 minutes with an electric mixer. Then, beat in the eggs one at a time, followed by the vanilla extract.
- Combine Forces: Gradually add the dry ingredients to the wet ingredients, alternating with the milk. Start and end with the dry ingredients. Mix until just combined – **do not overmix**, or your cake will be tough!
- Color Your World: If you’re doing colorful layers, divide the batter evenly into separate bowls (as many colors as you want!). Add a few drops of food coloring gel to each bowl and stir gently until the color is vibrant.
- Bake Your Dreams: Pour the colored batter into your prepared cake pans. Bake for 25-30 minutes, or until a wooden skewer inserted into the center comes out clean.
- Cool Down: Let the cakes cool in their pans for about 10 minutes before carefully inverting them onto a wire rack to cool completely. **Patience, young padawan!** Frosting a warm cake is a one-way ticket to a melted mess.
- Frosting Fun: While the cakes cool, make your buttercream. Beat the softened butter until creamy, then gradually add the sifted powdered sugar, milk/cream, vanilla, and salt. Beat until light and fluffy. Frost your cooled cakes, layering colors if you did them, and then go wild with the sprinkles!
Common Mistakes to Avoid
- The Un-Preheated Oven Debacle: Thinking you don’t need to preheat the oven? Rookie mistake! An oven that isn’t up to temp will mess with your cake’s rise and texture.
- Overmixing Madness: Once you add the flour, treat it gently. Overmixing develops the gluten too much, leading to a dense, chewy cake instead of a light, fluffy one. Mix until just combined, then stop!
- Warm Cake Woes: Seriously, I cannot stress this enough: **do not frost a warm cake.** You’ll end up with a sad, soupy mess, and all your fairy tale dreams will melt away.
- Pan Prep Neglect: Skipping the greasing and flouring (or parchment paper) step is a recipe for a cake stuck to the pan. Nobody wants a broken cake!
- Food Coloring Overload: While we want vibrant, adding too much liquid food coloring can thin your batter or even make the cake taste bitter. Gel colors are your friend here!
Alternatives & Substitutions
- Cake Mix Shortcut: Feeling extra lazy? No judgment! Use your favorite box cake mix and just follow the package directions, then add the food coloring to the batter before baking. Easy peasy.
- Oil for Butter: If you’re out of butter, vegetable oil or a neutral-flavored oil can be used for the cake batter (same amount). It might make it a touch denser but still moist. **FYI**, buttercream *really* needs butter, though.
- Different Extracts: Swap vanilla for almond extract, lemon extract, or even a tiny bit of peppermint for a different flavor profile.
- Cream Cheese Frosting: Not a fan of traditional buttercream? A cream cheese frosting would be divine! Just remember it’s a bit softer.
- Natural Colors: For a more natural approach, try beetroot powder for pink, spirulina for green, or turmeric for yellow (use sparingly!).
- Fruit Power: Instead of (or in addition to!) sprinkles, decorate with fresh berries, thinly sliced kiwi, or edible flowers for a garden fairy vibe.
FAQ (Frequently Asked Questions)
- Can I use margarine instead of butter? Well, technically yes, but why hurt your soul like that? Butter truly gives the best flavor and texture, especially in the buttercream. If you *must*, use a good quality stick margarine.
- How long does this fairy tale last (aka, how do I store it)? A covered cake will keep at room temperature for 2-3 days, or in the fridge for up to a week. Just bring it to room temp before serving for best flavor.
- Can I make it gluten-free? Absolutely! Swap the all-purpose flour for a 1:1 gluten-free baking flour blend. Make sure it contains xanthan gum.
- Do I *really* need sprinkles? Is the sky blue? Is cake delicious? Yes, friend, yes. Sprinkles are the non-negotiable fairy dust that makes it a “fairy tale” cake. Go wild!
- What if I don’t have food coloring? No worries! You can still make a delicious plain vanilla cake and just decorate it with lots of colorful sprinkles, candies, or fruit. It’ll still be magical!
- Can kids actually help with this recipe? Oh heck yes! Measuring dry ingredients, adding food coloring, and especially decorating are perfect tasks for little aspiring bakers. Just prepare for glorious mess!
Final Thoughts
So there you have it, your very own magical, whimsical, and ridiculously easy Fairy Tale Cake! You’ve navigated the floury landscapes, tamed the sugar beast, and emerged victorious with a dessert that’s bound to bring smiles. Now go impress someone – or yourself, because you totally deserve it – with your new culinary skills. Take a picture, brag a little, and most importantly, enjoy every single enchanted bite. You’ve earned it!


