Ever found yourself staring at a store-bought cake, thinking, ‘Yeah, it’s pretty, but *I* could totally do better… if I wasn’t so intimidated by all those fancy decorating tools?’ Same, friend, same. Well, buckle up buttercup, because we’re about to make an elegant chocolate cake that looks like it came straight from a Parisian patisserie, but feels like it came from your super chill kitchen. No fuss, maximum deliciousness, and a sprinkle of “I made this!” smugness guaranteed.
Why This Recipe is Awesome
Okay, so why this particular chocolate dream? Because it’s like the little black dress of cakes – effortlessly chic, ridiculously delicious, and surprisingly easy to pull off. No need for a culinary degree, a team of pastry chefs, or even an overly complicated piping bag setup. We’re talking maximum impact for minimal effort, which, let’s be honest, is the real kitchen goal, right? Plus, it tastes like a hug in cake form. And who doesn’t need more of those? This recipe is practically idiot-proof; even I didn’t mess it up, and I once set off a smoke alarm making toast. True story.
Ingredients You’ll Need
- All-Purpose Flour: Just regular old flour. Don’t go getting fancy with spelt or almond, unless you *want* to make things complicated.
- Unsweetened Cocoa Powder: Dark, good stuff. The richer the cocoa, the happier your taste buds. We’re aiming for chocolatey depth, not weak sauce.
- Granulated Sugar: For sweetness, duh. We’re not making health food here, folks.
- Baking Soda & Baking Powder: The lift-off agents. Make sure they’re not expired, unless you enjoy dense, flat bricks.
- Salt: Just a pinch. Balances the sweetness, makes everything pop. Trust me on this.
- Large Eggs: Room temp if you’re feeling extra pro, but honestly, it’s not a deal-breaker here.
- Full-Fat Milk: For that luxurious texture. Skim milk is for cereal, not cake. IMO.
- Vegetable Oil (or Canola): Keeps it moist for days. Butter’s great, but oil is the secret to *really* moist cake.
- Pure Vanilla Extract: Please, no imitation stuff. Your cake deserves better.
- Hot Coffee (or Hot Water): Yes, coffee! It doesn’t make it taste like coffee, it just deepens the chocolate flavor like magic. Don’t skip this, seriously.
- For the Ganache:
- Heavy Cream: The good stuff, 35% fat or higher.
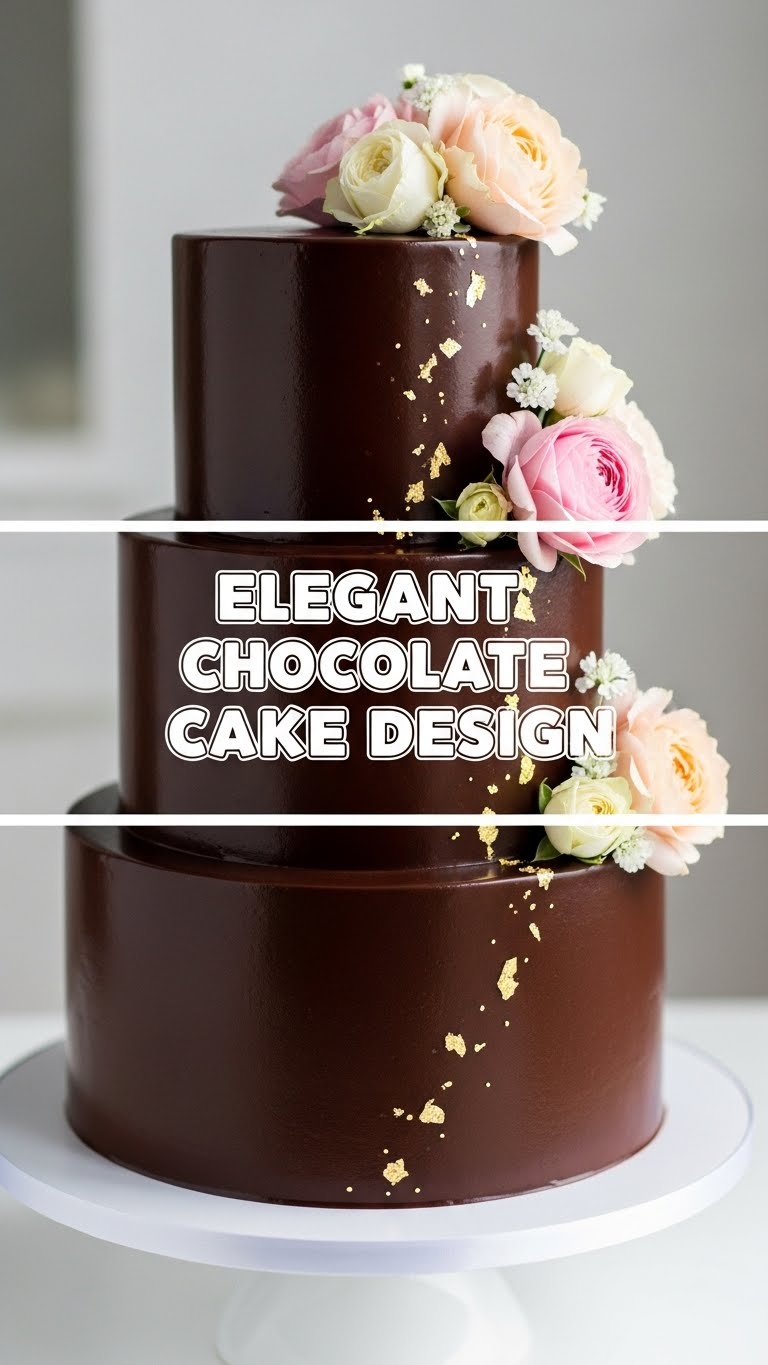
- Good Quality Chocolate: About 8 oz (225g) of semi-sweet or dark chocolate chips or chopped bar. This is where your elegance comes from!
- Unsalted Butter (optional): A small knob (about 1 tbsp) for extra sheen and silkiness.
Step-by-Step Instructions
- Preheat & Prep: First things first, get that oven nice and toasty at 350°F (175°C). Grease and flour two 8-inch round cake pans. Or, even easier, line them with parchment paper circles on the bottom. No stick, no fuss!
- Dry Mix Magic: In a large bowl, whisk together your flour, cocoa powder, sugar, baking soda, baking powder, and salt. Make sure there are no lumps—we want smooth sailing.
- Wet Mix Whisk: In a separate, medium bowl, whisk the eggs, milk, oil, and vanilla until well combined. It should look like a pale, frothy concoction.
- Combine & Conquer: Pour the wet ingredients into the dry ingredients. Mix on low speed with an electric mixer, or by hand, until just combined. Don’t overmix! Overmixing is the enemy of tender cake.
- Coffee Kick: Carefully stir in the hot coffee. The batter will be thin, but don’t panic! This is totally normal and part of its charm. It helps the cocoa bloom and deepens the flavor.
- Bake Time Bliss: Divide the batter evenly between your prepared cake pans. Pop them in the preheated oven for 30-35 minutes, or until a toothpick inserted into the center comes out clean.
- Cool Down Crew: Let the cakes cool in their pans for about 10-15 minutes before flipping them out onto a wire rack to cool completely. Patience is a virtue here; don’t rush it! A warm cake will melt your ganache.
- Ganache Glory: While your cakes are cooling, let’s whip up some ganache. Heat heavy cream in a small saucepan until it just simmers (don’t boil!). Pour it over your chopped chocolate (or chips) in a heatproof bowl. Let it sit for 5 minutes, then whisk until smooth and glossy. If you want it extra shiny, stir in a knob of butter. Let it cool slightly at room temperature until it’s spreadable, but not too stiff.
- Assemble & Adorn: Once the cakes are *completely* cool (seriously, completely!), level them if needed with a serrated knife. Spread a generous layer of ganache on the first cake layer, top with the second, then pour the remaining ganache over the top, letting it drip elegantly down the sides. You can smooth it out with an offset spatula for a sleek, polished finish.
Common Mistakes to Avoid
- The “I’m Too Busy to Preheat” Fiasco: Thinking you don’t need to preheat the oven. Rookie mistake! Your cake will bake unevenly and probably be dense. Preheat, always. Your oven needs to be ready for action when the batter goes in.
- Overmixing Mayhem: Mixing the batter until your arm falls off. This develops the gluten too much, resulting in a tough, chewy cake. We want tender, not tire rubber. Mix until just combined. Seriously, stop when you no longer see streaks of dry ingredients.
- Impatience, Thy Name is Warm Cake: Frosting a warm cake. Seriously? The ganache will melt, slide off, and you’ll end up with a chocolate puddle, not an elegant cake. **Cool cakes completely.** I mean it. Go watch an episode of your favorite show while you wait.
- Skimping on Quality: Using cheap chocolate for your ganache. It’s the star of the show! Invest in decent chocolate; your taste buds (and your guests) will thank you. This isn’t the time for mystery chocolate melts.
- Underestimating Coffee’s Power: Skipping the hot coffee. It really does make a difference in deepening the chocolate flavor without making it taste like coffee. Don’t be a skeptic! It’s the secret ingredient that takes it from “good” to “OMG, what is this?!”
Alternatives & Substitutions
- Coffee Phobia? If you’re genuinely caffeine-averse (or just out of coffee), you can use hot water instead. The coffee’s role here is to amplify chocolate, not add a coffee flavor, so hot water will still help bloom the cocoa and keep the cake moist.
- Dairy-Free Delight: Swap out the milk for your favorite plant-based milk (almond, oat, soy all work well). For the ganache, use full-fat canned coconut milk (the solid, creamy part) instead of heavy cream, and dairy-free chocolate. Voilà, vegan elegance!
- Flour Power: Gluten-free? A good quality 1:1 gluten-free all-purpose flour blend (with xanthan gum) should work here. Just be extra careful not to overmix!
- Oil vs. Butter: While I’m a fan of oil for ultimate moistness in this specific cake, if you really prefer the flavor of butter, you can use melted unsalted butter instead of oil. It might result in a slightly less moist cake, but still delicious.
- Fancy Frosting Fix: Don’t want ganache? (Gasp! But okay, I get it.) You can totally use your favorite chocolate buttercream or even a cream cheese frosting. Just make sure it’s stable enough to hold its shape for that elegant look.
FAQ (Frequently Asked Questions)
“Can I make this cake ahead of time? Like, a day or two?”
Absolutely! This cake actually tastes *better* the next day, as the flavors meld and the cake gets even moister. Store it covered at room temp for up to 2-3 days, or in the fridge for up to 5 days (just bring to room temp before serving for best flavor). Planning ahead? You’re basically a genius.
“My ganache looks oily/separated! What went wrong?”
Oops! Usually, this means it got too hot or wasn’t whisked properly. Try adding a tablespoon of *cold* milk or water and whisking vigorously. Sometimes a small amount of melted butter can also bring it back together. If it’s truly a lost cause, don’t cry; just make more! It happens to the best of us.
“Do I *have* to use hot coffee? I only have instant.”
Yes, use hot liquid! And instant coffee dissolved in hot water works just fine. The hotter the liquid, the better it ‘blooms’ the cocoa powder, enhancing that chocolatey goodness. So, yes, get that coffee hot! It’s a game-changer.
“My cake stuck to the pan! Any tips?”
Ugh, the worst! Always grease *and* flour thoroughly, or use parchment paper circles on the bottom. Cooling in the pan for 10-15 minutes before inverting is also crucial. If it still sticks, run a thin knife around the edges before flipping. And next time, use more non-stick spray, you rebel.
“Can I freeze this cake?”
You betcha! Once the cake is completely cooled (and unfrosted, ideally), wrap each layer tightly in plastic wrap, then foil. It’ll keep in the freezer for up to 2-3 months. Thaw overnight in the fridge before frosting. Freshly baked taste, whenever you want it!
“Is this cake *really* elegant enough for a special occasion?”
Honey, yes! With that sleek ganache drip and rich chocolatey flavor, people will think you hired a pro. It’s sophisticated without being snooty, just like you. Prepare for compliments!
Final Thoughts
So there you have it, folks! An elegant chocolate cake that’s anything but intimidating. You’ve just whipped up a showstopper that will have everyone asking for the recipe (and you can just smile mysteriously). Now go impress someone—or yourself—with your new culinary skills. You’ve earned it! And maybe save a slice for me, ’cause, you know, I gave you all the secrets. 😉


