So you’re scrolling, munching on air, wishing for something sweet but the thought of a complex recipe makes you wanna nap? Same. What if I told you we could whip up some legit sugar cookies with just *three* ingredients? Your mind, it’s blown, right?
Why This Recipe is Awesome
Okay, first off, it’s literally three ingredients. That’s less than your average morning coffee order. Secondly, it’s so ridiculously simple, I’m pretty sure my cat could follow along (if she had opposable thumbs, that is).
No fancy mixer required, no weird steps, just pure, unadulterated cookie joy. It’s basically a magic trick, but an edible one that makes you look like a kitchen wizard with minimal effort. Win-win!
Ingredients You’ll Need
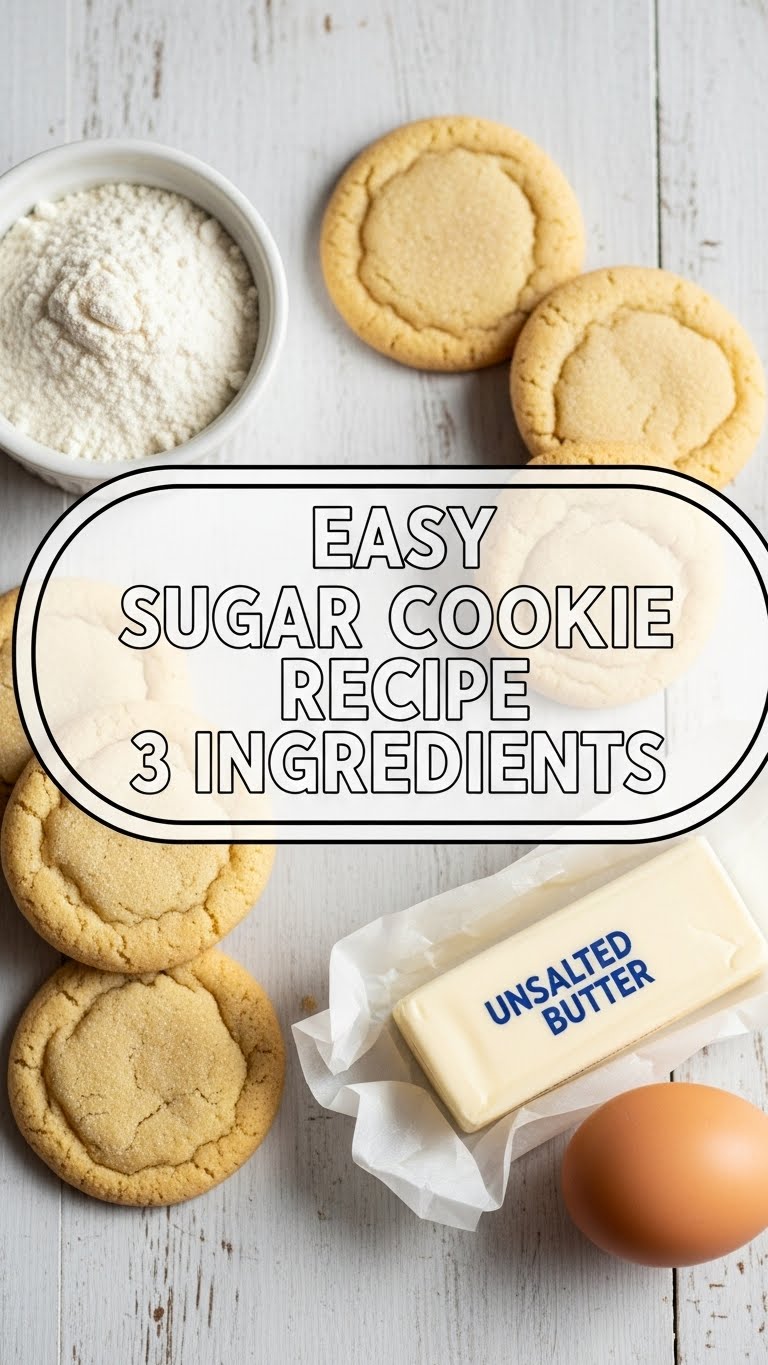
- Butter (softened): Like, really softened. Not melted, but definitely not a straight-from-the-fridge-brick. Room temperature is your best friend here. We’re talking 1 cup (2 sticks).
- Granulated Sugar: The sweet stuff that makes them *sugar* cookies, obviously. 1/2 cup, give or take a sprinkle if you’re feeling extra sweet.
- All-Purpose Flour: The glue that holds this whole delicious operation together. 2 cups. Don’t eyeball this one; precision matters, even for us chill bakers.
Step-by-Step Instructions
- Preheat your oven, smarty pants! Set it to 350°F (175°C). While it’s getting cozy, line a baking sheet with parchment paper. This makes cleanup a breeze, FYI.
- Cream the butter and sugar. In a medium bowl, beat the softened butter and granulated sugar together until they’re light and fluffy. This is where a hand mixer helps, but a good old spoon and some arm muscle work too. We want it well combined!
- Add the flour. Gradually mix in the all-purpose flour until a soft dough forms. It’ll look crumbly at first, then magically come together. Don’t overmix! Once it’s just combined, stop. Seriously, stop.
- Roll and cut. Flour a surface lightly, then roll out your dough to about 1/4 inch thickness. Use your favorite cookie cutters – or just slice them into squares if you’re feeling minimalist (and maybe a little lazy, like me).
- Bake ’em up! Place your cookie cut-outs on the prepared baking sheet. Pop them into the preheated oven for 8-10 minutes. Keep an eye on them! You want the edges to be just barely golden.
- Cool down. Let them chill on the baking sheet for a few minutes before transferring them to a wire rack to cool completely. Patience is a virtue, my friend, especially when cookies are involved.
Common Mistakes to Avoid
- Rock-hard butter: Trying to cream cold butter is like trying to reason with a toddler – futile and frustrating. Always use softened butter!
- Overmixing the dough: You’ll end up with tough cookies, literally. Mix just until combined. That’s it. Walk away from the bowl.
- Not preheating the oven: Rookie move! An even temperature is key for even baking. Don’t skip this step thinking you’ll save time.
- Baking too long: We’re aiming for soft, tender cookies, not hockey pucks. Pull them out when the edges just start to turn golden, not dark brown.
Alternatives & Substitutions
- Vanilla extract: Okay, so it makes it 4 ingredients, but a tiny splash (1/2 tsp) of vanilla extract really elevates these. Highly recommend! It’s like adding a fancy scarf to a basic outfit.
- Self-rising flour: If you’re out of all-purpose, you *can* use self-rising, but since this recipe already doesn’t call for leavening, you might just get a slightly puffier cookie.
- Brown sugar: Nope, don’t do it for *this* recipe. We want that classic pale sugar cookie look and chew, and brown sugar will change the texture and flavor too much. Save it for chocolate chip cookies, my dude.
FAQ (Frequently Asked Questions)
- “Can I use margarine instead of butter?” Well, technically yes, but why hurt your soul like that? Butter provides the best flavor and texture. Margarine will work, but it won’t be quite the same buttery dream.
- “Do I have to chill the dough?” For this specific recipe, nope! That’s part of the “easy” charm. If your dough feels *really* sticky, a quick 15-20 min chill won’t hurt, but it’s not essential.
- “My cookies are spreading too much! What happened?” Likely your butter was too warm or you didn’t measure the flour precisely. Next time, try chilling the cut-out cookies for 10 minutes before baking.
- “Can I add sprinkles?” Uh, yes! Always yes to sprinkles! Add them before baking for a festive touch. Or after, with a little frosting. Live your best sprinkle life!
- “How do I store them?” Pop ’em in an airtight container at room temp for up to 3-4 days. If they last that long, you’ve got serious willpower.
Final Thoughts
See? Told ya it was easy! You just went from zero to hero in the kitchen with minimal effort and maximum deliciousness. Now go impress someone—or yourself—with your new culinary skills. You’ve earned it! Maybe make an extra batch for me? Just sayin’.


