So, you’ve got that sweet tooth nagging you, but the idea of a complicated dessert makes you want to crawl back into bed? Been there, done that, bought the T-shirt. Good news: we’re about to make magic with minimal effort. Enter the superstar: Easy Pineapple Upside Down Cake! Get ready to impress everyone (including yourself) with this absolute crowd-pleaser.
Why This Recipe is Awesome
Look, I get it. You want to bake something impressive without, you know, *actually* impressing yourself with your own culinary struggles. This cake is your secret weapon. It looks fancy, tastes like a hug, and honestly, it’s so easy, my cat could probably make it (if she had opposable thumbs and an oven mitt). Seriously, it’s pretty much foolproof. You just assemble, bake, flip, and boom – instant dessert hero status. Plus, it uses pantry staples, so no obscure ingredient hunts! What’s not to love, right?
Ingredients You’ll Need
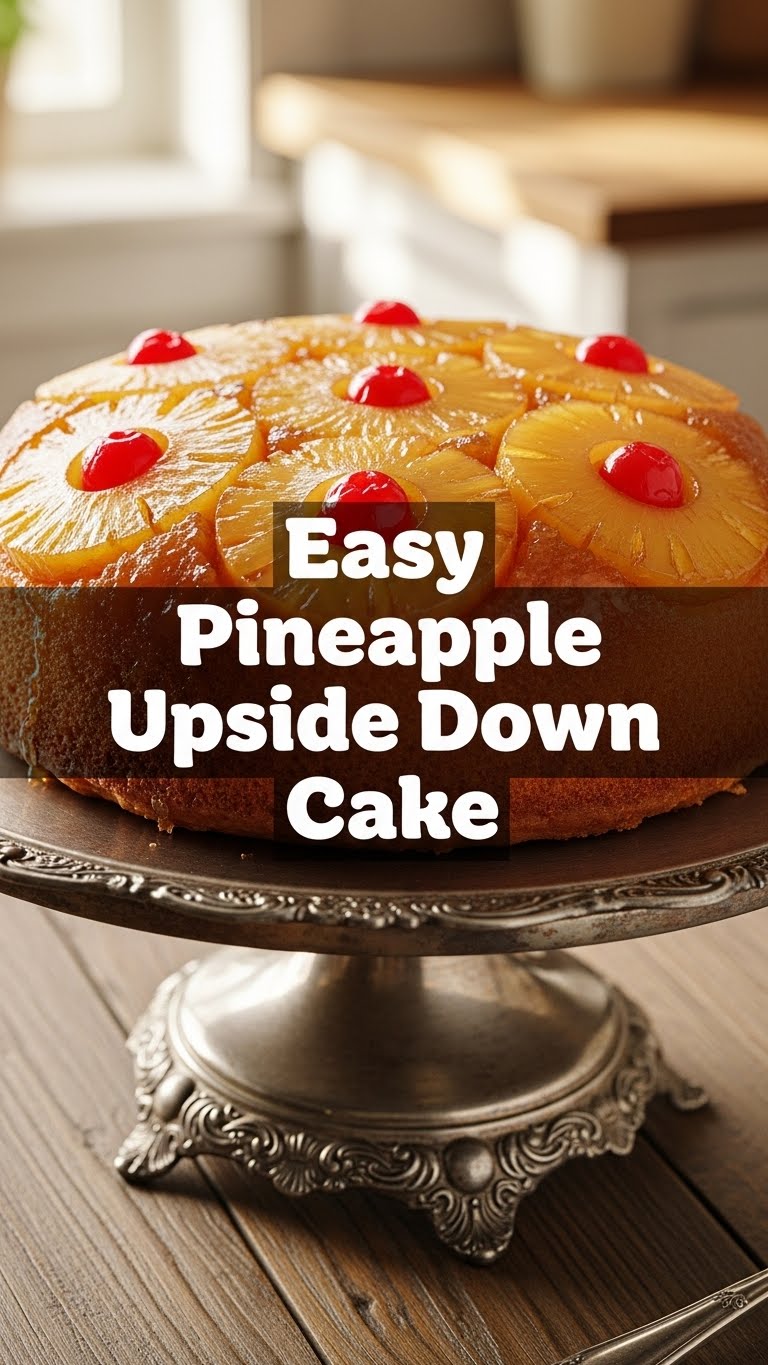
- Canned Pineapple Slices (1 standard 20 oz can): Drained, obvs. Don’t throw out the juice just yet, you might want to drink it later or save it for a cocktail. Your call.
- Maraschino Cherries (about 10-12): The bright red bling. Halved, if you’re feeling fancy, or whole if you’re living on the edge.
- Unsalted Butter (½ cup / 1 stick): The good stuff. Melted for the bottom, softened for the batter. Don’t skimp here, it’s worth it.
- Brown Sugar (½ cup, packed): The caramel-y magic maker. Dark or light, your preference.
- All-Purpose Flour (1½ cups): The foundation. Sifted? Nah, we’re not that fancy today.
- Granulated Sugar (¾ cup): Sweetness overload, in the best way.
- Baking Powder (1½ teaspoons): Our little lift-off agent.
- Salt (¼ teaspoon): Just a pinch to balance things out. Don’t forget it, it makes a difference!
- Large Egg (1): Room temp, if you remember. If not, don’t stress, it’ll still work.
- Milk (½ cup): Whole milk preferred for richness, but whatever’s in your fridge works.
- Vanilla Extract (1 teaspoon): Because everything is better with vanilla, don’t you agree?
Step-by-Step Instructions
- Preheat & Prep: Get your oven to 350°F (175°C). Grab a 9-inch round baking pan. Don’t even think about skipping this part. We want a perfectly cooked cake!
- Caramel Dreams: Melt ½ cup of butter in a small saucepan or microwave. Pour it evenly into the bottom of your baking pan. Sprinkle the ½ cup brown sugar over the melted butter.
- Pineapple Party: Arrange your drained pineapple slices over the brown sugar mixture. Get creative! Stick those cherries in the middle of each pineapple ring, or just scatter them around. It’s your edible art, Picasso.
- Batter Up!: In a medium bowl, whisk together the flour, granulated sugar, baking powder, and salt. This is your dry team.
- Wet Ingredients Wiggle: In a separate bowl (or the same one, if you’re feeling lazy and rebellious), cream together the remaining ¼ cup softened butter with the egg until light and fluffy. Then stir in the milk and vanilla extract. This is your wet team.
- Combine & Conquer: Gradually add the dry ingredients to the wet mixture, mixing until just combined. Do not overmix! Overmixing leads to tough cake, and nobody wants a tough cake.
- Pour & Bake: Gently pour the batter over the pineapple and cherry layer in the pan. Spread it out carefully so you don’t disturb your beautiful fruit pattern.
- Bake It Till You Make It: Pop that pan into the preheated oven for 35-40 minutes. How do you know it’s done? A toothpick inserted into the center should come out clean.
- The Grand Flip: Once baked, let the cake cool in the pan for about 5-10 minutes. This is crucial! Then, carefully run a knife around the edges of the pan. Place a serving plate *upside down* on top of the cake pan, and with a swift, confident motion (don’t hesitate!), flip the cake over. Lift the pan slowly. Marvel at your masterpiece!
Common Mistakes to Avoid
- Skipping the cool-down before flipping: You *will* have pineapple stuck to the pan, and a sad, naked cake bottom. Trust me on this one, patience is a virtue.
- Overmixing the batter: Say hello to a dense, sad cake. Mix until just combined, no more. A few lumps are totally fine.
- Using fresh pineapple: I know, I know, “fresh is best.” But for this recipe, the canned stuff actually works better for that gooey, caramelized top. Fresh can release too much water. Save the fresh for piña coladas!
- Impatient flipping: If it doesn’t come out perfectly, it’s not the end of the world. It’ll still taste amazing, even if it’s a little “rustic.”
- Not preheating the oven: Rookie mistake! An oven that isn’t up to temperature will mess with your baking time and cake texture.
Alternatives & Substitutions
Feeling a little adventurous, or just missing an ingredient? No worries, I got you!
- Fruit: Not feeling pineapple? Try thinly sliced apples, peaches, or even pears. Just be aware of their water content – you might need to pat them dry a bit.
- Brown Sugar: If you’re in a pinch, you can sub granulated sugar, but you’ll miss that deep caramel flavor. Don’t say I didn’t warn you!
- Butter: Margarine *can* work, but your cake might lose some of its rich flavor and texture. IMO, stick with butter if you can.
- Milk: Any milk (dairy or non-dairy) will work, but whole milk generally gives the best richness.
- Gluten-Free: Swap the all-purpose flour for a 1:1 gluten-free baking blend. Easy peasy!
FAQ (Frequently Asked Questions)
- Q: Can I use fresh pineapple instead of canned? A: Technically yes, but for this specific recipe, the canned stuff creates that perfect sticky, sweet, gooey caramel top. Fresh can release too much water and mess with the texture. So, for easy-peasy, stick to canned.
- Q: My cake stuck to the pan! What went wrong? A: Did you cool it for 5-10 minutes before flipping? That’s key! Also, make sure your butter/brown sugar layer was generous enough. A little extra non-stick spray before the butter can help too.
- Q: Can I make this in a different sized pan? A: You can, but you might need to adjust baking time. A larger pan will cook faster, a smaller one will take longer. Keep an eye on it and use the toothpick test!
- Q: How do I store leftovers? A: Cover it loosely with plastic wrap and keep it at room temperature for a day or two, or in the fridge for up to 4 days. It rarely lasts that long, though!
- Q: Can I add nuts? A: Absolutely! Sprinkle some chopped pecans or walnuts over the brown sugar layer before adding the pineapple. It adds a nice crunch and depth of flavor!
Final Thoughts
See? Told ya it was easy! You just whipped up a dessert that looks like it took hours, but in reality, probably less time than choosing what to binge-watch next. Go on, pat yourself on the back, you culinary genius! Now go share it (or don’t, I won’t judge, it’s *that* good) and bask in the glory of your perfectly flipped, perfectly delicious Pineapple Upside Down Cake. You’ve earned every single bite!


