Alright, buckle up buttercup, because we’re about to embark on a culinary adventure that requires zero oven time and maximum deliciousness. You want something ridiculously good but also ridiculously easy? You’ve come to the right place, my friend. We’re talking about a no-bake cheesecake that’s so simple, it practically makes itself. Perfect for those moments when you crave something sweet but your ambition is, shall we say, on a “staycation.” 😉
Why This Recipe is Awesome
Let’s be real, who has time for complicated desserts? Not me, and probably not you. This no-bake cheesecake isn’t just easy; it’s practically a magic trick. You mix, you chill, you devour. It’s so foolproof, even my notoriously “culinary challenged” cousin managed it without setting off the smoke detector. (Okay, maybe a slight exaggeration, but you get the picture.) It requires minimal ingredients, almost no clean-up, and the “hardest” part is waiting for it to chill. Plus, no oven means no stress about cracking or over-baking. **It’s basically a win-win-win situation.**
Ingredients You’ll Need
Gather ’round, my fellow kitchen adventurers! Here’s your treasure map to deliciousness:
- **1 ½ cups Graham Cracker Crumbs:** This is your foundation. Think of it as the bedrock of joy. You can buy them pre-crushed, or unleash some primal rage on whole crackers in a Ziploc bag with a rolling pin. Your choice!
- **½ cup (1 stick) Unsalted Butter, melted:** The glue that holds our crumbly dreams together. Don’t skip melting it, unless you enjoy dry, sad crumbs.
- **2 (8-ounce) packages Cream Cheese, softened:** The star of the show! Make sure it’s softened, or you’ll end up with lumpy sadness. Take it out of the fridge a good hour before you start, or microwave it *gently* for 15-20 seconds.
- **1 cup Powdered Sugar (Confectioners’ Sugar):** Gives that smooth, melt-in-your-mouth sweetness. Granulated sugar can be gritty in no-bake, so stick with the powdered stuff.
- **1 teaspoon Vanilla Extract:** A little hug for your taste buds. Don’t cheap out on the good stuff!
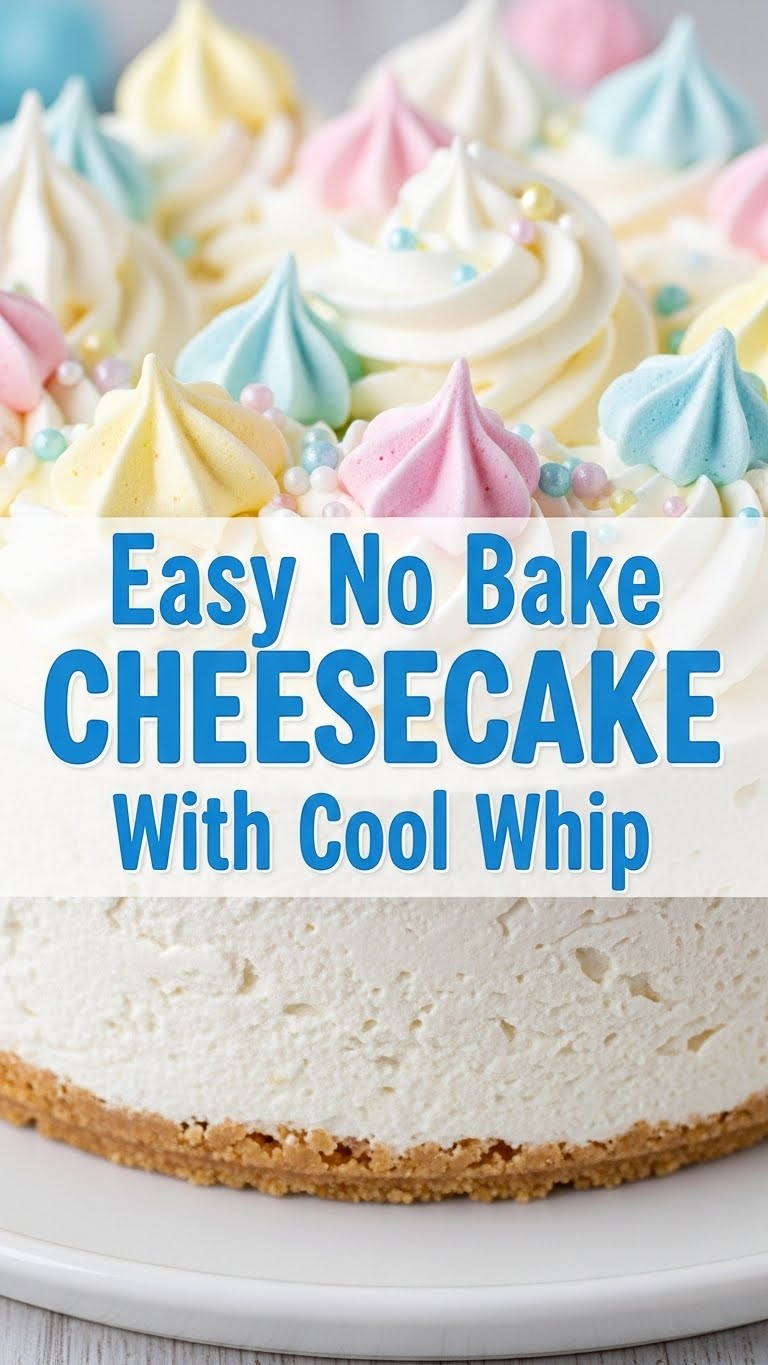
- **1 (8-ounce) container Cool Whip, thawed:** Our secret weapon for that light, fluffy, perfect texture. Yes, Cool Whip! Don’t judge. It’s stable, it’s fluffy, and it makes this recipe *easy*.
Step-by-Step Instructions
Alright, apron on (optional, let’s be real), let’s get this party started!
- **Crush and Conquer the Crust:** In a medium bowl, mix your graham cracker crumbs with the melted butter. It should resemble wet sand. Press this mixture firmly into the bottom of a 9-inch pie dish or springform pan. Really press it down, like you’re trying to win an arm-wrestling match with the pan. **Pop it in the fridge for at least 15-20 minutes** to firm up while you prep the filling. This is crucial, my friend.
- **Whip Up the Creamy Dream:** In a large mixing bowl (or the bowl of your stand mixer), beat the softened cream cheese until it’s super smooth and fluffy. No lumps allowed! Scrape down the sides of the bowl once or twice to make sure everything gets incorporated.
- **Sweeten the Deal:** Add the powdered sugar and vanilla extract to the cream cheese. Beat again until everything is perfectly combined and wonderfully smooth. Taste a tiny bit – is it sweet enough for your glorious palate? If not, add a tiny bit more sugar.
- **The Cool Whip Magic:** Now, for the magic! Gently fold in the thawed Cool Whip. **Use a spatula for this, not your electric mixer!** We want to keep all that beautiful airiness. Fold it until no streaks of Cool Whip remain, but don’t overmix.
- **Assemble Your Masterpiece:** Pour the creamy cheesecake filling over your chilled graham cracker crust. Spread it out evenly with your spatula, making it look all fancy and smooth.
- **Chill Out (Seriously):** Cover your cheesecake loosely with plastic wrap and **refrigerate for at least 4-6 hours, but ideally overnight.** This is the hardest part, IMO, because you’ll want to dive in immediately. But trust me, the wait is worth it for a perfectly set slice.
Common Mistakes to Avoid
Even the easiest recipes have their pitfalls, usually caused by impatience or overconfidence. Don’t be that person!
- **Not Softening Your Cream Cheese:** This is a biggie. If your cream cheese is cold and hard, you’ll end up with a lumpy filling. Gross. Take it out in advance!
- **Skimping on Chill Time:** Want a sad, runny cheesecake? Then cut the chill time short. If you want a firm, sliceable dessert, **let it chill for the full recommended time.** Patience is a virtue, especially in cheesecake making.
- **Overmixing the Cool Whip:** Once the Cool Whip goes in, put the electric mixer away. You’re trying to incorporate, not deflate. Overmixing will knock all the air out and make your cheesecake less fluffy and potentially soupy.
- **Ignoring the Crust Chill:** Pressing the crust into the pan and immediately adding the filling can lead to a crumbly, messy crust when you try to serve. A quick chill firms it up and helps it hold its shape.
Alternatives & Substitutions
Feeling adventurous? Want to put your own spin on it? Here are some ideas:
- **Crust Creativity:** Instead of graham crackers, try crushed Oreos (chocolatey goodness!), Nilla Wafers, or even ginger snaps for a spicy kick. Just use the same amount of crumbs and butter.
- **Flavor Fling:** Add a tablespoon of lemon zest to the cream cheese mixture for a bright, tangy kick. Or, try a different extract – almond, peppermint (hello, holiday season!), or even a touch of coffee extract for a mocha vibe.
- **Topping It Off:** This is where you can really shine! Fresh berries (strawberries, blueberries, raspberries) are always a classic. Drizzle with chocolate sauce, caramel, or even a dollop of extra Cool Whip and some sprinkles. **FYI, fruit sauces can sometimes make the top a bit watery, so serve them on the side if you’re worried.**
- **Homemade Whipped Cream?** You *could* try substituting homemade whipped cream for Cool Whip. However, for a no-bake cheesecake, Cool Whip is specifically designed for stability and holds its structure beautifully. Homemade whipped cream might make your cheesecake a bit looser and less reliable. Proceed with caution if you go this route!
FAQ (Frequently Asked Questions)
Got questions? I’ve got (casual and hopefully helpful) answers!
- **Can I use low-fat cream cheese?** Well, technically yes, but why hurt your soul like that? It might make your cheesecake slightly less rich and potentially a bit looser. But hey, I’m not judging your life choices. Mostly.
- **How long does this cheesecake last?** Covered in the fridge, it’s usually good for about 3-5 days. If it lasts that long, you’re a stronger person than I am.
- **Can I freeze it?** Absolutely! Wrap it tightly (even slice it first for easy access later) and it’ll last in the freezer for up to a month. Thaw it in the fridge for a few hours before serving.
- **What if my cream cheese isn’t soft enough?** Patience, young Padawan! Or, if you’re really impatient, microwave it in its foil packet (if it’s foil-wrapped, remove foil first!) for 10-15 second bursts until soft, being careful not to melt it.
- **Do I *have* to chill the crust?** You *can* skip it if you’re living life on the edge, but it helps the crust set up and prevents it from crumbling when you cut the cheesecake. Trust the process!
- **Can I make this in individual servings?** Oh, you fancy! Yes, line a muffin tin with cupcake liners, press in a tablespoon of crust, then top with the filling. Chill, and you’ve got adorable mini cheesecakes!
- **What about toppings?** Go wild! Berries, chocolate syrup, caramel, toasted nuts, sprinkles… the world is your oyster! Just add them right before serving for the freshest look.
Final Thoughts
And there you have it! An utterly delicious, surprisingly easy, no-bake cheesecake ready to impress anyone (or just yourself, because you deserve it). This recipe is proof that you don’t need a culinary degree or an oven to create something spectacular. So go ahead, whip one up, take a proud picture, and then devour a slice (or three). You’ve earned it! Now go forth and conquer those cravings!


