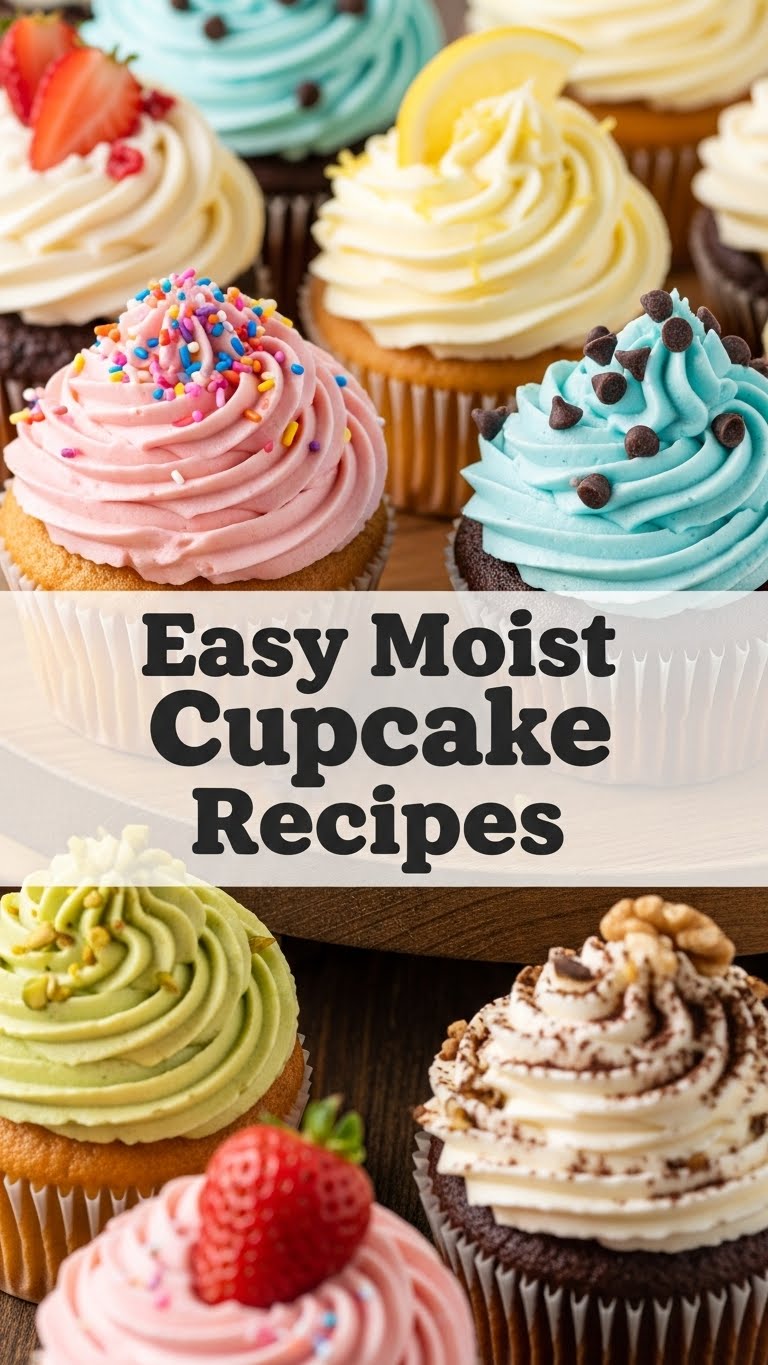
So you’re craving something tasty but too lazy to spend forever in the kitchen, huh? Same. We’ve all been there: that sudden, undeniable urge for something sweet, something comforting, but the thought of a complicated recipe makes you want to just order takeout. Fear not, my friend! I’ve got a secret weapon in my baking arsenal, and today, I’m sharing it with you. Get ready for the easiest, moistest, most ridiculously delicious cupcakes you’ll ever whip up.
Why This Recipe is Awesome
Listen, I’m not going to lie. I’m a big fan of instant gratification, especially when it comes to baked goods. And this recipe? It delivers. We’re talking minimal effort, maximum deliciousness. It’s so idiot-proof, even I didn’t mess it up (and my track record with delicate pastries is… let’s just say “interesting”).
What makes it so great? First, it’s fast. Seriously, you’ll have these beauties in the oven before you can even finish that podcast. Second, they’re consistently moist. No dry, crumbly sadness here, just pure, tender cupcake bliss. And third, it uses simple ingredients you probably already have lurking in your pantry. No fancy-schmancy stuff required. It’s the kind of recipe that makes you feel like a baking superstar without actually having to put in superstar-level effort. Win-win, IMO!
Ingredients You’ll Need
Gather ’round, my fellow kitchen adventurers! Here’s your hit list for cupcake glory:
- 1 ½ cups all-purpose flour: The OG, the foundation of all carb-y dreams. Don’t stress too much about sifting, but if you’re feeling fancy, go for it.
- 1 cup granulated sugar: Sweet, sweet magic. Because life’s too short for unsweetened cupcakes.
- 1 ½ teaspoons baking powder: Our little lift-off agent. This is what gives us that beautiful dome!
- ½ teaspoon salt: Just a pinch to make everything else pop. It balances the sweetness, trust me.
- ½ cup (1 stick) unsalted butter, softened: Room temperature is key here, folks. Not melted, not rock-hard. Just soft enough for a gentle thumbprint.
- 2 large eggs: The binders, the glue, the reason it all sticks together. Also, room temp if you can remember!
- 1 teaspoon pure vanilla extract: Because boring is for other people. This is where the flavor party starts.
- ¾ cup whole milk: Any kind works, but whole milk gives that extra richness that makes these cupcakes truly decadent.
Step-by-Step Instructions
Alright, apron on, game face ready! Let’s get baking:
- First things first, preheat that oven to 350°F (175°C). While it’s heating up, line a 12-cup muffin tin with paper liners. Trust me, it makes cleanup a breeze.
- In a medium bowl, whisk together the flour, sugar, baking powder, and salt. Give it a good whisk to make sure everything is evenly distributed. This is your dry mix.
- In a separate, larger bowl (or your stand mixer if you’re feeling fancy), cream together the softened butter until it’s light and fluffy. This usually takes a couple of minutes.
- Add the eggs, one at a time, beating well after each addition. Then, stir in the vanilla extract. Scrape down the sides of the bowl to make sure everything is incorporated.
- Now for the magic part! Gradually add the dry ingredients to the wet ingredients, alternating with the milk. Start and end with the dry ingredients. Mix until just combined – a few lumps are totally okay! Overmixing is the enemy of moist cupcakes.
- Divide the batter evenly among your 12 prepared cupcake liners. Fill each liner about two-thirds full. Don’t be tempted to overfill, unless you want mushroom-top cupcakes!
- Bake for 18-22 minutes, or until a wooden skewer inserted into the center of a cupcake comes out clean. The tops should be lightly golden and spring back when gently touched.
- Once baked, let them cool in the muffin tin for about 5 minutes. Then, transfer them to a wire rack to cool completely before even *thinking* about frosting. Patience, my friend, patience!
Common Mistakes to Avoid
Nobody’s perfect, but we can avoid some common cupcake calamities with a little heads-up. Learn from my past kitchen mishaps, won’t you?
- Overmixing the Batter: This is probably the biggest sin. Once you add the flour, mix until *just* combined. A few lumps are fine! Overmixing develops the gluten too much, leading to tough, dry cupcakes. Seriously, just stop.
- Not Preheating the Oven: Thinking you don’t need to preheat the oven—rookie mistake. A cold oven won’t bake your cupcakes evenly or give them the proper lift. Always wait until your oven is fully preheated!
- Filling Liners Too Full: We’ve all been there, greedily piling in the batter. But overfilled liners lead to cupcakes that spill over, create weird shapes, and sometimes stick to the pan. Stick to two-thirds full for perfect domes.
- Opening the Oven Door Constantly: I know, it’s tempting to peek! But every time you open the oven door, you drop the temperature, which can cause your cupcakes to sink or bake unevenly. Let them bake in peace for at least 15 minutes before checking.
- Not Letting Them Cool Completely: Frosting warm cupcakes is a recipe for a melty, sliding disaster. Your beautiful buttercream will turn into a soupy mess. Cool them entirely on a wire rack before even dreaming of that frosting.
Alternatives & Substitutions
Feeling a little rebellious? Want to make these your own? I get it! Here are a few tweaks you can try:
- For a Dairy-Free Version: Swap the milk for your favorite plant-based milk (almond, soy, or oat work great!). For the butter, you can use a good quality dairy-free stick butter alternative. The texture might be slightly different, but still delicious!
- Add-ins Galore: Want some extra jazz? Fold in ½ cup of chocolate chips, sprinkles, or even some lemon zest for a bright twist, right before you fill the liners.
- Swap the Vanilla: While vanilla is a classic, try almond extract for a marzipan-like flavor, or a touch of peppermint extract for a holiday vibe.
- Butter vs. Oil: While this recipe uses butter for flavor, you could swap half the butter for a neutral oil (like vegetable or canola) for an even *moister* crumb. Just be sure to reduce the butter amount accordingly.
FAQ (Frequently Asked Questions)
Got questions? I’ve got answers! (Mostly.)
- Can I use margarine instead of butter? Well, technically yes, but why hurt your soul like that? Margarine has a higher water content and different fat composition, which can affect the texture and flavor. For the best results, stick with real butter, especially for that rich taste.
- My cupcakes came out dry. What went wrong? Ah, the dry cupcake curse! Most likely, you either overmixed the batter (developing too much gluten) or you overbaked them. Keep a close eye on the baking time and trust the skewer test!
- Can I make these gluten-free? Absolutely! Just swap the all-purpose flour for a good quality 1:1 gluten-free flour blend (one that contains xanthan gum). The baking time might vary slightly, so keep an eye on them.
- How long do these cupcakes last? If they even make it past day one (they rarely do in my house!), they’re best enjoyed within 2-3 days at room temperature in an airtight container. You can extend their life by refrigerating them for up to a week.
- Do I really need room temperature ingredients? Yes, my friend, this is a non-negotiable for fluffy, evenly baked cupcakes! Room temperature butter creams better with sugar, creating air pockets. Room temp eggs and milk combine more smoothly, creating a uniform batter. It’s a small step that makes a huge difference, FYI.
- Can I turn these into chocolate cupcakes? You bet! Simply replace about ¼ cup of the flour with unsweetened cocoa powder. You might also want to add an extra tablespoon or two of milk to maintain the consistency. Chocolate overload, here we come!
Final Thoughts
See? I told you it was easy! Now you’ve got a batch of perfectly moist, undeniably delicious cupcakes just waiting to be devoured. Whether you frost them with a luscious buttercream, a simple glaze, or just eat them plain (no judgment here!), you’ve achieved baking greatness with minimal fuss.
So, go ahead! Pat yourself on the back, grab a cupcake, and revel in your culinary prowess. You’ve earned it! Now go impress someone—or yourself—with your new culinary skills. Happy baking, superstar!

