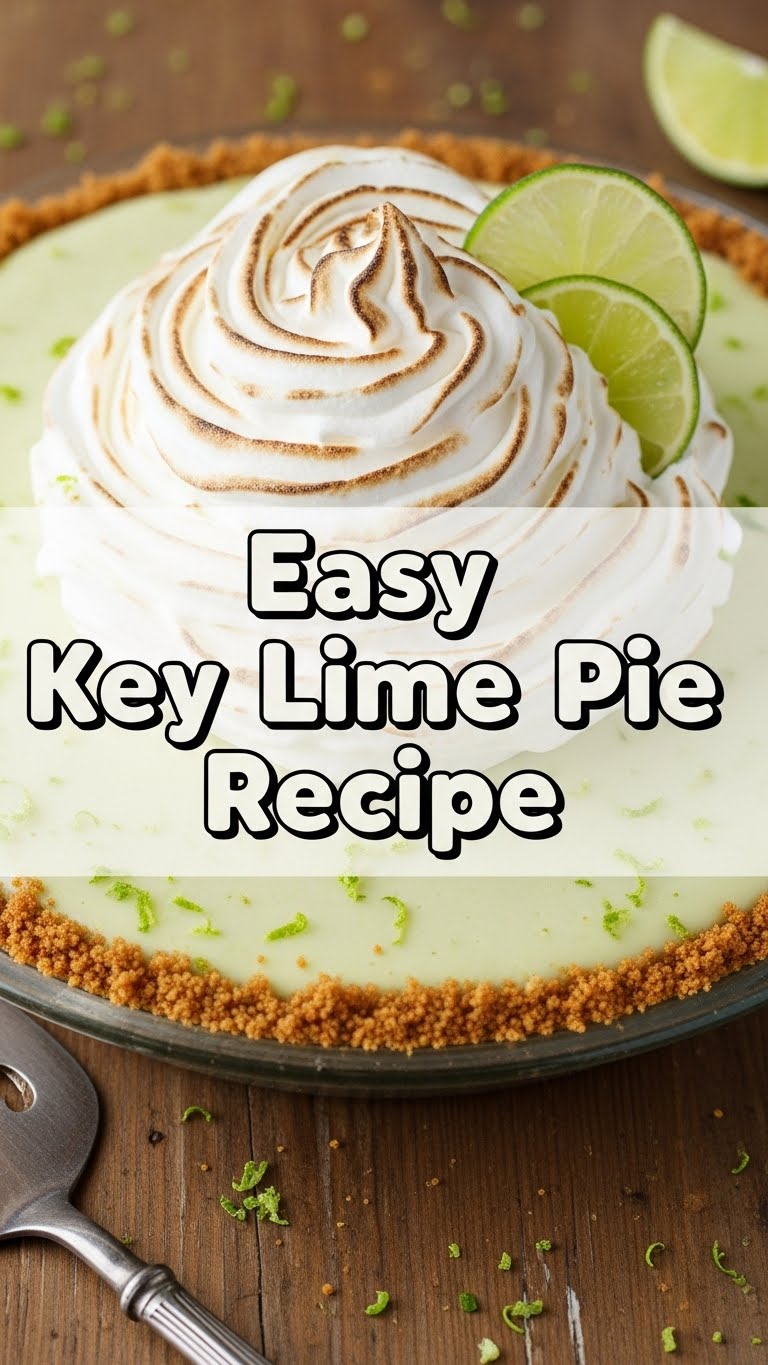
So you’re craving something bright, tangy, and ridiculously easy to make, but your brain is already melting from the heat, and cooking anything complicated feels like climbing Mount Everest in flip-flops? Same, friend, same. Lucky for us, I’ve got the ultimate antidote: an **Easy Key Lime Pie recipe** that’s so simple, you’ll wonder why you ever bought one from the store. Get ready to impress your taste buds (and maybe a few lucky friends) with minimal effort and maximum deliciousness.
Why This Recipe is Awesome
Let’s be real, life is too short for complicated desserts unless they involve a team of professional pastry chefs. This Key Lime Pie? It’s the culinary equivalent of a warm hug mixed with a mic drop. Here’s the deal:
- It’s practically **idiot-proof**. Seriously, if I can do it without setting off the smoke detector, you’re golden.
- Minimal ingredients, maximum flavor. You probably have half of this stuff chilling in your pantry already.
- It’s the perfect balance of sweet and tart, making it ridiculously refreshing. You’ll feel like you’re on a permanent vacation to the Florida Keys.
- It looks fancy, but it’s super casual. Great for potlucks, impressing a date, or just eating straight from the pie plate at 2 AM. No judgment here.
Ingredients You’ll Need
Gather your squad of culinary heroes! You don’t need much for this showstopper.
- **For the Crust:**
- 1 ½ cups (about 10-12 full sheets) **graham cracker crumbs**. Get the pre-crushed stuff if you’re feeling extra lazy, which, let’s be honest, is probably most of us.
- ⅓ cup (about 5 ⅓ tablespoons) **unsalted butter**, melted. Butter makes everything better, fight me on this.
- ¼ cup **granulated sugar** (optional, but adds a nice touch of sweetness to balance the tart filling).
- **For the Filling:**
- 1 (14-ounce) can **sweetened condensed milk**. Make sure it’s *condensed* and *sweetened*, not evaporated. Rookie mistake alert!
- ½ cup **Key lime juice**. Fresh is best, but good quality bottled Key lime juice (the one in the little green bottle) works in a pinch. Don’t use regular lime juice unless you want a different flavor profile.
- 1-2 teaspoons **Key lime zest** (from about 2-3 limes). This tiny addition packs a huge aromatic punch. Don’t skip it!
- **For the Topping (Optional, but highly recommended):**
- Fresh whipped cream
- Extra lime slices or zest for garnish
Step-by-Step Instructions
Alright, apron on, good vibes only! Let’s get this pie made.
- **Crust Time!** Preheat your oven to 350°F (175°C). In a medium bowl, combine your graham cracker crumbs, melted butter, and sugar (if using). Mix until it looks like wet sand.
- **Press It In.** Press the mixture firmly into the bottom and up the sides of a 9-inch pie plate. **The firmer, the better**—this prevents crumbling when you slice it later.
- **Bake the Crust.** Pop the crust into your preheated oven and bake for 8-10 minutes, or until lightly golden. This helps it set and get nice and toasty. Remove from oven and let it cool slightly while you make the filling.
- **Whip Up the Filling.** In another bowl, whisk together the sweetened condensed milk, Key lime juice, and Key lime zest until smooth. It’ll thicken up slightly as you whisk, thanks to the magic of science (and lime acid).
- **Fill ‘Er Up.** Pour the luscious Key lime filling into your slightly cooled crust. Spread it evenly.
- **Bake (or Chill)!** For a slightly firmer pie, bake for another 10-15 minutes, or until the center is just set but still a little jiggly. Don’t overbake! If you prefer a no-bake filling (and trust me, it still works beautifully), skip the second bake here and just move to chilling.
- **Cool Down.** Let the pie cool on a wire rack to room temperature, then comes the hardest part: **refrigerate it for at least 3-4 hours**, or ideally, overnight. Seriously, don’t rush this. A properly chilled pie is a happy pie.
- **Serve It Up!** Once fully chilled, slice, top with a generous dollop of whipped cream and a lime slice, and serve. Prepare for applause.
Common Mistakes to Avoid
We’ve all been there. Learning from others’ screw-ups (or my own) saves time and pie. Here’s how not to mess up your masterpiece:
- **Not chilling long enough:** This isn’t just a suggestion, it’s a commandment. Trying to slice a warm or insufficiently chilled Key Lime Pie is like trying to nail jelly to a tree. It’ll be a sad, soupy mess. **Patience, young grasshopper!**
- **Using regular lime juice:** While delicious in its own right, regular lime juice is much more tart and has a different flavor profile than Key limes. It won’t give you that signature Key lime taste. Stick to the program, or prepare for “just lime pie.”
- **Overbaking the filling:** If you opt to bake the filling, watch it like a hawk. You want it just set, not browned or cracked. Overbaking can make it rubbery. A slight jiggle in the center is perfect.
- **Forgetting the zest:** The zest adds so much fragrant lime oil and depth of flavor. Omitting it is like wearing a fabulous outfit but forgetting your accessories. A good pie needs its sparkle!
Alternatives & Substitutions
Feeling adventurous? Or maybe you just don’t have exactly what the recipe calls for? No worries, we can work with it.
- **Crust Creativity:** No graham crackers? Try vanilla wafers, gingersnaps, or even shortbread cookies. Just crush them up and proceed as usual. I’m partial to gingersnaps for an extra zing!
- **Lime Juice Lowdown:** As mentioned, fresh Key lime juice is king. But if you can’t find fresh, good quality bottled Key lime juice (usually found near other bottled juices or baking ingredients) is perfectly acceptable. **Don’t use the neon green stuff meant for cocktails**, unless you want a very “unique” experience.
- **Topping It Off:** Whipped cream is classic, but you could also do a meringue topping (if you’re feeling ambitious and want to torch it for extra flair), or even a simple dusting of powdered sugar.
FAQ (Frequently Asked Questions)
- **”Can I use regular lime juice instead of Key lime juice?”** Well, technically yes, you *can*, but it’s like going to a concert and listening to the cover band instead of the original artist. You’ll get “lime pie,” but not the specific, delicate tartness of “Key Lime Pie.” Your call, but you’ve been warned!
- **”How far in advance can I make this pie?”** This pie is a fantastic make-ahead dessert! You can totally make it 1-2 days in advance. Just keep it covered in the fridge, and it’ll be perfect for serving.
- **”My pie isn’t setting, what did I do wrong?”** Uh oh! Usually, this means it didn’t chill long enough, or maybe you didn’t use sweetened condensed milk (a common mix-up with evaporated milk, which won’t set). Back to the fridge with it!
- **”Can I freeze Key Lime Pie?”** You bet! It freezes beautifully for up to a month. Wrap it tightly in plastic wrap, then foil. Thaw in the fridge for a few hours before serving. It’s actually quite delicious slightly frozen, IMO.
- **”What if I don’t have a 9-inch pie plate?”** No biggie! You can use an 8-inch plate (it’ll be thicker and might need a tiny bit longer to bake/chill) or even individual ramekins for cute mini pies. Adjust baking times accordingly.
Final Thoughts
See? I told you it was easy! Now you have a secret weapon in your culinary arsenal: a dessert that tastes like a dream, looks like a million bucks, and took you next to no effort. Go ahead, bask in the glory, accept the compliments, and maybe, just maybe, share a slice or two. You’ve earned it! Now go impress someone—or yourself—with your new culinary skills. Happy pie-making!


