So you’ve baked a masterpiece (or, let’s be real, a slightly lopsided cake you bought from the store, no judgment here!) and now it’s screaming for a delicious crowning glory. But the thought of complex frosting recipes makes you want to lie down and reconsider all your life choices? Been there, done that, bought the stress-relief chocolate. Fear not, my friend, because today we’re making icing so easy, you’ll wonder why you ever bought a tub of the stuff!
Why This Recipe is Awesome
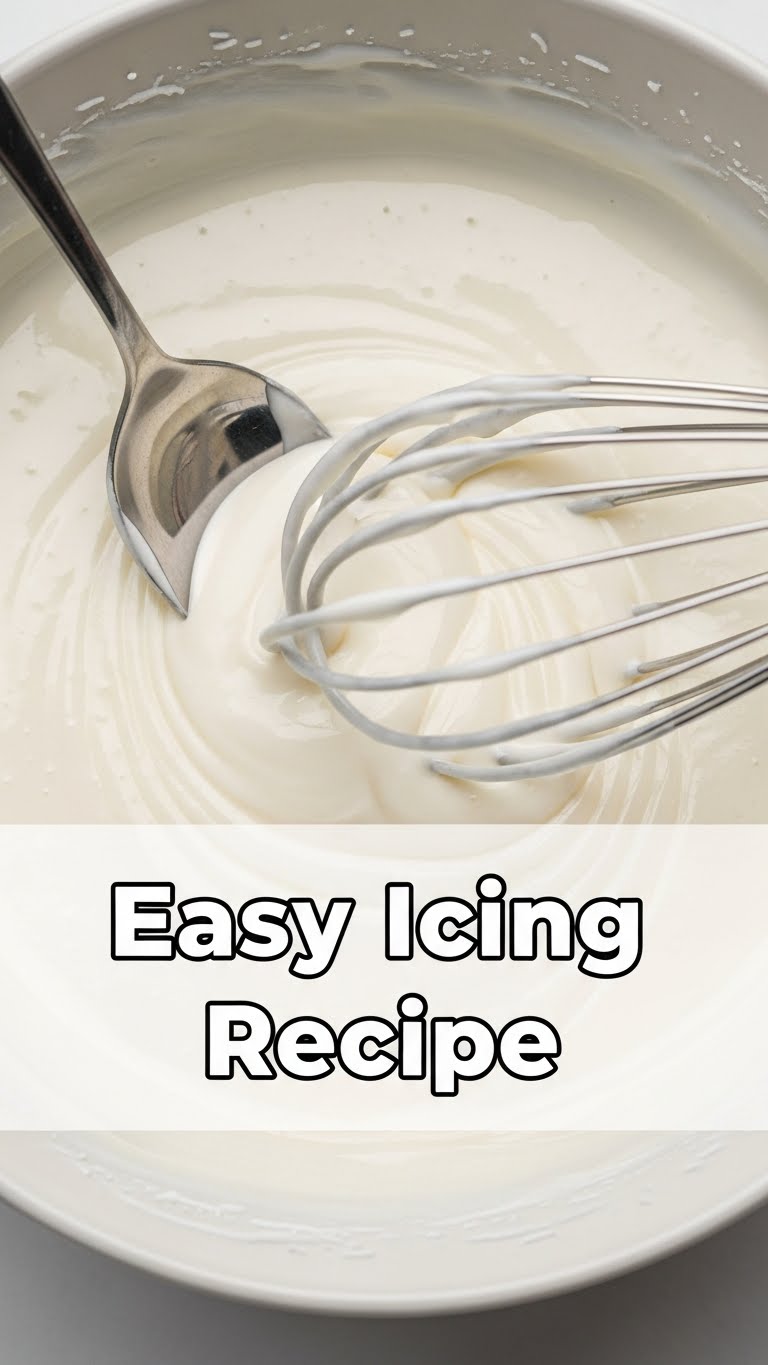
Listen, this isn’t just any icing; it’s **the** icing. It’s the kind of recipe that makes you feel like a culinary wizard without actually needing to know what “mise en place” means. It’s so easy, your cat could probably make it (if it had opposable thumbs and an interest in baking). It takes like five minutes, uses ingredients you probably already have lurking in your pantry, and tastes like a cloud of sugary dreams. Seriously, no weird fancy equipment needed. Just a bowl, a whisk (or a spoon, honestly), and your fabulous self. It’s practically idiot-proof; **even I didn’t mess it up!**
Ingredients You’ll Need
Get ready for the simplest grocery list ever:
- **Powdered Sugar (aka Confectioners’ Sugar):** About 2 cups. Sifted if you’re feeling fancy and want zero lumps; otherwise, just wing it like a rebel.
- **Unsalted Butter:** Half a stick (4 tablespoons), **softened to room temperature.** This isn’t a suggestion; it’s a command. Not melted! Unless you’re aiming for icing soup.
- **Milk (or cream):** 1-2 tablespoons. Start small, you can always add more. Think of it as a choose-your-own-adventure for consistency.
- **Vanilla Extract:** 1 teaspoon. The good stuff, please. No artificial weirdness if you can help it. This is where the magic happens!
- **Pinch of Salt:** Optional, but seriously, it balances the sweetness and makes everything pop. Trust me on this one.
Step-by-Step Instructions
- **Cream the Butter:** Get your softened butter into a medium bowl. Whisk it (or use an electric mixer if you’re feeling energetic) until it’s light and fluffy. We’re aiming for a cloud-like texture here, not a greasy blob. About a minute or two should do it.
- **Add the Sugar:** Gradually add the powdered sugar, about half a cup at a time, mixing well after each addition. It might look like a desert storm in your kitchen for a second, but persevere! Scrape down the sides of the bowl as needed.
- **Mix in Liquids & Flavor:** Once most of the sugar is in, add the vanilla extract and about 1 tablespoon of milk. Mix until smooth.
- **Adjust Consistency:** Is it too thick for your liking? Add more milk, **a tiny bit at a time** (like half a teaspoon!), until it’s perfectly spreadable. Too thin? Add a tiny bit more powdered sugar. It’s like a delicious, edible science experiment!
- **Taste Test (Mandatory!):** Give it a little lick. Adjust sweetness or vanilla if needed. You know, for “quality control.” This is the best part, IMO.
Common Mistakes to Avoid
We’ve all been there. Learn from my past kitchen mishaps!
- **Using Cold Butter:** Dude, no. Cold butter is like trying to mix concrete. **Softened butter is key!** Let it sit on the counter for at least 30 minutes.
- **Adding All the Liquid at Once:** The recipe calls for 1-2 tablespoons, not a free-for-all! You’ll end up with glaze, not icing, and then you’ll have to add a ton more sugar.
- **Skipping the Sift:** Not a complete deal-breaker, but those tiny lumps of sugar? Annoying. If you want super smooth, **sift your powdered sugar.**
- **Overmixing:** Once it’s smooth and the consistency is right, stop. You’re not making meringue; you’re making icing. Overmixing can incorporate too much air, making it less stable.
Alternatives & Substitutions
Feeling creative? Let’s spice things up!
- **Butter:** Margarine? Sure, if you must. Cream cheese? Hello, cream cheese frosting! (You’ll need more powdered sugar for that though, FYI, and maybe a little less milk).
- **Milk:** Heavy cream for extra richness, or even a dairy-free alternative like almond or oat milk if that’s your jam. Lemon juice for a tangy twist!
- **Vanilla Extract:** Almond extract, peppermint extract, rum extract – go wild! Just start with half the amount of extract, as some are potent.
- **Color:** Food coloring, obviously. Or natural options like a tiny bit of beet powder for pink, or turmeric for yellow (use *sparingly*!).
FAQ (Frequently Asked Questions)
Got questions? I’ve got (casual) answers!
- **Can I use granulated sugar instead of powdered sugar?** Oh honey, no. Granulated sugar will give you a gritty, unpleasant mess. Powdered sugar is finely ground for that smooth, velvety texture we’re after.
- **How long does this icing last?** In an airtight container in the fridge for about a week. But honestly, it rarely lasts that long in my house before it magically disappears.
- **My icing is too runny! Help!** Don’t panic! **Add more powdered sugar, a tablespoon at a time**, until it thickens up to your desired consistency. Patience, grasshopper!
- **My icing is too stiff! What do I do?** Easy peasy! **Add more milk (or cream), half a teaspoon at a time**, until it reaches your desired consistency. Don’t drown it, just coax it.
- **Can I make it chocolate?** Absolutely! Add 1/4 to 1/2 cup unsweetened cocoa powder along with the powdered sugar, and you’ll probably need a little extra milk to reach the right consistency. Divine!
- **Do I need an electric mixer for this?** Nope! A good whisk and some elbow grease work perfectly fine. But an electric mixer certainly makes it super fast and extra fluffy.
- **Is this recipe good for piping?** It totally can be! If you want a stiffer icing for intricate piping, use a tiny bit less milk. If it’s too stiff after you start, add a **fraction** of a teaspoon more milk. It’s all about feel!
Final Thoughts
See? Told ya it was easy! Now you’ve got this beautiful, fluffy, delicious icing ready to crown your cakes, cupcakes, cookies, or even just eat with a spoon (your secret’s safe with me). Go forth and conquer those sugar cravings! You’ve earned it, chef. Or at least, you’ve earned a delicious treat for making it this far. Now go impress someone—or yourself—with your new culinary skills. You’ve earned it!


