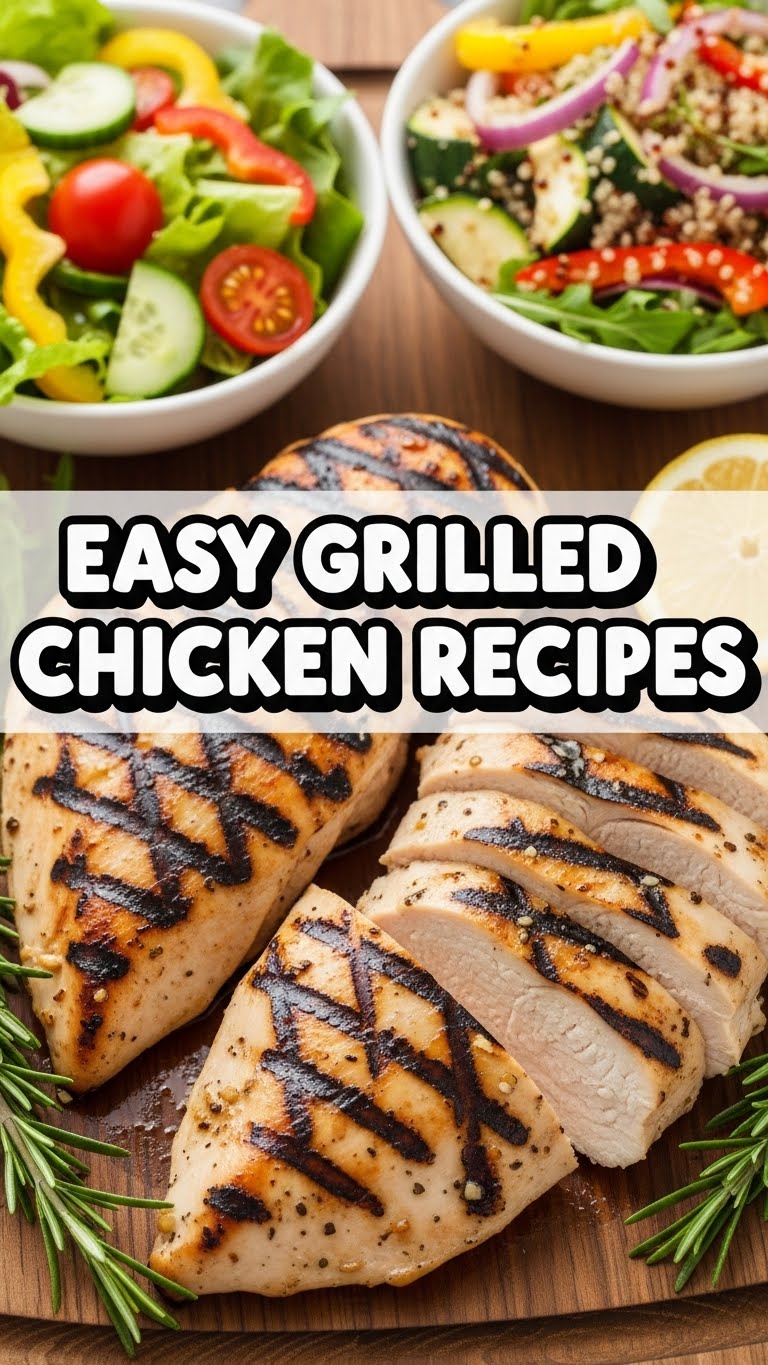
So, your fridge is looking a bit sad, but your stomach is demanding something glorious and, ideally, not involving a bazillion steps or hours of prep? You’ve come to the right place, my friend. Forget those overly complicated recipes that make you feel like you need a culinary degree just to chop an onion. We’re talking **easy grilled chicken** today—the kind that makes you look like a kitchen wizard without actually having to *be* one. Ready to grill up some magic? Let’s do this!
Why This Recipe is Awesome
Okay, let’s be real: we all want delicious food, but sometimes our ambition is… well, let’s just say it’s on vacation. This recipe is your culinary superhero on those days. It’s so straightforward, it practically makes itself (almost!).
- It’s practically **idiot-proof**. Seriously, if I can nail it, you definitely can. No advanced chef skills required, just a working grill and a hungry stomach.
- **Minimal fuss, maximum flavor.** We’re talking about getting that beautiful smoky char and juicy interior with ridiculously little effort.
- **Healthy-ish, but doesn’t taste like it.** Because who wants to eat “diet food” when you can eat “delicious food that happens to be grilled chicken”?
- It’s the perfect canvas for literally any side dish you can dream up. From a simple salad to fancy roasted veggies, this chicken plays nice with everyone.
Ingredients You’ll Need
Gather your troops! These are the essentials for our grilled chicken masterpiece. Think simple, think delicious.
- Chicken Breasts: About 1.5 – 2 lbs (around 4 medium breasts). Go for boneless, skinless, because ain’t nobody got time for bones when they’re this hungry. Pro-tip: get the flatter ones, or be ready to pound them!
- Olive Oil: A good glug or two, maybe 2-3 tablespoons. Your chicken’s best friend for moisture and getting those seasonings to stick.
- Garlic Powder: 1 teaspoon. Because everything is better with garlic. Don’t fight me on this.
- Onion Powder: 1 teaspoon. Garlic’s quieter, equally important cousin. Adds a lovely depth.
- Smoked Paprika: 1 teaspoon. This is where the magic happens for that “I spent hours on this” smoky flavor. Don’t skip it!
- Salt & Black Pepper: To taste, roughly 1 teaspoon each. The OGs of flavor.
- Optional but Recommended: Fresh Lemon Juice: A squeeze from half a lemon. Brightens everything up like a sunny day.
Step-by-Step Instructions
Alright, apron on (or not, we’re not judging), let’s get cooking! These steps are super simple, so no overthinking allowed.
- Prep Your Chicken: First things first, pat those chicken breasts dry with a paper towel. This helps them get a better sear. If your breasts are super thick, place them between two sheets of plastic wrap and pound them to an even thickness (about 3/4 inch). **Even thickness means even cooking!**
- Seasoning Time: In a medium bowl, drizzle the chicken with olive oil. Sprinkle on the garlic powder, onion powder, smoked paprika, salt, and pepper. Use your hands (yes, get in there!) to rub the seasoning all over the chicken, making sure every inch is covered.
- Marinate (or Don’t!): If you have 15-30 minutes, let the chicken sit at room temp to soak up those flavors. If you’re really ahead of the game, pop it in the fridge for a couple of hours (or overnight!) for even more flavor. But honestly, even 15 minutes makes a difference, and sometimes you just gotta grill now, right?
- Preheat That Grill: Get your grill going to medium-high heat (around 400-450°F). While it’s heating up, clean the grates with a wire brush. Once clean and hot, lightly oil the grates with a paper towel dipped in a little olive oil. This prevents sticking, my friend!
- Grill ‘Em Up: Place the chicken breasts on the hot, oiled grates. Close the lid and cook for about 5-7 minutes per side, or until beautiful grill marks appear and the internal temperature reaches 165°F (a meat thermometer is your best buddy here). **Resist the urge to poke and flip constantly!** Let it cook for a bit on each side to get that nice crust.
- Rest, You Deserve It (and So Does the Chicken): Once cooked, remove the chicken from the grill and place it on a clean cutting board or plate. Tent it loosely with foil and let it rest for 5-10 minutes. This is CRUCIAL, folks! It allows the juices to redistribute, giving you super moist, tender chicken instead of a dry, sad piece of poultry.
Serve it up with a squeeze of fresh lemon if you’re feeling zesty, and prepare for compliments!
Common Mistakes to Avoid
We’ve all been there, staring at a less-than-perfect result. Here are some pitfalls to steer clear of:
- Not Preheating the Grill: Rookie mistake! Throwing chicken on a cold grill means it’ll stick, cook unevenly, and miss out on those gorgeous grill marks. Get it hot!
- Overcrowding the Grill: Trying to cook all the chicken at once on a small grill lowers the temperature, steaming your chicken instead of searing it. Work in batches if you need to.
- Not Oiling the Grates: This is a one-way ticket to chicken sticking to your grill. A light coat of oil after cleaning goes a long way.
- Skipping the Pound/Even Thickness Step: If your chicken is thick on one end and thin on the other, one side will be dry while the other is still raw. Pound it out!
- **Skipping the Rest:** I can’t stress this enough. Cutting into hot chicken immediately means all those delicious juices run out onto your board, leaving you with dry chicken. Be patient!
Alternatives & Substitutions
Feeling a little rebellious, or just missing an ingredient? No worries, here are some ideas:
- Chicken Cut: Not a breast fan? This same method works great for boneless, skinless chicken thighs! Just note they might need an extra minute or two per side due to usually being a bit thicker.
- Spice Swap: Don’t have all the specific spices? No sweat! Try a pre-made chicken rub, Italian seasoning, chili powder, or even just salt, pepper, and garlic powder. The world is your spice rack!
- No Grill? No Problem! You can totally achieve similar results using a **grill pan** on your stovetop (just make sure it’s hot and oiled!). Or, for a quick indoor option, broil it in your oven for 5-7 minutes per side.
- Marinade Mania: Want to get extra fancy? Try a quick lemon-herb marinade, a tangy balsamic glaze, or even a spicy sriracha-lime concoction. The basic grilling technique remains the same.
FAQ (Frequently Asked Questions)
Got questions? I’ve got (casual) answers!
- Do I *really* need a meat thermometer? Well, technically you *can* eyeball it, but why guess and risk dry chicken or (worse) undercooked chicken? It’s like having a superpower for perfectly cooked meat. Go get one!
- My chicken always comes out dry. What am I doing wrong? Probably overcooking it, or not letting it rest! Remember that **165°F internal temp** and the crucial 5-10 minute rest.
- Can I use frozen chicken breasts? Absolutely, but please, for the love of all that is delicious, **thaw them completely first**! Trying to grill frozen chicken is a recipe for disaster (and uneven cooking).
- What if I don’t have all those exact spices you listed? No biggie! Use what you have. A simple salt, pepper, and garlic combo is still way better than plain chicken. Experiment and find what you love!
- How do I get those perfect crosshatch grill marks? After cooking for 4-5 minutes on one side, rotate the chicken 45 degrees and cook for another 1-2 minutes before flipping. Boom! Grill master status achieved.
- Can I add a sauce after grilling? Oh, heck yes! A brush of BBQ sauce, a drizzle of pesto, or a fresh chimichurri would be divine. Add it in the last minute of grilling to warm through, or just serve it on the side.
Final Thoughts
There you have it, folks! An easy grilled chicken recipe that’s practically foolproof and tastes fantastic. You’ve just leveled up your weeknight dinner game, impressed your taste buds, and probably saved yourself a ton of cleanup. Now go forth, bask in the glory of your perfectly grilled chicken, and maybe even share a piece (or don’t, I won’t tell). You’ve earned it, chef!


