So you’re craving something ridiculously tasty but the thought of spending hours in the kitchen makes you want to crawl back into bed? Been there, my friend. We all have those days when our sweet tooth is screaming but our motivation is just… whispering. What if I told you that you’re about to unlock the secret to glorious, rich, melt-in-your-mouth fudge with only THREE ingredients? No fancy equipment, no complex steps, just pure, unadulterated dessert magic. Get ready, because your life (and your snack drawer) is about to get a whole lot sweeter!
Why This Recipe is Awesome
Listen, this isn’t just “easy”—it’s **laughably easy**. Seriously, if you can open a can and stir, you can make this fudge. It’s the kind of recipe that makes people think you’re some kind of culinary genius, when in reality, you just spent about 10 minutes (max!) of active effort. It’s perfect for last-minute dessert emergencies, impressing unexpected guests (or yourself, no judgment here!), or simply because, well, fudge. It’s basically idiot-proof, and trust me, I’ve put that to the test more times than I care to admit. Plus, minimal cleanup? Yes, please!
Ingredients You’ll Need
Alright, gather ’round, because this is where the magic truly begins. Just three humble heroes are needed for your fudgey triumph:
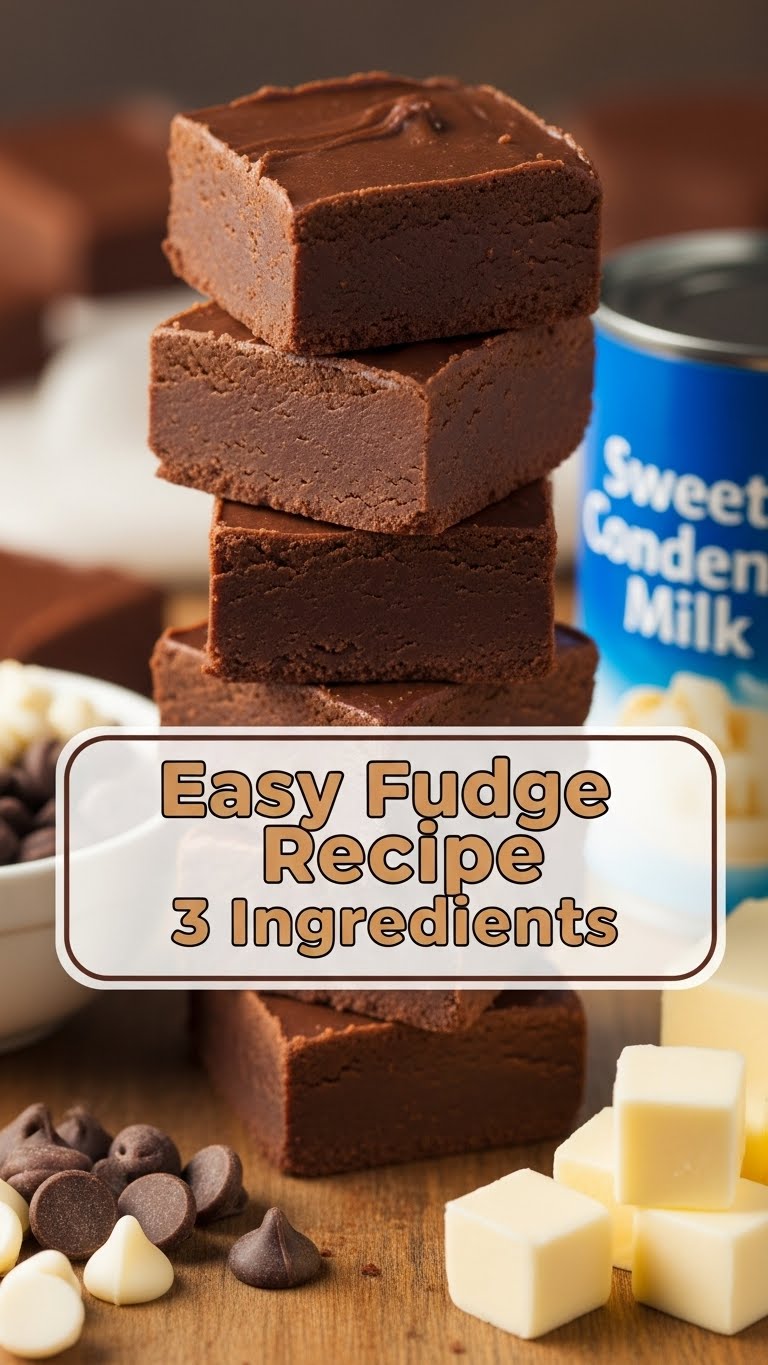
- **1 (14-ounce) can Sweetened Condensed Milk:** Make sure it’s *sweetened condensed milk*, not evaporated milk. This is crucial, people! It’s the sweet, thick, creamy backbone of our fudge.
- **1 (12-ounce) bag Chocolate Chips:** Your choice of weapon! Semi-sweet is classic, but milk chocolate, dark chocolate, or even white chocolate chips (for a different vibe) work beautifully.
- **1 tablespoon Butter:** Just a little bit of glorious butter to give it that silky-smooth finish and prevent sticking. Unsalted is usually preferred, but honestly, for this recipe, a pinch of salt from salted butter isn’t going to hurt a thing.
Step-by-Step Instructions
- **Prep Your Pan:** Line an 8×8-inch square pan with parchment paper or foil, leaving an overhang on the sides. This is your escape route for the fudge later, so don’t skip it! Give it a light spray with non-stick spray too, just to be extra safe.
- **Combine & Melt:** In a microwave-safe bowl (or a double boiler if you’re feeling fancy), combine the sweetened condensed milk, chocolate chips, and butter. Pop it in the microwave for 1 minute.
- **Stir, Stir, Stir:** Remove the bowl and stir the mixture *vigorously*. It might look like nothing’s happening at first, but keep going! If it’s not smooth, microwave for another 30 seconds, then stir again. Repeat in 15-second intervals until everything is gloriously melted and smooth as silk. This usually takes 1.5 to 2.5 minutes total.
- **Pour & Chill:** Once it’s a luscious, smooth mixture, pour it immediately into your prepared pan. Use a spatula to spread it evenly.
- **Patiently Wait:** Transfer the pan to the refrigerator and chill for at least 2 hours, or until the fudge is firm. The longer, the better, **IMO**.
- **Slice & Devour:** Once firm, use the parchment paper overhang to lift the fudge out of the pan. Place it on a cutting board and slice into bite-sized squares. Now, go forth and conquer your cravings!
Common Mistakes to Avoid
- **Using the Wrong Milk:** I cannot stress this enough: **DO NOT use evaporated milk!** It’s a different beast entirely and your fudge will not set. Read the label, friend.
- **Overheating the Chocolate:** This is a big one. Chocolate can seize up and become grainy if it gets too hot too fast. Use short bursts in the microwave and rely on the residual heat and vigorous stirring to do most of the work. Patience, young Jedi!
- **Not Lining Your Pan:** Rookie mistake! You’ll be chiseling fudge out of your pan instead of gracefully lifting it out. Save yourself the headache and line that pan.
- **Impatience:** Trying to cut into warm fudge is like trying to catch smoke. It’ll be a gooey, sticky mess. Let it chill properly!
Alternatives & Substitutions
Feeling adventurous? This recipe is your canvas! Here are a few ways to mix things up:
- **Flavor Boosts:** Stir in a teaspoon of vanilla extract (or other extracts like almond, peppermint, or orange) with the chocolate for an extra layer of flavor.
- **Mix-Ins:** Once your fudge is poured into the pan, sprinkle some fun stuff on top before chilling. Think chopped nuts (walnuts, pecans!), mini marshmallows, sprinkles, a pinch of sea salt (hello, salted caramel fudge!), or even crushed peppermints for a holiday treat.
- **Chocolate Swap:** As mentioned, semi-sweet is classic, but experiment! Milk chocolate for a sweeter fudge, dark chocolate for a richer, less sweet version, or white chocolate for a creamy, vanilla-forward treat (great with food coloring for fun!).
FAQ (Frequently Asked Questions)
- **”Can I use margarine instead of butter?”** Well, technically you could, but why would you want to hurt your soul (and your fudge’s texture) like that? Butter is key for that rich, creamy mouthfeel. Stick to the good stuff.
- **”How long does this fudge last?”** Stored in an airtight container at room temperature, it’s good for about a week. In the fridge, it can last up to 2-3 weeks. If it even makes it that long, **FYI**.
- **”Can I double the recipe?”** Absolutely! Just use a larger pan (like a 9×13-inch) and increase the chilling time slightly.
- **”My fudge is too soft, what happened?”** Most likely, it didn’t chill long enough or you might have used too much butter/liquid. Pop it back in the fridge for a few more hours, or even overnight.
- **”My fudge is grainy!”** This usually means the chocolate got too hot too fast, or it wasn’t stirred enough to fully emulsify. Try to melt slowly and stir, stir, stir!
Final Thoughts
See? I told you it was ridiculously easy! You’ve just whipped up a batch of delicious fudge without breaking a sweat, burning down the kitchen, or spending half your day on it. Now go impress someone—or yourself—with your new culinary skills. You’ve earned it, you glorious, lazy, dessert-loving genius! Enjoy every single bite.


