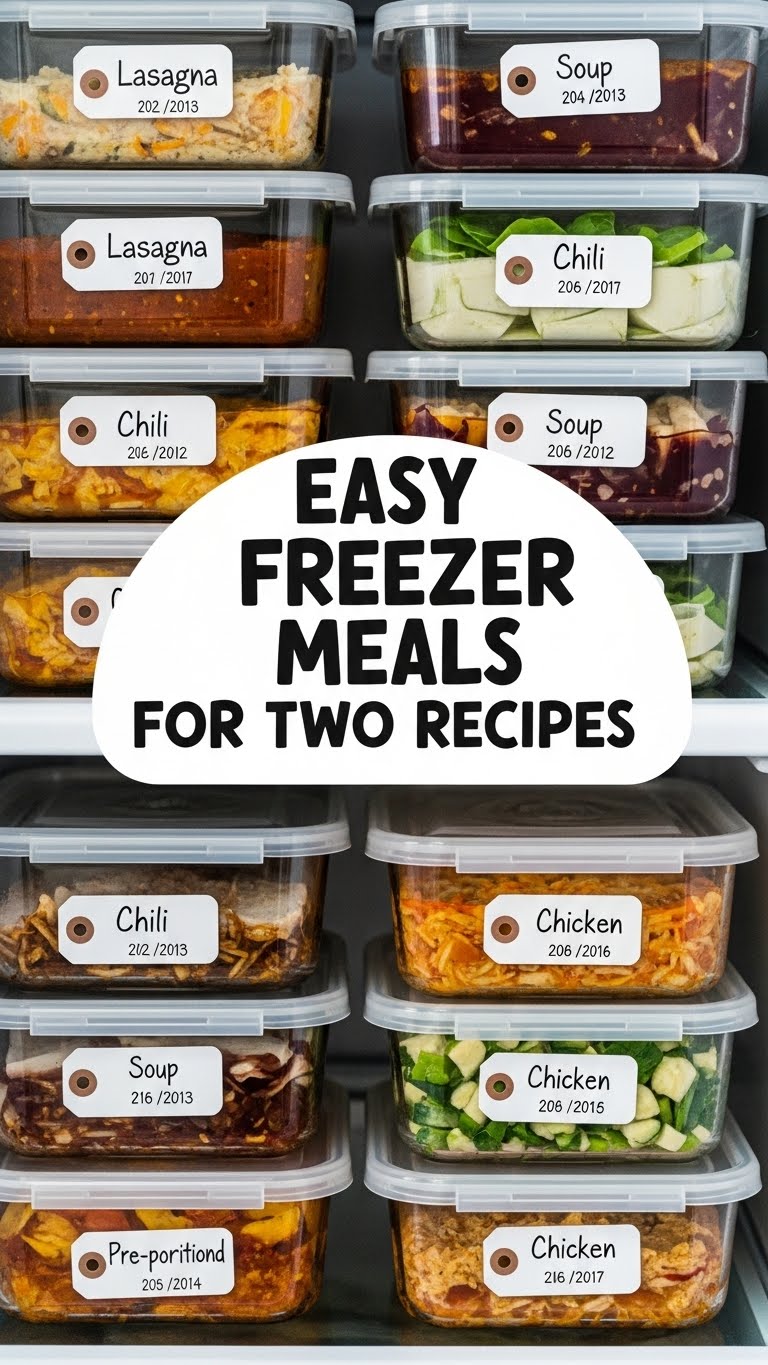
So you’re craving something tasty but too lazy to spend forever in the kitchen, huh? Same. And cooking for just one or two can sometimes feel like a cruel joke when recipes are all “feeds a small army.” Plus, who wants to eat the same leftovers for five days straight? Not us! Enter the glorious world of easy freezer meals for two. We’re talking minimal effort tonight, and future you will be doing a happy dance, high-fiving past you for being so smart.
Why This Recipe is Awesome
Because frankly, it’s a game-changer for anyone who loves good food but hates the daily grind of dinner prep. This isn’t just a recipe; it’s a ticket to stress-free weeknights, spontaneous date nights (cooked at home, you domestic god/goddess!), and a future where “what’s for dinner?” isn’t met with a groan. It’s:
- **A Time-Saving Ninja:** Prep once, eat twice (or more, if you double it!). Future you will thank present you.
- **Budget-Friendly Boss:** Say goodbye to impulsive takeout orders because you’re too tired to cook.
- **Portion-Perfect:** No awkward leftovers destined for the back of the fridge. Just the right amount for you and your favorite dining companion.
- **Idiot-Proof:** Seriously, even if your culinary skills are limited to boiling water, you got this.
Ingredients You’ll Need
Get ready to assemble your future feast! This list is for TWO freezer bags, each packed to serve two people later. So you’re prepping two meals for a total of four servings down the line. Boom!
- **2 Boneless, Skinless Chicken Breasts:** (The kind that says “feed me to hungry humans!”) Cut into bite-sized pieces or strips.
- **1 Large Bell Pepper, Any Color:** (Red, yellow, orange – make it a rainbow!) Sliced into fajita strips.
- **1 Medium Onion:** (The one that always makes you cry, but totally worth it!) Sliced.
- **1/2 Cup Frozen Corn:** (Because cutting corn off the cob is a commitment we’re not making today.)
- **1/2 Cup Canned Black Beans:** Rinsed and drained. Give ’em a good shower!
- **2 Tablespoons Olive Oil:** Your kitchen’s trusty sidekick.
- **1 Tablespoon Chili Powder:** For that zesty kick!
- **1 Teaspoon Cumin:** The spice that just *gets* fajitas.
- **1/2 Teaspoon Smoked Paprika:** Because smoke makes everything cooler.
- **Pinch of Cayenne Pepper:** (Optional, if you like a little sass in your spice!)
- **Salt and Black Pepper:** To taste. The OGs of seasoning!
Optional for serving later: Warm tortillas, cooked rice, avocado slices, salsa, sour cream, lime wedges. Dream big, people!
Step-by-Step Instructions
Alright, let’s get down to business. This is where you become a meal-prep wizard. It’s so simple, it almost feels like cheating!
- **Prep Those Veggies:** Grab your bell pepper and onion. Slice them into nice, even strips. Think “fajita strips,” not “salad shreds.” Uniformity helps them cook evenly later.
- **Chop the Chicken:** Take those chicken breasts and cut them into bite-sized pieces or strips. Again, try for consistency. Nobody wants a mystery piece that’s either too big or too small.
- **Label & Divide:** This is **super important for future sanity!** Grab two gallon-sized freezer bags and label them clearly. Write “Freezer Fajita Bowls” and jot down a quick cooking instruction, e.g., “Cook from frozen/thawed, high heat, until chicken is 165°F.”
- **Bag It Up (The First Half):** Into *each* labeled bag, add half of your prepped chicken, bell peppers, and onion. Then toss in 1/4 cup of the frozen corn and 1/4 cup of the rinsed black beans into each bag.
- **Seasoning Time!** For *each* bag, drizzle in 1 tablespoon of olive oil. Now, sprinkle in 1/2 tablespoon chili powder, 1/2 teaspoon cumin, 1/4 teaspoon smoked paprika, a tiny pinch of cayenne (if you’re feeling spicy!), and a good sprinkle of salt and pepper. Don’t be shy with the salt and pepper; they bring out all the flavors!
- **Mix & Freeze:** Seal each bag, making sure to push out as much air as possible (flatten them out to save precious freezer space!). Give the bags a gentle massage to ensure all the chicken and veggies are coated in those glorious spices. Lay them flat in your freezer until solid.
When you’re ready to cook: Thaw a bag overnight in the fridge. When hunger strikes, dump the contents into a large skillet or wok over medium-high heat. Cook, stirring occasionally, until the chicken is thoroughly cooked (no pink!) and the veggies are tender-crisp. Serve with your favorite toppings and enjoy your practically instant dinner!
Common Mistakes to Avoid
Listen, we all make mistakes. But with a little friendly advice, you can avoid these dinner-time disasters!
- **Forgetting to label your bags:** Trust me, you’ll end up playing “mystery meat roulette” in a month. It’s not as fun as it sounds.
- **Not removing air from bags:** Freezer burn is real, and it’s a flavor killer. Squish that air out like your life depends on it!
- **Overcrowding the skillet when cooking:** This steams your food instead of searing it, leading to sad, soggy fajitas. If your pan isn’t huge, cook in two batches.
- **Skipping the salt and pepper:** These aren’t just suggestions; they’re the bedrock of flavor. They make everything pop.
Alternatives & Substitutions
Think of this recipe as a friendly suggestion, not a strict dictator. Feel free to play around!
- **Protein Swap:** Not a chicken fan? Go for sliced pork tenderloin, beef strips, or even firm tofu for a vegetarian vibe. If using shrimp, add it on cooking day as it’s delicate and cooks super fast.
- **Veggie Remix:** Broccoli florets, zucchini slices, or mushrooms would be awesome additions. Just ensure they’re freezer-friendly (some veggies get weird after thawing, FYI).
- **Spice Level:** Want more heat? Ramp up the cayenne or toss in some red pepper flakes. Prefer it mild? Skip the cayenne entirely. Your taste buds, your rules!
- **Oil:** Avocado oil works just as well as olive oil here, IMO. Use what you have!
FAQ (Frequently Asked Questions)
Got questions? We’ve got answers. And maybe a little sass.
- **Can I freeze this *cooked*?** Well, technically yes, but for the best texture and flavor, I’d say no. Freezing raw then cooking fresh is the superior path for fajitas. Trust me on this one.
- **How long do these last in the freezer?** Up to 3 months. Beyond that, the quality might start to decline, but it’s probably still safe to eat if properly sealed. But who are we kidding, they’ll be gone way before then!
- **Do I *have* to thaw it first?** Not entirely, but it definitely speeds up cooking. If you’re cooking from frozen, break up the block a bit in the pan and add a splash of water to get things moving, then crank up the heat. It’ll just take longer, so plan accordingly.
- **Can I make more than two bags at once?** Uh, yeah! That’s the whole point of freezer meals, isn’t it? Multiply away, my friend! Batch cooking is your superpower.
- **What if I don’t have all the spices?** No sweat! A pre-made fajita seasoning packet works in a pinch. Just be mindful of the sodium content, as some can be quite salty.
- **Is this healthy?** Compared to takeout? Absolutely! You’re in control of the ingredients, minimal fuss, maximum goodness. You’re basically a health guru now.
Final Thoughts
See? Easy peasy, lemon squeezy! Or, well, freezer-mealy. You’ve just future-proofed deliciousness and conquered your dinner dilemmas like the culinary rockstar you are. Now you’ve got amazing, homemade meals waiting for you, your significant other, or your very best friend who also hates cooking on a Tuesday night. Go forth and impress someone—or just yourself—with your new culinary skills. You’ve earned a lazy (but delicious!) night!

