So you’re craving something tasty but too lazy to spend forever in the kitchen, huh? Same. Good news, my friend. I’ve got your back. Forget those elaborate, multi-step desserts that require a pastry chef degree and the patience of a saint. We’re talking about Easy Dessert Bars – the kind of treat that screams “I baked this with love” but actually whispers “I whipped this up in about 10 minutes flat.”
Why This Recipe is Awesome
Because let’s be real, life is too short for complicated baking. This recipe is your new best friend for several glorious reasons:
- It’s practically idiot-proof. Seriously, even I, a person known to burn water, haven’t messed this up. That’s saying something.
- Minimal dishes! Less washing up means more time for, well, eating the bars. Priorities, right?
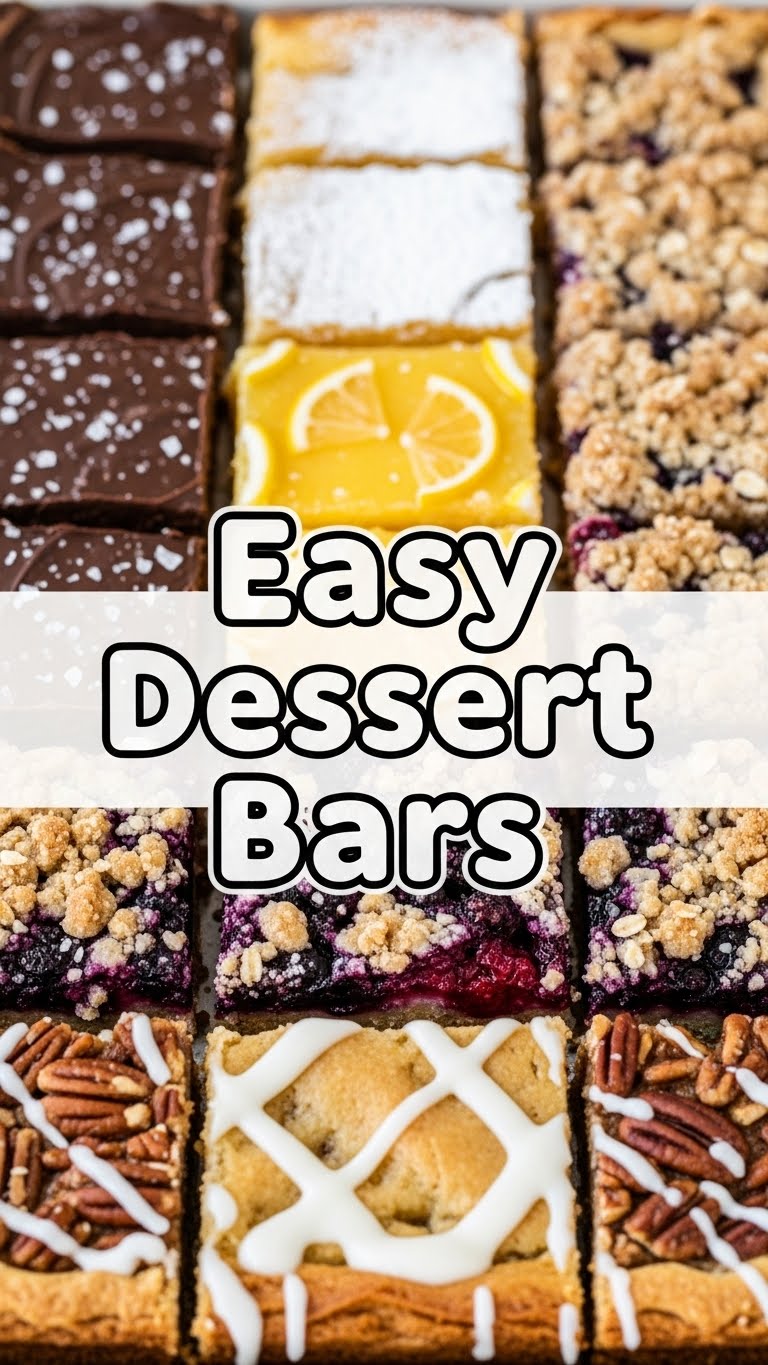
- It’s versatile. Think of these bars as a delicious blank canvas for whatever sweet tooth whim hits you.
- They transport like a dream. Potluck? Party? Just need a plate of goodness to drop off at a friend’s? These bars are your go-to.
- The satisfaction factor is through the roof. You’ll look like a culinary genius, and only you and I (and now the internet) will know your secret.
Ingredients You’ll Need
Gather ’round, my sweet-toothed companions! Here’s what you need for a batch of pure bliss. Nothing fancy, promise.
- 1 cup (2 sticks) unsalted butter, softened. Because butter makes everything better, duh.
- 1 ½ cups granulated sugar. For that essential sweetness. Don’t skimp, we’re not running a health clinic here.
- 2 large eggs. Room temperature if you’re feeling fancy, but straight from the fridge works in a pinch (don’t tell anyone I said that).
- 1 teaspoon vanilla extract. **Use the good stuff here!** It truly makes a difference. No imitation vanilla, unless you want imitation flavor.
- 2 ½ cups all-purpose flour. The backbone of our bars.
- 2 teaspoons baking powder. For lift, because nobody wants a dessert hockey puck.
- ½ teaspoon salt. Balances the sweetness, trust me on this.
- 1 ½ cups chocolate chips (semi-sweet are classic, but use whatever floats your boat – milk, dark, white, a mix!). More is always better, IMO.
Step-by-Step Instructions
Alright, apron on (or not, we’re casual here), let’s get baking! These steps are so easy, you could probably do them in your sleep.
- Preheat that oven! Set it to 350°F (175°C). While it’s heating up, line a 9×13 inch baking pan with parchment paper, leaving an overhang on the sides. This makes lifting the bars out a breeze later. Trust me, it’s a **game-changer**.
- Cream the butter and sugar. In a large bowl, using an electric mixer, beat the softened butter and granulated sugar together until they’re light and fluffy. This usually takes about 2-3 minutes.
- Add the wet stuff. Beat in the eggs one at a time, mixing well after each addition. Then, stir in the glorious vanilla extract. Scrape down the sides of the bowl to make sure everything is well combined.
- Whisk the dry ingredients. In a separate medium bowl, whisk together the flour, baking powder, and salt. Give it a good whisk to ensure everything is evenly distributed.
- Combine everything (gently!). Gradually add the dry ingredient mixture to the wet ingredients, mixing on low speed until just combined. **Don’t overmix!** Overmixing develops gluten, and we want tender bars, not tough ones.
- Fold in the chocolate chips. Add your chosen chocolate chips and fold them into the dough using a spatula. Make sure they’re nicely distributed throughout.
- Press and bake. Press the dough evenly into your prepared 9×13 inch pan. It might be a bit sticky, so use slightly damp hands or another piece of parchment paper to help press it down. Pop it into the preheated oven and bake for 25-30 minutes, or until the edges are golden brown and a toothpick inserted into the center comes out with moist crumbs (not wet batter!).
- Cool down, seriously. Remove the pan from the oven and let it cool completely on a wire rack. I know, I know, the smell is intoxicating, but **patience is key here!** Trying to cut warm bars is a recipe for a crumbly mess.
- Cut and devour! Once completely cool, use the parchment paper overhang to lift the entire slab of bars out of the pan. Cut them into squares or rectangles of your desired size. Now, go ahead, treat yourself!
Common Mistakes to Avoid
Listen up, buttercup! Even with easy recipes, there are a few pitfalls you can totally sidestep to ensure maximum deliciousness:
- Overmixing the dough: I said it once, I’ll say it again. Overmixing is the enemy of tender baked goods. Mix until just combined, then back away from the mixer!
- Not preheating the oven: Thinking you don’t need to preheat the oven—rookie mistake. It impacts how your bars bake, rise, and get that perfect texture.
- Cutting them while warm: We’ve all been there, tempted by the warm, gooey goodness. But seriously, **resist the urge!** They’ll be a beautiful, clean-cut dream once fully cooled.
- Eyeballing ingredients: Baking is a science, my friend. A fun, delicious science, but a science nonetheless. Use proper measuring cups and spoons for the best results.
Alternatives & Substitutions
Feeling creative? This recipe is super adaptable! Here are a few ideas to mix things up:
- Chocolate Chip Swap: Not a chocolate chip fan? Swap them for white chocolate, butterscotch, peanut butter chips, or even chopped nuts (pecans or walnuts are divine!).
- Add-ins Galore: Stir in a handful of sprinkles for a funfetti vibe, crushed candy bars (Snickers, anyone?), shredded coconut, or even dried fruit like cranberries or cherries.
- Brown Sugar Twist: Replace half of the granulated sugar with light brown sugar for a chewier, slightly more caramel-y bar. Yum!
- Gluten-Free Version: You can often swap out the all-purpose flour for a 1:1 gluten-free baking blend. Just make sure it contains xanthan gum, or add about ½ teaspoon if it doesn’t.
- Top ’em Off: Once cooled, drizzle with melted chocolate, a simple glaze (powdered sugar + milk), or a dollop of frosting.
FAQ (Frequently Asked Questions)
Got questions? I’ve got (casual and hopefully helpful) answers!
- Can I use margarine instead of butter? Well, technically yes, but why hurt your soul like that? Butter provides a richness and flavor that margarine just can’t replicate. If you *must*, it’ll work, but just know it won’t be quite the same.
- My bars are too dry! What happened? Oh no! Usually, this means you either overbaked them (keep an eye on that timer!) or perhaps overmeasured your flour. Remember, a light hand with the flour is key!
- Can I double the recipe? Absolutely! Just grab a larger pan, like a 10×15 inch jelly roll pan, or stick to two 9×13 inch pans. You might need to add a few extra minutes to the baking time, so keep an eye on them.
- How long do these last? If you manage to hide them from everyone, they’ll stay fresh in an airtight container at room temperature for about 3-4 days. Good luck with the hiding, though!
- Do I have to use parchment paper? Not strictly *have to*, but I highly recommend it. It makes removal and cleanup incredibly easy. If you skip it, grease and flour your pan thoroughly to prevent sticking.
- Can I freeze these dessert bars? You bet! Cut them into individual squares, wrap them tightly in plastic wrap, then place them in a freezer-safe bag or container. They’ll keep for up to a month. Thaw at room temperature when the craving strikes.
Final Thoughts
See? Told ya it was easy! Now you’ve got a fantastic, go-to recipe for those moments when you need something sweet, satisfying, and shockingly simple. Go ahead, bask in the glory of your baking prowess. Whether you share them or hoard them all for yourself (no judgment here, we’ve all done it), these easy dessert bars are sure to bring a smile to your face.
Now go impress someone—or yourself—with your new culinary skills. You’ve earned it!


