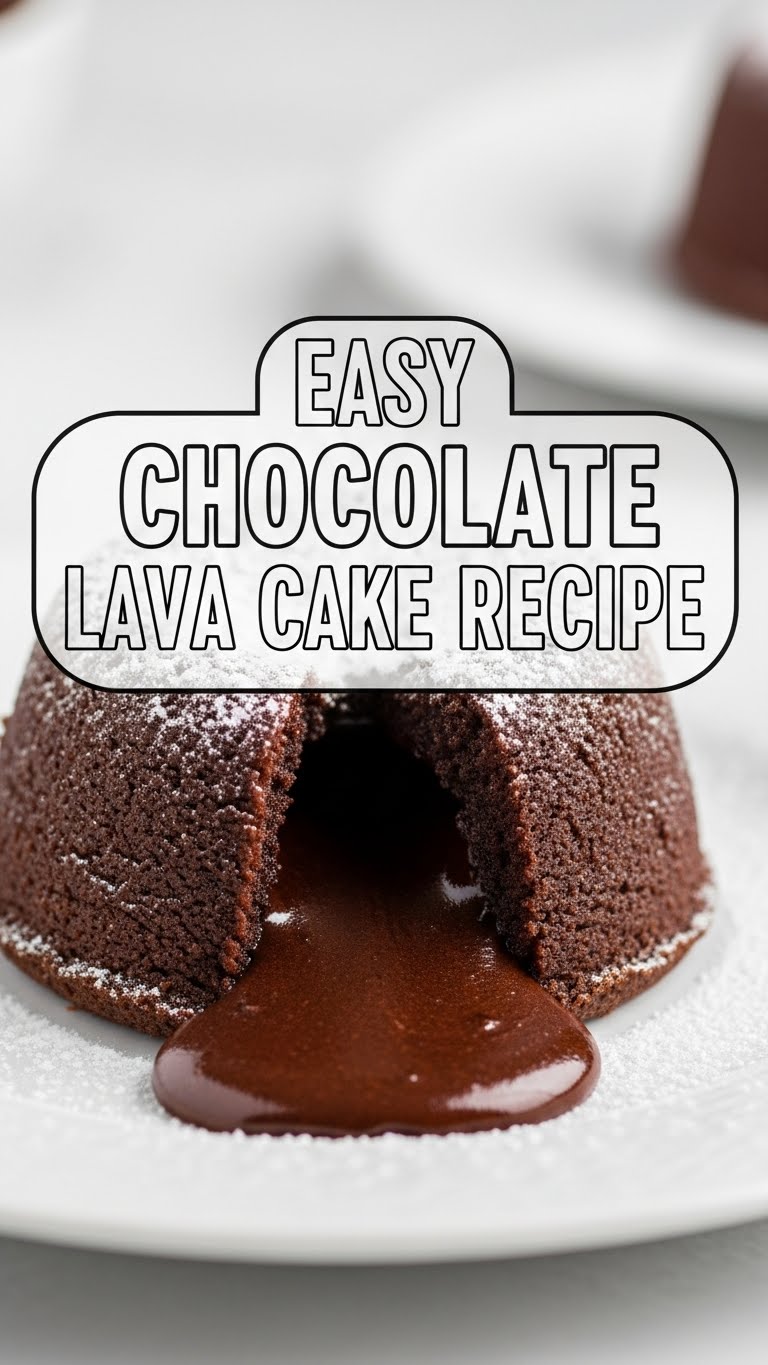
So, you’ve got that irresistible chocolate craving hitting you hard, but the idea of a complicated dessert sends shivers down your lazy-cook spine, huh? Been there, bought the T-shirt. Good news: I’ve got your back with a recipe so easy, it practically makes itself. We’re talking melt-in-your-mouth, ooey-gooey, fancy-pants chocolate lava cake. And yes, you *can* make it. Trust me, if I can, anyone can.
Why This Recipe is Awesome
First off, it’s fast. Seriously, from zero to hero in less time than it takes to scroll through your ex’s Instagram. Second, it’s idiot-proof. I mean, if *I* can pull off perfectly molten centers without setting off the smoke detector, you’re golden. Third, the payoff is HUGE. You’ll look like a culinary genius, and all you did was mix a few things and pop ’em in the oven. Minimal effort, maximum deliciousness. It’s basically the culinary equivalent of getting away with murder… of your diet.
Ingredients You’ll Need
- Unsalted Butter: Like, the good stuff. Not that weird spreadable stuff. Around half a cup (113g), plus a little extra for greasing your ramekins.
- Good Quality Dark Chocolate: This is non-negotiable. Go for at least 60% cacao. We’re not making kiddie brownies here. 4 oz (113g).
- Large Eggs: Two of ’em. Room temp if you’re feeling fancy, but straight from the fridge works too, IMO.
- Egg Yolks: Two more of just the yolks. Because extra richness, duh.
- Granulated Sugar: Half a cup (100g). Just enough sweetness to balance the dark chocolate.
- All-Purpose Flour: Just a tiny bit, 2 tablespoons (15g). Don’t overdo it, we want lava, not cake-cake.
- Pinch of Salt: Seriously, just a pinch. Elevates all the flavors.
- Vanilla Extract: Half a teaspoon. Because vanilla makes everything better.
- Optional: Cocoa powder for dusting ramekins, powdered sugar for serving, fresh berries, ice cream. Go wild!
Step-by-Step Instructions
Prep Time! Preheat your oven to a blazing 425°F (220°C). This is crucial for that perfect crust. Generously butter four 6-ounce ramekins. Like, really get in there. Then, for good measure, dust them with cocoa powder. Tap out any excess. This helps prevent sticking and adds an extra chocolatey kick. Think of it as giving your cakes a nice little non-stick, flavorful hug.
Melt the Good Stuff. Grab a microwave-safe bowl (or a double boiler if you’re feeling extra chef-y). Combine your dark chocolate and butter. Microwave in 30-second bursts, stirring after each, until it’s gloriously smooth and melted. Be patient, don’t scorch it!
Whip It Real Good. In a separate bowl, whisk together the whole eggs, egg yolks, sugar, and vanilla extract until they’re light in color and slightly thickened. You want it fluffy, almost pale yellow. This adds air and tenderness to your cakes.
Combine Forces. Carefully pour the melted chocolate mixture into the egg mixture. Whisk them together until just combined. Don’t overmix; we’re not making a soufflé here!
Flour Power (Lightly!). Sift the flour and salt over the chocolate mixture. Gently fold it in with a spatula until *just* no streaks of flour remain. Overmixing is your enemy here! Seriously, it’s the express lane to dry cake.
Fill ‘Em Up! Divide the batter evenly among your prepared ramekins. Don’t fill them to the brim; leave a little room for expansion, like 3/4 full.
Bake Away! Pop those beauties into your preheated oven. Bake for 12-14 minutes. The edges should be set, but the center should still look a *little* jiggly. That jiggle is the magic lava. If it’s not jiggly, you’ve overbaked. Rookie mistake!
The Grand Reveal. Carefully remove the ramekins from the oven. Let them cool for just 1 minute. Seriously, just 60 seconds. Any longer and they’ll set too much. Then, place a serving plate upside down over each ramekin and, with a swift, confident flick of the wrist, invert it. Lift the ramekin, and behold! Your molten masterpiece.
Serve and Devour. Dust with powdered sugar, add some fresh berries, or a scoop of vanilla ice cream. Dive in immediately while it’s still warm and gooey. You earned this, champ!
Common Mistakes to Avoid
- Not preheating the oven: Listen, your oven isn’t a mind-reader. It needs to be hot *before* the cakes go in. Otherwise, you get sad, flat cakes, not glorious lava.
- Overmixing the batter: Once the flour is in, be gentle! Overmixing develops gluten, which leads to tough cakes. We want tender, lava-y goodness, not a rubber puck.
- Overbaking: This is the number one killer of lava cakes. Keep an eye on that timer! The edges should be set, but the middle should still look a bit soft. When in doubt, underbake slightly. Better too molten than too dry, right?
- Not greasing the ramekins properly: Ever tried to get a cake out of a pan it’s glued to? It’s not pretty. Butter and cocoa are your best friends here. Don’t skimp!
- Not using good quality chocolate: Seriously, this isn’t the time to pull out that cheap candy bar you found in the back of the pantry. The chocolate is the *star* here. Invest a little, your tastebuds will thank you.
Alternatives & Substitutions
Feeling adventurous? Try white chocolate with a raspberry sauce, or milk chocolate if you have a serious sweet tooth (though I personally prefer the richness of dark). Just make sure it’s good quality melting chocolate, whatever you pick.
For my gluten-free pals, you can totally swap the all-purpose flour for a good gluten-free all-purpose blend (one with xanthan gum works best). The amount of flour is so small, it usually works perfectly.
Going dairy-free? You got this! Use a good quality dairy-free butter substitute (like Earth Balance sticks) and dairy-free dark chocolate. Just double-check your chocolate label to ensure it doesn’t contain any sneaky milk solids.
Want to amp up the flavor? Add a splash of espresso powder to the chocolate for a mocha kick, or a hint of orange zest for a chocolate-orange vibe. A dash of chili powder for some subtle heat? Why not!
FAQ (Frequently Asked Questions)
Q: Can I make these ahead of time?
A: Kinda! You can prepare the batter and chill it in the fridge for up to 24 hours. Just let it sit at room temperature for about 30 minutes before baking, and add a minute or two to the baking time. FYI, fresh is always best for that ultimate lava flow!
Q: My cakes didn’t “lava.” What happened?
A: Ah, the age-old question! You, my friend, most likely overbaked them. Remember, that jiggle is key. Next time, pull them out when they still look *slightly* undercooked in the center. Don’t be scared of a little wobble!
Q: Do I really need ramekins?
A: Yes, unless you want a very flat, sad lava puddle. Ramekins (or oven-safe custard cups) are crucial for shaping that beautiful cake and containing the molten center. Think of them as tiny, edible volcanoes.
Q: Can I use margarine instead of butter?
A: Well, technically yes, but why hurt your soul like that? Butter provides a richer flavor and better texture. If you’re going for dairy-free, use a good quality plant-based butter, but for regular, stick to the real deal. Your tastebuds will thank you.
Q: What’s the best way to store leftovers?
A: Leftovers? What are those? Seriously though, these are best eaten immediately. If you *must* have leftovers (and honestly, it won’t be lava anymore), store them covered at room temp for a day, or in the fridge for a couple. Reheat gently in the microwave, but don’t expect the same molten magic.
Q: Why is the preheating temperature so high?
A: Great question! The high temperature creates a quick crust on the outside while leaving the inside gooey. It’s like a high-speed hug that bakes the outside fast but preserves the molten heart. Science, baby!
Final Thoughts
See? Told you it wasn’t rocket science! You’ve just whipped up a dessert that usually costs a small fortune at fancy restaurants, and you did it without breaking a sweat (or a significant amount of dishes). Now go forth, impress your significant other, your friends, or just yourself, with your new culinary superpowers. You totally earned that gooey, chocolatey reward. And hey, if it wasn’t perfect the first time, who cares? More for you to ‘practice’ on! Happy caking, my friend!


