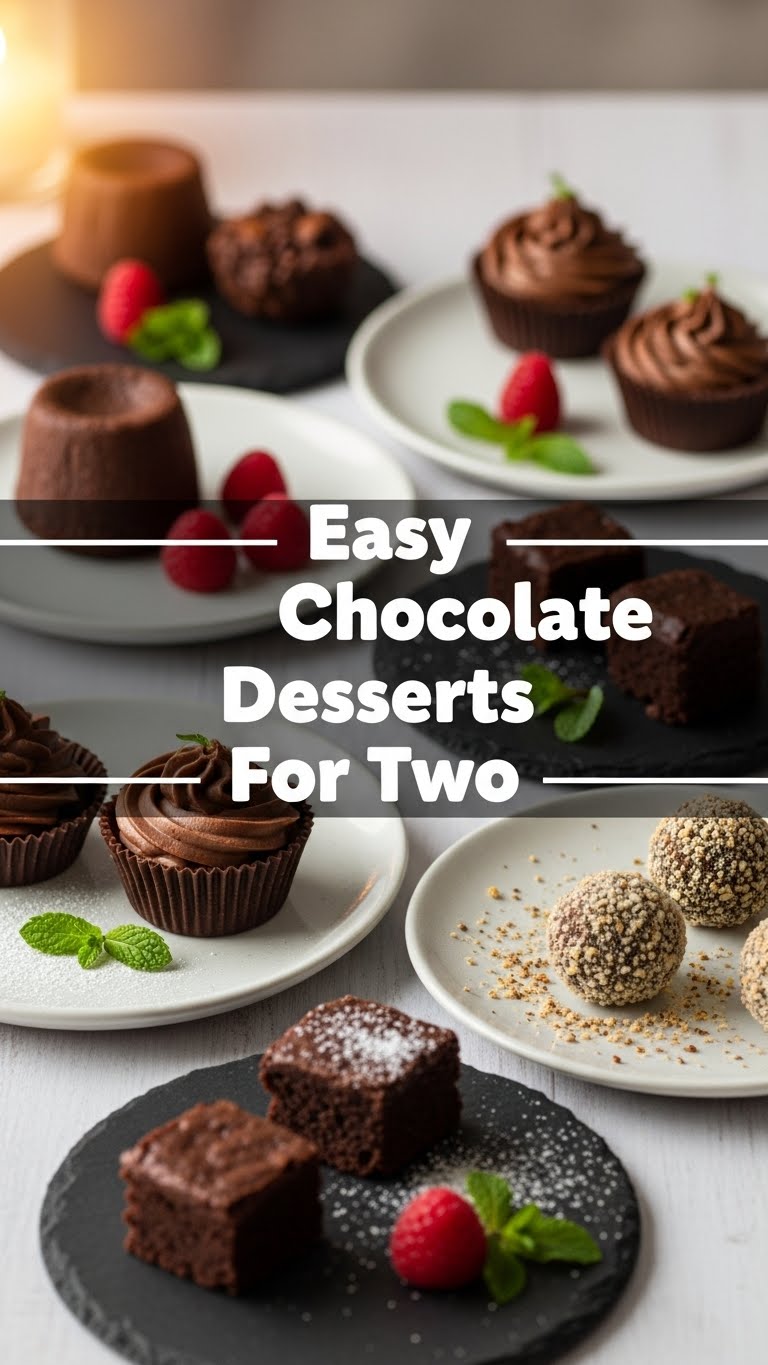
So you’re craving something sinfully delicious, chocolatey, and just for you (and maybe a lucky plus-one)? But also, like, zero effort and minimal dish-washing? Honey, you’ve come to the right place. We’re about to dive into the magical world of easy chocolate desserts for two that scream “I tried!” but whisper “I barely lifted a finger.” Get ready to impress yourself (or your date) without breaking a sweat. Unless it’s from pre-dessert excitement. That’s allowed.
Why This Recipe is Awesome
Let’s be real, most “easy” recipes are secretly lying to you. Not this one! We’re talking about a **Molten Chocolate Lava Cake for Two** here, a dessert that looks fancy AF but is actually so simple, it’s practically idiot-proof. Seriously, even I, a person who once set off a smoke alarm trying to make toast, can nail this. It takes like, 10 minutes of prep, 12 minutes in the oven, and suddenly you’re a gourmet chef. Plus, it’s perfectly portioned, so no awkward leftover situations or the temptation to eat a whole cake by yourself (unless you want to, no judgment here!).
Ingredients You’ll Need
Gather your weapons, chef! Or, you know, your pantry staples. These are for two glorious lava cakes.
- 2.5 oz (about 70g) Dark Chocolate: Go for something decent, 60-70% cacao. This isn’t the time for waxy Halloween chocolate, friends.
- 1/4 cup (1/2 stick, 56g) Unsalted Butter: Because butter makes everything better, fight me.
- 1 Large Egg: Fresh is best, obviously.
- 2 tbsp Granulated Sugar: Just enough sweetness to balance the dark chocolate’s sass.
- 1 tbsp All-Purpose Flour: The binder that holds our molten dreams together.
- 1/2 tsp Vanilla Extract: A little whisper of warmth.
- Pinch of Salt: To make all the chocolatey flavors pop like fireworks.
- Optional: Cocoa powder for dusting ramekins, fresh berries, a scoop of vanilla bean ice cream (highly, HIGHLY recommended!).
Step-by-Step Instructions
- Preheat & Prep: Crank your oven to 400°F (200°C). Grab two 4-6 oz ramekins. Generously butter them, then dust with cocoa powder (or flour if you don’t have cocoa). This is your golden ticket to non-stick goodness, don’t skip it!
- Melt & Mingle: In a microwave-safe bowl (or a double boiler if you’re feeling fancy), melt the dark chocolate and butter together. Do it in 30-second bursts in the microwave, stirring until smooth and glossy. Set aside to cool slightly.
- Whisk Away: In another bowl, whisk the egg, sugar, vanilla extract, and pinch of salt until the mixture is light, pale, and slightly frothy. You’re basically aerating it for maximum deliciousness.
- Combine Forces: Gently fold the flour into the egg mixture until just combined. Don’t overmix, we’re not trying to develop gluten muscles here.
- Chocolatey Embrace: Slowly pour the slightly cooled chocolate mixture into the egg mixture. Fold it together gently until everything is beautifully combined and uniform in color. Stop when there are no streaks left.
- Fill ‘er Up: Divide the luscious batter evenly between your prepared ramekins. Don’t fill them to the brim; leave a little room for expansion.
- Bake to Perfection: Pop those beauties into your preheated oven and bake for 11-14 minutes. The edges should be set, but the center should still be jiggly. This is key for that molten core!
- Serve Immediately: Carefully remove from the oven. Let them cool for 1-2 minutes, then invert onto small plates. Serve immediately with a sprinkle of powdered sugar, fresh berries, or that glorious scoop of ice cream. Dig in before the lava solidifies!
Common Mistakes to Avoid
- Not Preheating: Rookie mistake! A cold oven means uneven baking and no lava. Always preheat!
- Overbaking: This is the biggest sin. If you bake it too long, you’ll end up with a regular chocolate cake, which is fine, but not what we’re aiming for. Keep an eye on it – **jiggly center is good!**
- Forgetting to Grease/Dust: Unless you want to serve your lava cake *in* the ramekin, grease and dust. Trust me on this one, it saves heartbreak.
- Using Low-Quality Chocolate: Seriously, the chocolate is the star here. Don’t cheap out unless you want a dessert that tastes like disappointment.
- Trying to Unmold Too Soon: Patience, young padawan. Give it a minute or two out of the oven before attempting to flip. It helps the edges firm up just enough.
Alternatives & Substitutions
Feeling adventurous? Or just missing an ingredient? No stress!
- Chocolate Type: While dark chocolate is my ride-or-die for this recipe, you can totally use semi-sweet chocolate chips for a milder flavor. I wouldn’t recommend milk chocolate, though, it’s a bit too sweet and lacks the depth.
- Butter Swaps: You *could* use a neutral oil (like vegetable or canola) or even coconut oil (for a subtle coconut vibe!), but IMO, butter really adds to the richness.
- Gluten-Free: Swap the all-purpose flour for a good quality gluten-free all-purpose flour blend. Your lava will still flow!
- Flavor Boosts: Add a pinch of espresso powder with the flour for a deeper chocolate flavor, a tiny dash of cayenne pepper for a subtle spicy kick, or some orange zest for a bright citrus note.
- No Ramekins? No Problem: You can use oven-safe mugs or small Pyrex bowls. Just be mindful of baking times as they might vary slightly depending on the thickness of the container.
FAQ (Frequently Asked Questions)
Can I use margarine instead of butter? Well, technically yes, but why hurt your soul like that? Butter just tastes better, period. But if that’s all you’ve got, go for it, just know it might affect the richness slightly.
Can I make these ahead of time? You can definitely prep the batter up to a day in advance and keep it covered in the fridge. Just give it an extra minute or two in the oven when baking, as it will be colder.
How do I know if it’s done? I’m scared of overbaking! Look for firm, set edges that pull slightly away from the ramekin, while the center still has a noticeable jiggle when you gently shake it. It’s an art, not a science, but you’ll get the hang of it!
What if I don’t have vanilla extract? It’s not the end of the world, but it does add a nice depth. You can omit it, or try a tiny pinch of instant coffee granules for a similar flavor enhancement.
My lava isn’t flowing! What happened? Oh no! You likely overbaked it. Better luck next time, chef! Still delicious, just more of a fudgy cake. Think of it as practice for the perfect molten core.
Why is this “for two”? Can’t I just make a big one? You absolutely *could* make a bigger one, but the beauty of this recipe is the portion control and the individual presentation. Plus, who doesn’t love their own personal dessert?
Final Thoughts
There you have it! Your new secret weapon for when you need a quick, impressive, and utterly delicious chocolate fix. This molten lava cake is proof that you don’t need a culinary degree or hours in the kitchen to whip up something truly special. So go ahead, preheat that oven, melt that chocolate, and get ready to create some serious dessert magic. Now go impress someone—or yourself—with your new culinary skills. You’ve earned it!


