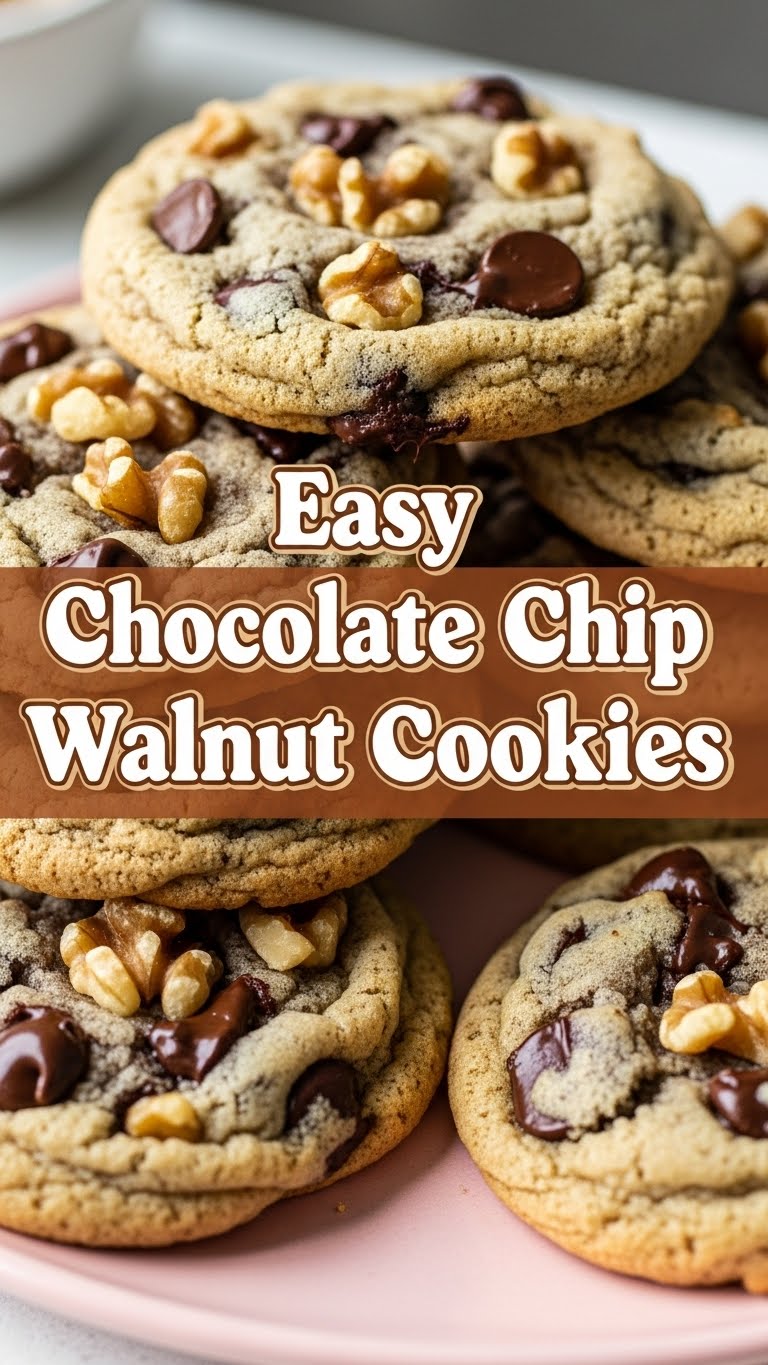
So you’re scrolling, probably procrastinating, and suddenly BAM! A craving for something warm, gooey, and chocolatey hits you like a rogue shopping cart. But, let’s be real, you’re not trying to become a pastry chef tonight, right? Good. Because these Easy Chocolate Chip Walnut Cookies are here to save your taste buds (and your sanity). No fancy techniques, no obscure ingredients, just pure, unadulterated cookie joy coming your way.
Why This Recipe is Awesome
Okay, first off, it’s ridiculously simple. Seriously, if you can stir, you can make these. This is the kind of recipe you pull out when you want to look like a baking god/goddess without actually breaking a sweat. Plus, walnuts? They make it feel all sophisticated and grown-up, but shhh, it’s our secret how little effort actually went into it. It’s practically foolproof—even I manage to nail them every single time, and my track record with delicate desserts is… spotty, to say the least.
Ingredients You’ll Need
- Unsalted Butter (1/2 cup or 1 stick), softened. Don’t even think about rock-hard butter; that’s just asking for a lumpy dough and a workout you didn’t sign up for.
- Granulated Sugar (1/2 cup). The classic sweet stuff.
- Packed Light Brown Sugar (1/4 cup). This is your secret weapon for that perfectly chewy, glorious texture.
- Large Egg (1). Your cookie’s soul, really.
- Pure Vanilla Extract (1 teaspoon). Pure stuff, please. None of that imitation nonsense; your taste buds deserve better.
- All-Purpose Flour (1 1/4 cups). The backbone of your cookie dreams.
- Baking Soda (1/2 teaspoon). For lift, because flat cookies are sad cookies.
- Salt (1/4 teaspoon). Balances all that sweetness, trust me. It makes the chocolate taste even chocolatey-er.
- Semi-Sweet Chocolate Chips (1 cup). Or your favorite! Load ’em up! Milk, dark, mini—your cookie, your rules.
- Chopped Walnuts (1/2 cup). The crunchy hero of our story. Toast them lightly beforehand for extra flavor if you’re feeling fancy!
Step-by-Step Instructions
- Preheat & Prep: Get that oven cranking to 375°F (190°C). Line a baking sheet with parchment paper or a silicone mat. This prevents sticking and makes cleanup a breeze, because who wants more dishes?
- Cream the Goods: In a large bowl, beat the softened butter with both sugars until it’s light and fluffy. This usually takes about 2-3 minutes with an electric mixer. Don’t skimp on this step; it’s key for a tender texture!
- Egg-cellent Addition: Beat in the egg until just combined, then stir in the vanilla extract. Scrape down the sides of the bowl to make sure everything gets cozy and mixed.
- Dry Mix Fun: In a separate, medium bowl, whisk together the flour, baking soda, and salt. Make sure it’s well combined so you don’t get a surprise pocket of salt in one cookie (been there, done that, 0/10 recommend).
- Combine & Conquer: Gradually add the dry ingredients to the wet ingredients, mixing until just combined. Do not overmix! Overmixing develops gluten, which makes tough, sad cookies. We’re aiming for tender, happy ones.
- Stir in the Stars: Fold in the chocolate chips and chopped walnuts. Be gentle, we don’t want to crush our crunchy friends. Ensure they’re evenly distributed so every bite is packed with goodness.
- Scoop & Space: Drop rounded tablespoons of dough onto your prepared baking sheet, leaving about 2 inches between each cookie. They like their personal space, trust me.
- Bake It ‘Til You Make It: Bake for 9-12 minutes, or until the edges are golden brown but the centers still look a little soft. Trust your nose; when it smells amazing, they’re probably done.
- Cool Down: Let them cool on the baking sheet for a few minutes before transferring them to a wire rack to cool completely (if you can wait that long, you’re a stronger person than I am).
Common Mistakes to Avoid
- Cold Butter Catastrophe: Trying to cream cold, hard butter. Seriously, it’s a battle you won’t win, and your arm will hurt. Softened means *softened*, not melted, not straight-from-the-fridge-brick.
- Overmixing Madness: Mixing the dough until your arm falls off. Once the dry ingredients are just incorporated, stop! Overmixing leads to tough, cakey hockey pucks instead of chewy goodness.
- Oven Temperature Guesswork: Not preheating your oven or setting it to the wrong temp. An uneven oven temp can lead to burnt bottoms and raw middles. Nobody wants that.
- Impatience is a Vice: Pulling them off the baking sheet too soon. Let them set up for a few minutes on the hot sheet; they’ll firm up and be less likely to fall apart when you move them.
Alternatives & Substitutions
Feeling adventurous or missing an ingredient? No worries, I got you!
- Nut Swap: Don’t like walnuts? Pecans are a fantastic substitute, or skip the nuts entirely if you’re a purist (or have allergies, obvs). Macadamia nuts would be decadent, just sayin’.
- Chocolate Choices: Dark chocolate chunks, milk chocolate chips, white chocolate chips, or even a mix! Go wild. Mini chocolate chips work great too.
- Spice It Up: A pinch of cinnamon or a tiny dash of nutmeg can add a lovely warmth, especially if you’re feeling autumnal. IMO, cinnamon is a game-changer here.
FAQ (Frequently Asked Questions)
- Can I chill the dough? Absolutely! Chilling for at least 30 minutes (or even overnight!) can deepen the flavor and create a chewier cookie. Less spreading, more yum.
- My cookies are flat! What happened? Probably not enough baking soda, or your butter was too warm/melted. Or maybe you didn’t measure your flour correctly? Flour is finicky.
- Can I freeze the dough? Yes! Roll into balls, then freeze on a baking sheet until solid. Transfer to a freezer bag and bake from frozen, adding a few extra minutes to the bake time. Fresh cookies anytime!
- How long do they last? In an airtight container at room temp, they’re usually good for 3-5 days. But honestly, they rarely make it past day two in my house.
- Can I make them gluten-free? You totally can! Just swap the all-purpose flour for a 1:1 gluten-free baking flour blend. Might slightly alter the texture, but still delish.
- Do I *have* to use parchment paper? No, but it makes life so much easier! It prevents sticking and ensures even baking. Aluminum foil works if greased well, but parchment is king.
Final Thoughts
And there you have it, folks! Your new go-to recipe for chocolate chip walnut cookies that taste like they took hours but only took minutes. Go on, pat yourself on the back, you culinary genius. Now go impress someone—or just yourself, totally valid—with your new skills. You’ve earned every single bite of that warm, gooey goodness!


