So you’re craving something warm, gooey, and utterly delicious but are too lazy to spend forever in the kitchen, huh? Same, friend, same. Welcome to my world! And guess what? I’ve got the perfect antidote to your sweet tooth and your commitment issues: **Easy Chocolate Chip Cookies**. No fuss, no drama, just pure, unadulterated cookie bliss in record time.
Why This Recipe is Awesome
Let’s be real. We’ve all seen those fancy cookie recipes that demand things like “browned butter” or “resting the dough for 24 hours.” Who has that kind of patience? Not me, and probably not you either. This recipe is your new best friend because it’s **idiot-proof**. Seriously, even I, a notorious kitchen disaster, managed not to mess these up. They come out perfectly chewy on the inside, crispy on the edges, and bursting with chocolatey goodness every single time. Plus, it uses common ingredients you probably already have lurking in your pantry. It’s fast, it’s reliable, and it delivers maximum deliciousness with minimal effort. What’s not to love?
Ingredients You’ll Need
Gather your troops, folks! Here’s what you’ll need to make magic happen:
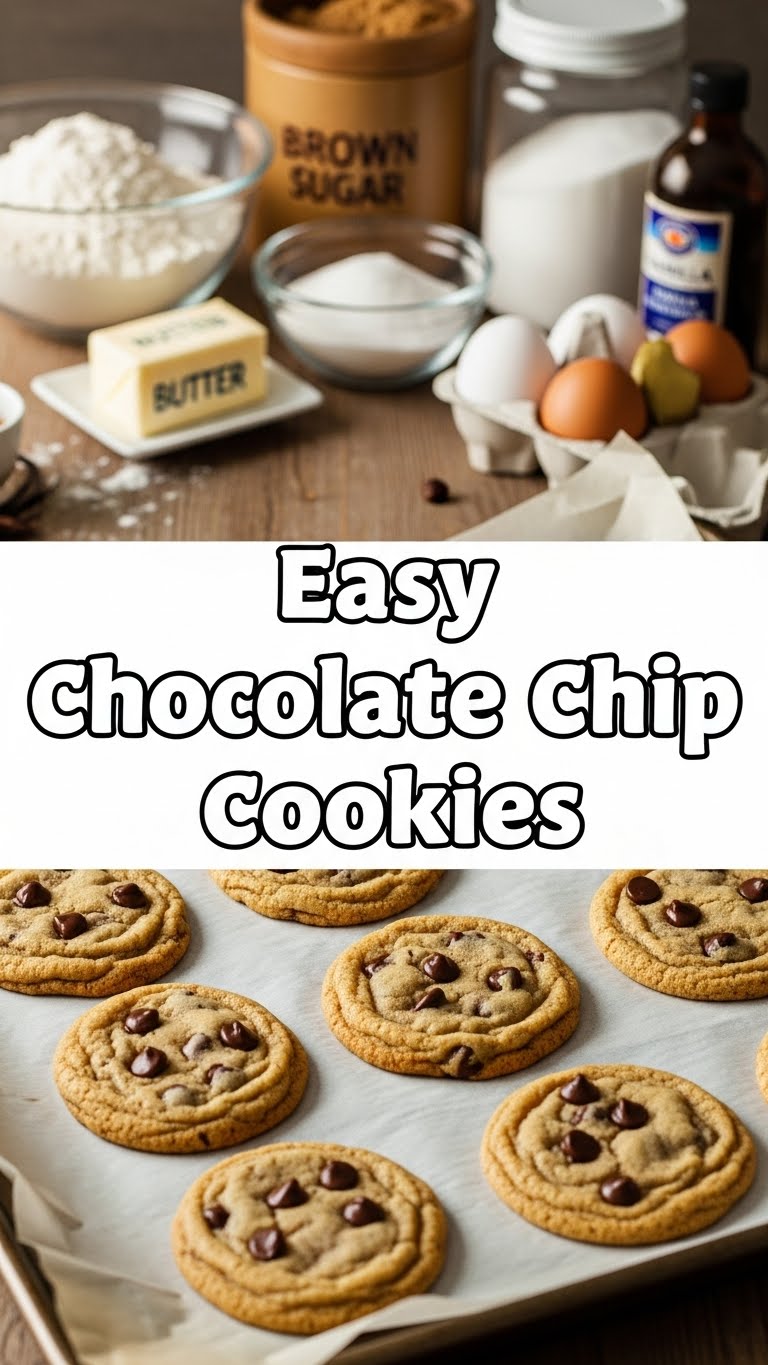
- **1/2 cup (1 stick) unsalted butter**, softened. Not melted! Softened means it gives a little when you press it, like a gentle hug.
- **1/2 cup granulated sugar**. The regular white stuff.
- **1/4 cup packed light brown sugar**. This is your secret weapon for chewiness, don’t skimp!
- **1 large egg**. Room temperature is best, but honestly, if you forget, it’s not the end of the world.
- **1 teaspoon vanilla extract**. The good stuff, please. It makes a difference.
- **1 1/4 cups all-purpose flour**. Measure it properly, don’t just scoop like a maniac.
- **1/2 teaspoon baking soda**. Helps those cookies puff up nicely.
- **1/4 teaspoon salt**. Enhances all the flavors, don’t skip it!
- **1 cup chocolate chips**. Semi-sweet is classic, but hey, you do you. Milk, dark, even chunks – it’s your cookie party!
Step-by-Step Instructions
- **Preheat Power-Up:** First things first, get your oven to 375°F (190°C). And line a baking sheet with parchment paper. Trust me, it makes cleanup a breeze.
- **Butter & Sugar Bash:** In a large bowl, cream together the softened butter, granulated sugar, and brown sugar. Beat them with an electric mixer until they’re light and fluffy, about 2-3 minutes. This is where the magic starts.
- **Egg-cellent Addition:** Beat in the egg and vanilla extract until everything is well combined and looking glorious. Scrape down the sides of the bowl to make sure no one’s left out.
- **Dry Mix It Up:** In a separate, smaller bowl, whisk together the flour, baking soda, and salt. Just a quick whisk to distribute everything evenly.
- **Combine & Conquer:** Gradually add the dry ingredients to the wet ingredients, mixing on low speed until *just* combined. **Do not overmix!** Overmixing is the enemy of tender cookies.
- **Chocolate Chip Drop-In:** Stir in the chocolate chips by hand. Because who doesn’t love a good chocolate chip swirl?
- **Scoop & Bake:** Drop rounded tablespoons of dough onto your prepared baking sheet, leaving some space between them. They’ll spread a bit, like your waistline after eating them all.
- **Golden Goodness:** Bake for 9-11 minutes, or until the edges are golden brown and the centers are still looking a little soft. That soft center is the secret to chewiness!
- **Cool Down, Buttercup:** Let them cool on the baking sheet for a few minutes before transferring them to a wire rack to cool completely. Or, if you’re like me, eat one (or three) while they’re still warm and gooey.
Common Mistakes to Avoid
- **Overmixing:** I mentioned it, but I’ll say it again. Once you add the flour, mix until *just* combined. Overmixing develops the gluten too much, leading to tough, cakey cookies. Nobody wants that.
- **Not Softening Butter:** Trying to cream cold, hard butter with sugar is like trying to reason with a toddler – it’s a battle you won’t win easily. Softened butter creams easily and incorporates air, essential for texture.
- **Not Preheating the Oven:** Thinking you don’t need to preheat the oven? Rookie mistake! A hot oven ensures even baking and that perfect crispy-chewy combo.
- **Ignoring the Salt:** “Only a quarter teaspoon? What’s the point?” The point, my friend, is flavor! Salt balances the sweetness and makes the chocolate taste even better. Don’t skip it.
Alternatives & Substitutions
Feeling a little adventurous? Or maybe you’re just out of something. No worries, we can roll with it!
- **Chocolate Chips:** Don’t have semi-sweet? Use milk chocolate, dark chocolate, white chocolate, or even a mix! Chocolate chunks are also divine. You could even add some Heath bar bits or M&M’s for extra fun.
- **Brown Sugar:** If you’re completely out of brown sugar and can’t run to the store, you can use all granulated sugar, but your cookies will be a bit crispier and less chewy. Still good, but a different vibe.
- **Vanilla Extract:** No vanilla? Gasp! You *could* technically leave it out, but it’s like a symphony missing its violin solo. If you have almond extract, a tiny dash (1/2 tsp) could work as an emergency swap, but be warned, it’s a stronger flavor.
- **Butter:** Can you use margarine? Well, technically yes, but why hurt your soul like that? Butter truly makes the best cookies, but if it’s your only option, go for it. Just know the texture might be slightly different.
- **Add-Ins:** Feeling fancy? Toss in 1/2 cup of chopped nuts (walnuts, pecans), shredded coconut, or even a pinch of cinnamon for a different twist.
FAQ (Frequently Asked Questions)
Got questions? I’ve got answers (mostly good ones).
Can I make the dough ahead of time? Heck yes! You can chill the dough in the fridge for up to 3 days. In fact, chilling the dough often leads to a deeper flavor and slightly chewier cookie. Just let it sit out for 10-15 minutes before scooping.
My cookies spread too much! What happened? A few culprits: your butter might have been too soft (or even slightly melted), your oven temperature might be off (get an oven thermometer, they’re cheap!), or you might have added too little flour. Also, ensure your baking soda isn’t expired!
Can I freeze the cookie dough? Absolutely! Form the dough into balls, place them on a baking sheet, and freeze until solid. Then transfer them to a freezer-safe bag. When you’re ready to bake, just pop them into the oven (you might need to add a minute or two to the baking time).
Why are my cookies dry and crumbly? Usually, this means you added too much flour or overbaked them. Remember, measure your flour correctly (spoon into the measuring cup, then level off!) and pull them out when the centers still look a *little* underdone.
What kind of chocolate chips are best? IMO, a good quality semi-sweet chocolate chip is classic. But honestly, use what you love! I’m a big fan of a mix of semi-sweet and milk chocolate for the best of both worlds.
My cookies aren’t chewy, they’re cakey! Why? This is often due to overmixing the dough (developing too much gluten) or not having enough brown sugar (which helps retain moisture and chewiness). Don’t beat the flour into submission!
Final Thoughts
There you have it, folks. Your ticket to warm, homemade chocolate chip cookie heaven, no culinary degree required. These are perfect for a spontaneous craving, an impromptu gift, or just because Tuesday. Seriously, go make them. Your tastebuds (and probably your house, because it’ll smell amazing) will thank you. Now go impress someone—or yourself—with your new culinary skills. You’ve earned it!


