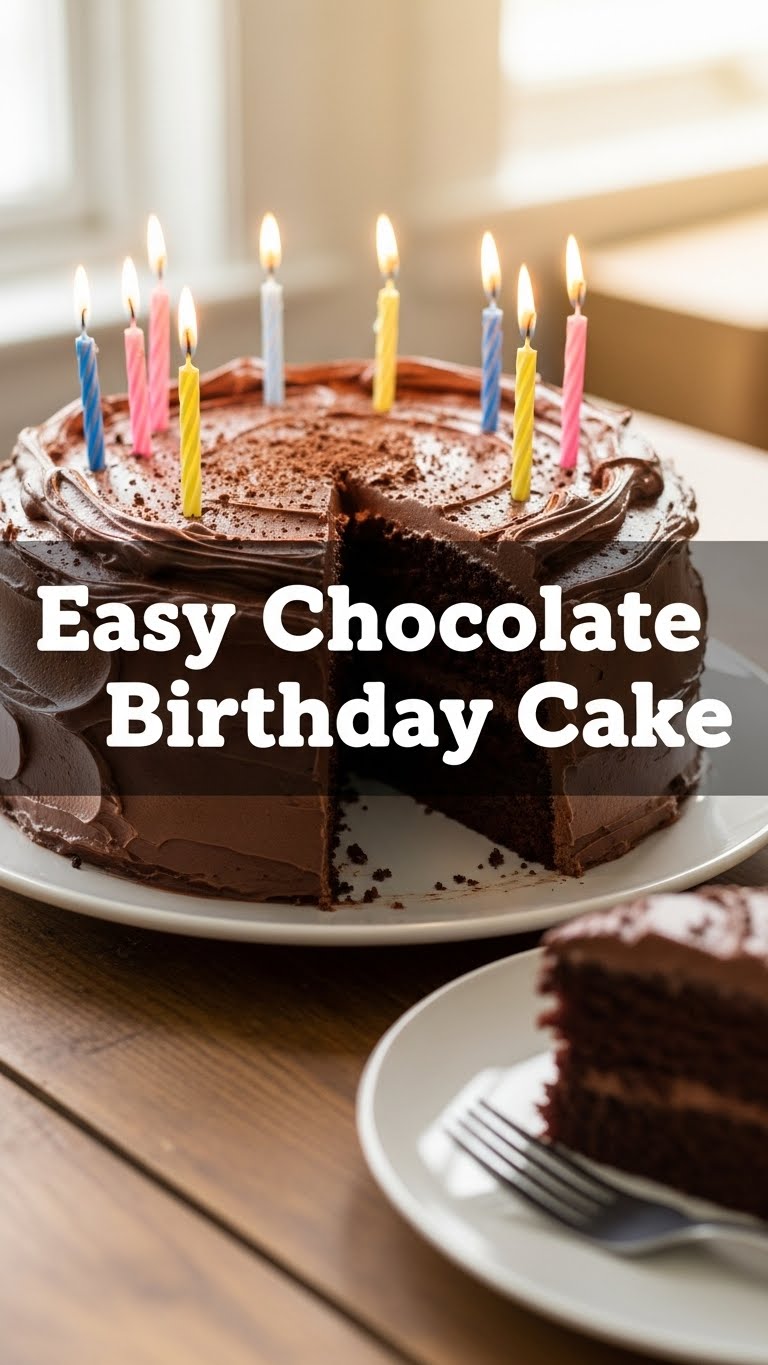
So you’re craving something tasty but too lazy to spend forever in the kitchen, huh? Same. High-five! There’s nothing worse than wanting to whip up something special for a birthday (or, let’s be real, a Tuesday afternoon) only to get bogged down in a recipe that feels like it requires a culinary degree and the patience of a saint. Forget that noise! Today, we’re making an Easy Chocolate Birthday Cake that’s so ridiculously simple, you might actually wonder if you did it right. (Spoiler: you totally did.)
Why This Recipe is Awesome
Okay, let’s be real. This isn’t just *a* chocolate cake; it’s *the* chocolate cake for those moments when you need maximum deliciousness with minimum effort. Why is it awesome? Because it’s practically **idiot-proof**. Even if your idea of baking is preheating the microwave, you’ve got this. Seriously, I’ve seen less complicated tax forms. It’s moist, deeply chocolatey, and comes together faster than you can say “Happy Birthday, now where’s my slice?” Plus, the ingredients are probably already lurking in your pantry. No fancy-pants stuff here, just pure, unadulterated chocolatey joy. It’s the kind of cake that makes people think you slaved away for hours, when in reality, you were probably binging Netflix.
Ingredients You’ll Need
Gather your troops, folks! Here’s what you’ll need to make this magic happen. Don’t worry, no unicorn tears or rare spices required.
- For the Cake:
- 1 ½ cups all-purpose flour: The backbone of our operation. Don’t overthink it.
- 1 ½ cups granulated sugar: Because life is sweet, and so should your cake be.
- ½ cup unsweetened cocoa powder: The chocolatey star of the show. Get the good stuff, you deserve it.
- 1 teaspoon baking soda: Our little lift-off agent.
- ½ teaspoon baking powder: More lift! We want a fluffy cake, not a brick.
- ½ teaspoon salt: Balances everything out. Don’t skip it, it makes a difference!
- 1 cup milk: Any kind works, but whole milk makes it extra luscious.
- ½ cup vegetable oil: Or canola oil. Keeps things moist without needing butter. Genius, right?
- 2 large eggs: Room temperature if you’re feeling fancy, but straight from the fridge is usually fine for this forgiving recipe.
- 2 teaspoons vanilla extract: A hug in a bottle.
- 1 cup boiling water: Yes, boiling! It helps bloom the cocoa and gives it an amazing texture. Don’t be scared.
- For the Easy Chocolate Buttercream Frosting:
- ½ cup (1 stick) unsalted butter: Softened, because cold butter is the enemy of smooth frosting.
- 2 cups powdered sugar: The finer, the better. Sift it if you’re feeling ambitious (or just want to avoid lumps).
- ½ cup unsweetened cocoa powder: Again, the chocolate power.
- 3-4 tablespoons milk: Start with less, add more until it’s perfect.
- 1 teaspoon vanilla extract: Because vanilla makes everything better.
- Pinch of salt: Cuts through the sweetness. Trust me.
Step-by-Step Instructions
Alright, oven mitts on (mentally, for now)! Let’s get baking. This is going to be easier than parallel parking.
- Preheat & Prep: First things first, crank that oven to 350°F (175°C). Then, grab a 9-inch round cake pan. Grease it well and dust it with a little flour or cocoa powder. Or, if you’re lazy like me, just line the bottom with parchment paper. Smart move!
- Dry Mix Magic: In a large bowl, whisk together your flour, sugar, cocoa powder, baking soda, baking powder, and salt. Give it a good whisk until there are no clumps. You want everything playing nice together.
- Wet Mix Whirlwind: In a separate, medium bowl, whisk together the milk, oil, eggs, and vanilla extract. Whisk it until it’s all combined and looking happy.
- Combine Forces: Pour the wet ingredients into the dry ingredients. Mix on low speed (or by hand with a whisk) until *just* combined. Don’t overmix! Overmixing is the enemy of fluffy cake. A few lumps are totally fine.
- The Hot Secret: Carefully pour in the boiling water. Mix on low speed until the batter is smooth. It’ll be thin, don’t panic! This is what makes it so moist and tender.
- Bake It Up: Pour the thin batter into your prepared cake pan. Pop it into the preheated oven and bake for 30-35 minutes. You’ll know it’s done when a toothpick inserted into the center comes out clean.
- Cool Down: Let the cake cool in the pan for about 10-15 minutes. Then, carefully invert it onto a wire rack to cool completely. **Resist the urge to frost a warm cake**—it will melt and make a huge mess. Patience, young grasshopper.
- Frosting Time! While the cake cools, let’s make that killer frosting. In a medium bowl, beat the softened butter with an electric mixer until light and fluffy (about 2 minutes).
- Build the Frosting: Gradually add the powdered sugar, cocoa powder, and salt, beating on low speed until combined. Then, add the vanilla extract and 1 tablespoon of milk. Beat on medium-high speed, adding more milk one tablespoon at a time, until your frosting is smooth, creamy, and spreadable.
- Decorate & Devour: Once the cake is completely cool, slather on that glorious frosting. Go wild! Add sprinkles if you’re feeling festive. Slice it up and prepare for compliments!
Common Mistakes to Avoid
We’ve all been there. Baking can feel like a minefield of potential disasters, but armed with these tips, you’ll dodge most of them. Learn from my past kitchen catastrophes!
- Not preheating the oven: Rookie mistake! Your oven needs to be at the correct temperature *before* the cake goes in, otherwise, it won’t rise properly.
- Overmixing the batter: This is a biggie. Mixing too much develops the gluten in the flour, making your cake tough and chewy instead of light and tender. Mix until just combined, a few lumps are fine!
- Opening the oven door constantly: Resist the urge to peek! Every time you open the door, the temperature drops, which can cause your cake to sink in the middle. Wait until at least the 25-minute mark.
- Frosting a warm cake: Seriously, don’t do it. Your beautiful frosting will become a melted, runny mess. Patience is a virtue, especially in baking.
- Not measuring properly: Baking is a science, folks. Eyeballing it might work for a stew, but for cake, stick to the measurements. Especially for flour and sugar!
Alternatives & Substitutions
Baking should be fun, not restrictive! Here are a few ways to tweak this recipe to fit your pantry or your mood. Don’t be afraid to experiment!
- Dairy-Free Delight: You can totally swap out the regular milk for your favorite plant-based milk (almond, soy, oat). For the frosting, use a good quality vegan butter alternative and plant-based milk. Easy peasy!
- Oil vs. Butter: While this recipe uses oil for convenience and moisture, you could technically swap it for melted butter in the cake if you prefer that butter-y flavor. Just be aware the texture might be slightly different (still delicious, though!).
- Espresso Boost: Want to deepen that chocolate flavor? Add a teaspoon of instant espresso powder to the boiling water. It won’t make your cake taste like coffee, but it will make the chocolate *pop*. This is a game-changer!
- Different Frosting: Not a buttercream fan? This cake is also amazing with a simple chocolate ganache (just warm cream poured over chopped chocolate, stir till smooth) or even a dusting of powdered sugar if you’re feeling minimalist.
- Sprinkle Swap: If sprinkles aren’t your jam, try decorating with chocolate shavings, fresh berries, or even a dusting of extra cocoa powder.
FAQ (Frequently Asked Questions)
Got questions? I’ve got answers (and probably a joke or two).
- Can I make this as cupcakes?
Absolutely! Fill cupcake liners about two-thirds full and bake for 18-22 minutes. You’ll get about 24 cupcakes, perfect for sharing (or not!).
- My cake sank in the middle! What happened?
Oh, the dreaded sinkhole! This usually means one of two things: either your oven temperature was too low, or you opened the oven door too early, causing a sudden temperature drop. Make sure your oven is properly preheated and **don’t peek!**
- Can I use margarine instead of butter for the frosting?
Well, technically yes, but why hurt your soul like that? Margarine can make the frosting taste a bit artificial and often doesn’t give you that rich, creamy texture. Stick to butter for the best results, IMO!
- How long does this cake last?
If you can keep it around that long, it’ll stay fresh at room temperature (covered!) for 2-3 days, or in the fridge for up to 5 days. Though, honestly, it rarely lasts past day two in my house.
- Do I really need boiling water? What if I use cold water?
Yes, really! The boiling water “blooms” the cocoa powder, releasing more flavor, and helps create that tender, moist crumb. Cold water won’t give you the same magical effect. Don’t skip this step!
Final Thoughts
There you have it, future baking superstar! An easy chocolate birthday cake recipe that’s guaranteed to impress without making you want to pull your hair out. Whether it’s for a special occasion or just because you deserve a damn good slice of cake, this one’s a winner. Now go impress someone—or yourself—with your new culinary skills. You’ve earned it! And hey, if it’s not perfect, who cares? It’s homemade, it’s chocolate, and it’s delicious. That’s all that matters. Happy baking!


