So you’re craving something warm, hearty, and packed with flavor, but the idea of spending hours in the kitchen makes you want to order takeout? Been there, done that, got the stained t-shirt. Good news: I’ve got your back with a chili recipe so easy, it practically makes itself. Seriously, you’ll feel like a culinary wizard without breaking a sweat (or a significant rule of physics).
Why This Recipe is Awesome
Let’s be real, life’s too short for complicated recipes unless you’re a professional chef or a masochist. This chili? It’s the culinary equivalent of your favorite comfy sweats – no fuss, just pure comfort. Here’s why you’ll love it:
- It’s **idiot-proof**. Even I, the queen of sometimes-burning-water, managed not to mess this one up.
- **Minimal effort**, maximum flavor. You’ll spend more time inhaling its delicious aroma than actually cooking.
- Perfect for a cozy night in, game day, or pretending you’re a gourmet chef when guests arrive (they don’t need to know how easy it was, shhh!).
- You can customize it to your heart’s content. Think of it as a delicious template for your chili dreams.
- One pot wonder, baby! Less washing up means more time for… well, whatever you want. More chili, perhaps?
Ingredients You’ll Need
Gather ’round, my friend. Here’s your shopping list. Don’t worry, it’s mostly pantry staples, so you probably have half of it already.
- A glug of olive oil: For getting things started.
- 1 lb Ground Meat: Lean ground beef is classic, but ground turkey, chicken, or even a plant-based crumble works wonders. We’re not judging your protein choices here.
- 1 medium Onion: Bravely chopped. Tears optional, but a good cry never hurt anyone.
- 3-4 cloves Garlic: Minced. Because everything is better with garlic. Everything.
- 1 (28 oz) can Crushed or Diced Tomatoes: Your call, chief. They’re the saucy backbone of this deliciousness.
- 1 (6 oz) can Tomato Paste: A little tube of concentrated joy. Don’t skip it!
- 1 (15 oz) can Kidney Beans: Drained and rinsed. **Don’t skip the rinsing!** Unless you like foamy, gassy beans. Trust me.
- 1 cup Broth: Beef or vegetable, low sodium is always a good idea. You can always add salt, but you can’t take it away, my friend.
- 2 tbsp Chili Powder: The star of the show! Don’t be shy, but don’t go full inferno on your first go unless you’re feeling brave.
- 1 tbsp Cumin: Earthy goodness. Essential for that classic chili flavor.
- 1 tsp Paprika: Smoked paprika for extra depth, or regular if that’s what’s lurking in your spice cabinet.
- Salt and Pepper: To taste, obviously. You’re the chef here, so season with your heart.
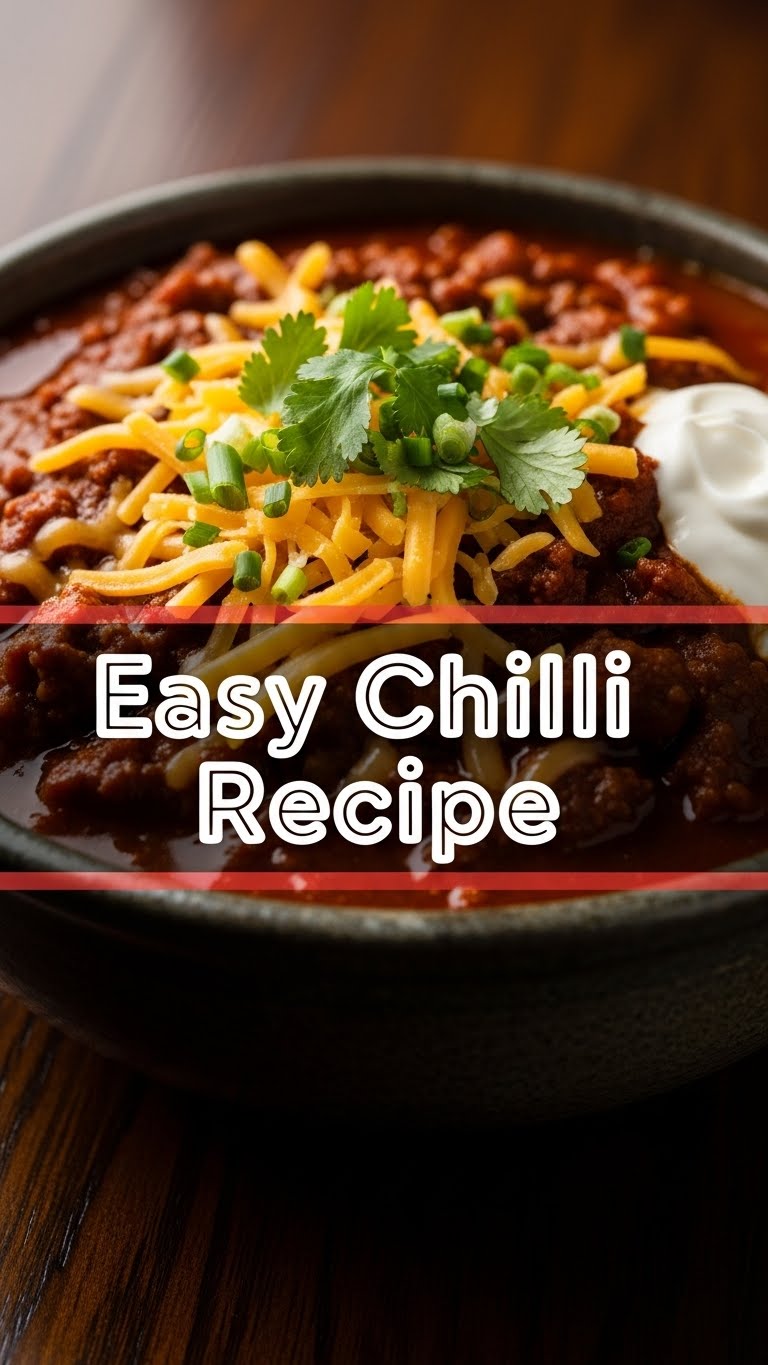
- Optional Toppings: Shredded cheese, a dollop of sour cream or Greek yogurt, fresh cilantro, sliced avocado, jalapeños – go wild!
Step-by-Step Instructions
Alright, let’s get cooking! These steps are so simple, you could probably do them blindfolded (but please don’t).
- Heat It Up: Drizzle your olive oil into a large pot or Dutch oven and set it over medium-high heat. Give it a minute to get nice and warm.
- Brown the Beef: Toss in your ground meat. Break it up with a spoon and cook until it’s beautifully browned all over. Once cooked, drain any excess fat – **this is important for non-greasy chili!**
- Aromatics Time: Add the chopped onion and minced garlic to the pot. Sauté for 3-5 minutes, stirring occasionally, until the onion softens and becomes fragrant. Your kitchen should be smelling *amazing* right about now.
- Spice It Up: Stir in the chili powder, cumin, and paprika. Cook for just another minute, letting those spices “bloom.” This wakes them up and makes them extra flavorful.
- Liquid Gold: Pour in the canned tomatoes (crushed or diced, remember?), tomato paste, the rinsed kidney beans, and the broth. Give everything a good, hearty stir to combine. Make sure nothing is sticking to the bottom.
- Simmer Down Now: Bring the mixture to a gentle boil, then immediately reduce the heat to low. Cover the pot and let it simmer for at least 30 minutes. If you have time, let it go for up to an hour for even deeper flavor. The longer it simmers, the more the flavors meld. **IMO**, the longer, the better!
- Taste Test & Adjust: Uncover the pot, give it another stir, and taste. This is your moment to shine! Add salt and pepper as needed. Does it need a little more kick? Go ahead, add a pinch more chili powder or a dash of cayenne!
- Serve It Up: Ladle your glorious chili into bowls and load it up with your favorite toppings. Seriously, don’t skimp on the toppings – they’re half the fun!
Common Mistakes to Avoid
Even the simplest recipes have little pitfalls. Learn from my past mistakes, so you don’t have to experience the horror yourself.
- Not Draining the Fat: Unless you enjoy a greasy sheen on your chili, please, for the love of all that is holy, drain the excess fat after browning your meat.
- Skipping the Simmer: Rushing the simmer is like trying to finish a good book on the first page. Flavor needs time to develop, my friend. **Patience is a virtue here.**
- Over-Salting Early: Remember what I said? You can always add more, but you can’t take it back. **Taste as you go!** It’s a game-changer.
- Under-Seasoning: Don’t be afraid of spices! They’re your flavor friends. Bland chili is a sad chili.
- Forgetting the Toppings: Chili without toppings is like a party without music. It’s fine, but it could be so much more! Embrace the cheese, sour cream, and fresh herbs.
Alternatives & Substitutions
This recipe is super flexible, which is part of its charm. Feel free to play around and make it your own!
- Meat Swap: Don’t like beef? Ground turkey, chicken, or even a mix of ground pork and beef are fantastic. For plant-based folks, try brown lentils or your favorite vegan mince.
- Bean Fiesta: Black beans or pinto beans work wonderfully in place of kidney beans. Or, be a rebel and use a mix of all three!
- Spice Level SOS: If you’re a heat seeker, a pinch of cayenne pepper, a finely diced jalapeño (seeds in for maximum fire!), or a dash of your favorite hot sauce will do the trick. If you’re a wimp (no judgment!), just dial back the chili powder a bit.
- Veggie Boost: Want to sneak in some extra nutrients? Toss in some diced bell peppers, corn, or even a zucchini during the simmering stage.
- Smoky Vibes: A tiny dash of liquid smoke or a tablespoon of chopped chipotle peppers in adobo sauce will take your chili to a wonderfully smoky place. **FYI**, a little goes a long way with chipotle!
FAQ (Frequently Asked Questions)
Got questions? I’ve got (casual and hopefully witty) answers!
- Can I make this ahead of time? Oh, absolutely! Chili is one of those magical dishes that tastes even better the next day. Seriously, **meal prep goals!**
- How do I store leftovers? Just pop it in an airtight container in the fridge for up to 3-4 days. It also freezes beautifully for up to 3 months. Future you will thank present you.
- Is this chili *really* easy? I’m kind of a disaster in the kitchen. Yes, it’s genuinely easy. If you can brown meat, chop an onion (even roughly), and stir, you’re golden. You got this!
- What should I serve with chili? Cornbread is a classic pairing. Rice, tortilla chips (for scooping!), or even just a good old spoon are all perfectly acceptable vehicles for this deliciousness.
- My chili is too thin/thick, what do I do? If it’s too thin, simmer it uncovered for a bit longer to reduce the liquid. Too thick? Add a splash more broth or water until it reaches your desired consistency. Easy peasy!
- Can I make this in a slow cooker? You betcha! Brown the meat and aromatics first on the stovetop (for flavor!), then dump everything into the slow cooker and cook on low for 6-8 hours or high for 3-4.
- Can I use a different type of beans? For sure! Black beans, pinto beans, or even cannellini beans work great. Feel free to mix and match.
Final Thoughts
See? Told you it was easy! You’ve just whipped up a bowl of soul-warming, flavor-packed goodness. You’re basically a culinary superstar now, without all the stress. Go ahead, give yourself a pat on the back. Now go impress someone—or just yourself—with your new culinary skills. You’ve earned those bragging rights (and that delicious chili). Happy eating, my friend!


