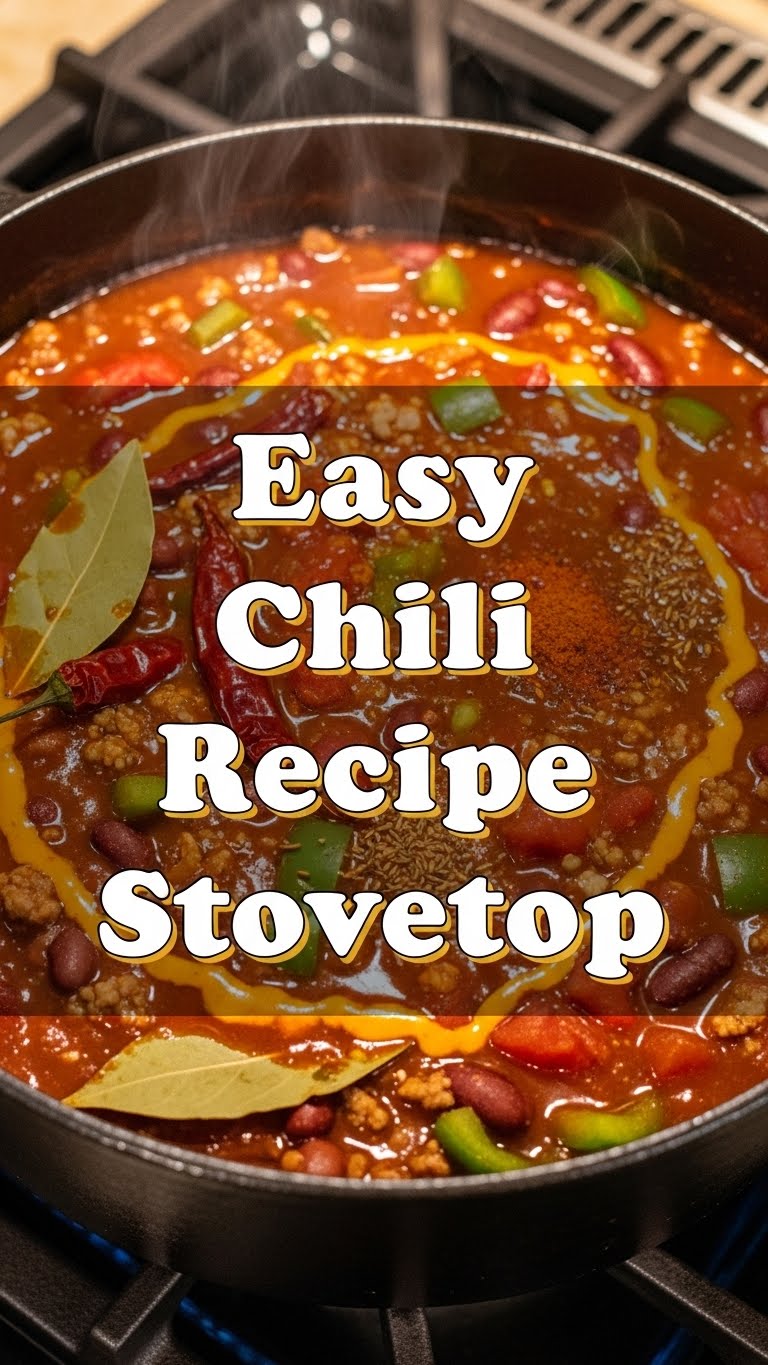
So you’re craving something tasty but too lazy to spend forever in the kitchen, huh? Same. We’ve all been there: that rumble in your tummy that screams for comfort food, but your motivation whispers, “Just order takeout.” Well, today, my friend, we’re silencing that lazy whisper with a hearty, soul-warming, unbelievably easy stovetop chili. No fancy gadgets, no endless chopping, just pure, unadulterated deliciousness that practically cooks itself. Get ready to impress yourself (and maybe your significant other, if they’re lucky enough to be around).
Why This Recipe is Awesome
Okay, let’s be real. There are a million chili recipes out there. So why *this* one? Because it’s the culinary equivalent of a warm hug that also high-fives you for being so clever. First off, it’s one-pot wonder status. Fewer dishes means less scrubbing, which means more time for important things, like binging your favorite show. Second, it’s virtually idiot-proof. Seriously, even I haven’t managed to mess this up, and my kitchen has seen some things. Third, it’s packed with flavor, super customizable, and makes enough for leftovers, which, let’s be honest, is the real MVP of any meal prep. Plus, your house will smell amazing, which is a free bonus!
Ingredients You’ll Need
Gather ’round, my budding chef! Here’s the hit list for your chili adventure. Don’t worry, nothing too exotic here – just good old-fashioned goodness.
- 1-2 tablespoons olive oil: The trusty starter. Any cooking oil works, honestly.
- 1 medium onion: Chopped. Yes, there will be tears. It’s character-building.
- 2-3 cloves garlic: Minced. Or a teaspoon of jarred garlic, because convenience is queen.
- 1 pound ground meat: Beef, turkey, chicken, or even plant-based crumble. Your call!
- 1 (28 ounce) can crushed tomatoes: The backbone of our chili empire.
- 1 (15 ounce) can diced tomatoes: For a little texture party. Don’t drain!
- 1 (15 ounce) can kidney beans: Rinsed and drained. Or black beans, pinto beans… bean wild!
- 1 (15 ounce) can chili beans: Undrained. These usually come in a delicious chili sauce, so we’re keeping that.
- 2-3 tablespoons chili powder: This is chili, after all. Don’t be shy!
- 1 tablespoon cumin: For that earthy, essential chili flavor.
- 1 teaspoon smoked paprika: Optional, but *chef’s kiss* for depth.
- 1/2 teaspoon cayenne pepper: If you like a little kick. Adjust to your heat tolerance!
- 1 cup beef or vegetable broth: Or water, if you’re living dangerously.
- Salt and black pepper to taste: The unsung heroes.
Step-by-Step Instructions
- Sauté the Aromatics: Grab your biggest pot or Dutch oven and heat the olive oil over medium heat. Toss in your chopped onion and cook until it’s soft and translucent, about 5-7 minutes. Add the minced garlic and cook for another minute until fragrant. Don’t let it burn, unless you like bitter chili. (You don’t.)
- Brown the Meat: Add your ground meat to the pot. Break it up with a spoon and cook until it’s fully browned. Drain any excess grease, because nobody wants a greasy chili.
- Spice it Up: Sprinkle in the chili powder, cumin, smoked paprika (if using), and cayenne pepper. Stir well and cook for another minute, letting those spices get all toasty and fragrant. This step is key for flavor!
- Add the Wet Stuff: Pour in the crushed tomatoes, diced tomatoes (undrained!), kidney beans (rinsed!), chili beans (undrained!), and broth. Stir everything together until it’s beautifully combined.
- Simmer Time! Bring the chili to a gentle simmer. Once it’s bubbling ever so slightly, reduce the heat to low, cover the pot, and let it cook for at least 30 minutes to an hour. The longer it simmers, the more the flavors mingle and get to know each other – think of it as a flavor mixer. Stir occasionally to prevent sticking.
- Taste and Adjust: After simmering, remove the lid and give your chili a good stir. Now’s the moment of truth: taste it! Add salt and pepper as needed. Want more heat? Add a pinch more cayenne. Want more depth? A tiny splash of Worcestershire sauce or a dash of hot sauce can work wonders.
- Serve It Up: Ladle your glorious chili into bowls. Top with your favorite fixings (cheese, sour cream, green onions, jalapeños, Fritos – the possibilities are endless!) and dig in!
Common Mistakes to Avoid
Even though this recipe is pretty foolproof, there are a few little slip-ups that can happen. Let’s make sure you don’t fall victim to these common chili blunders:
- Not browning the meat enough: Undercooked meat is sad meat. Make sure it’s fully browned and crumbly before moving on.
- Skipping the grease-draining step: If your ground meat is fatty, you *must* drain it. Otherwise, your chili will be a greasy mess, and we don’t want that.
- Forgetting to toast the spices: Cooking the spices for a minute before adding liquids really brings out their flavor. Don’t skip this quick but crucial step!
- Not simmering long enough: While you *can* eat it after 15-20 minutes, the magic happens during a longer simmer. Give those flavors time to meld, IMO.
- Being shy with seasoning: Don’t just dump and dash. Taste, taste, taste! Salt and pepper are your friends, and a little more of a spice can make a huge difference.
Alternatives & Substitutions
This recipe is super flexible, so feel free to play around! It’s your kitchen, after all.
- Meat Swap: Not feeling beef? Ground turkey or chicken work beautifully for a lighter chili. For a plant-based version, swap the meat for an extra can of beans, lentils, or a bag of plant-based crumbles. Just brown them up the same way!
- Bean Fiesta: Don’t like kidney beans? Use black beans, pinto beans, cannellini beans – mix and match! Just make sure to rinse and drain them.
- Veggie Boost: Want more goodness? Sauté some diced bell peppers or shredded carrots with the onions. They add flavor and nutrients!
- Heat Level: For more heat, add an extra pinch of cayenne, a dash of hot sauce, or a diced jalapeño (remove seeds for less heat). For less heat, just omit the cayenne. Easy peasy!
- Broth Options: Beef broth offers a rich flavor, but vegetable broth or even chicken broth works just fine. If you’re out, water plus a bouillon cube can save the day.
FAQ (Frequently Asked Questions)
- Can I make this vegetarian? Absolutely! Swap the ground beef for plant-based crumbles, lentils, or an extra can of mixed beans. Use vegetable broth instead of beef broth. Voilà, veggie chili!
- How long does this chili last in the fridge? It’s usually good for 3-4 days in an airtight container. Honestly, it often tastes even better the next day as the flavors develop.
- Can I freeze this chili? YES! Chili is a freezer champion. Let it cool completely, then portion it into freezer-safe containers or bags. It’ll last for up to 3 months. Just thaw in the fridge overnight and reheat on the stove or in the microwave.
- What if my chili is too spicy? Uh oh! Add a dollop of sour cream or plain yogurt to your bowl. A squeeze of lime juice or a tiny sprinkle of sugar can also help balance the heat. Next time, go easy on the cayenne!
- What are good toppings for chili? The world is your oyster! Shredded cheese (cheddar, Monterey Jack), sour cream or Greek yogurt, chopped green onions, fresh cilantro, diced avocado, crushed corn chips (Fritos!), or a side of cornbread are all fantastic choices.
- My chili is too thin/too thick. What do I do? If it’s too thin, simmer it uncovered for a bit longer to let some liquid evaporate. If it’s too thick, add a little extra broth or water until it reaches your desired consistency.
Final Thoughts
See? That wasn’t so scary, was it? You just whipped up a glorious batch of homemade chili, and you barely broke a sweat. Now you’ve got a delicious, comforting meal that’s perfect for a chilly evening, game day, or just a lazy Tuesday night. So go on, bask in your culinary glory! You’ve officially leveled up your home cooking game without all the fuss. Now go impress someone—or yourself—with your new culinary skills. You’ve earned it!


