So, you’re looking for something tasty, kinda healthy (ish), and ridiculously easy to whip up without selling your soul to kitchen gods? And maybe, just maybe, you’re trying to prove to Aunt Mildred that Brussels sprouts aren’t just for boiling into oblivion? Honey, you’ve come to the right place! We’re talking *easy* Brussels sprout recipes that will actually make you go, “Whoa, these are good?” Yep, even *you* can make these taste like a Michelin-star side dish (or at least, a really, really good pub snack). Let’s get roasty-toasty!
Why This Recipe Is Awesome
Okay, let’s be real. This isn’t just a recipe; it’s a life hack in sprout form. It’s awesome because:
- It’s practically **idiot-proof**. Seriously, if I can do it without setting off the smoke detector, so can you.
- It transforms those little green mini-cabbages into crispy, caramelized flavor bombs. No more soggy, bitter childhood nightmares!
- It requires minimal ingredients and even less effort. Perfect for weeknights when your energy levels are lower than a snake’s belly.
- It’s versatile! You can jazz it up or keep it super simple. Your kitchen, your rules.
Ingredients You’ll Need
Gather ’round, fellow culinary adventurers! Here’s your simple shopping list for roasted perfection:
- Brussels Sprouts: About 1 pound (around 450g). Look for firm, bright green ones. Think fresh, not flabby!
- Olive Oil: A couple of tablespoons. Your trusty sidekick for getting things nice and crispy.
- Salt & Black Pepper: To taste, of course! Don’t be shy; these little guys can take it.
- Garlic Powder (Optional but Recommended): ½ teaspoon. Because garlic makes everything better, fight me on it.
- Balsamic Glaze (Optional, but seriously elevates): A drizzle or two. You can buy it pre-made or easily reduce balsamic vinegar yourself if you’re feeling fancy (or just have too much time on your hands).
Step-by-Step Instructions
Ready? Set? Sprout! Let’s get these little green gems from humble to holy-cow-delicious.
- Preheat Power-Up: First things first, get that oven screaming hot to **400°F (200°C)**. Roasting is all about high heat for that perfect crisp. Don’t skip this, rookie!
- Sprout Prep School: While the oven heats, give your Brussels sprouts a little spa treatment. Trim off any sad, outer leaves and chop off the very bottom of the stem. Then, cut each sprout in half lengthwise. If you have some jumbo sprouts, quarter them to ensure even cooking.
- Dress ‘Em Up: In a large bowl, toss the halved sprouts with the olive oil, salt, pepper, and garlic powder (if using). Make sure every single sprout gets a good coating. We’re aiming for full coverage, people!
- Sheet Pan Party: Spread the seasoned sprouts in a single layer on a baking sheet. Don’t overcrowd the pan, or they’ll steam instead of roast (and nobody wants sad, steamy sprouts). Give them some personal space!
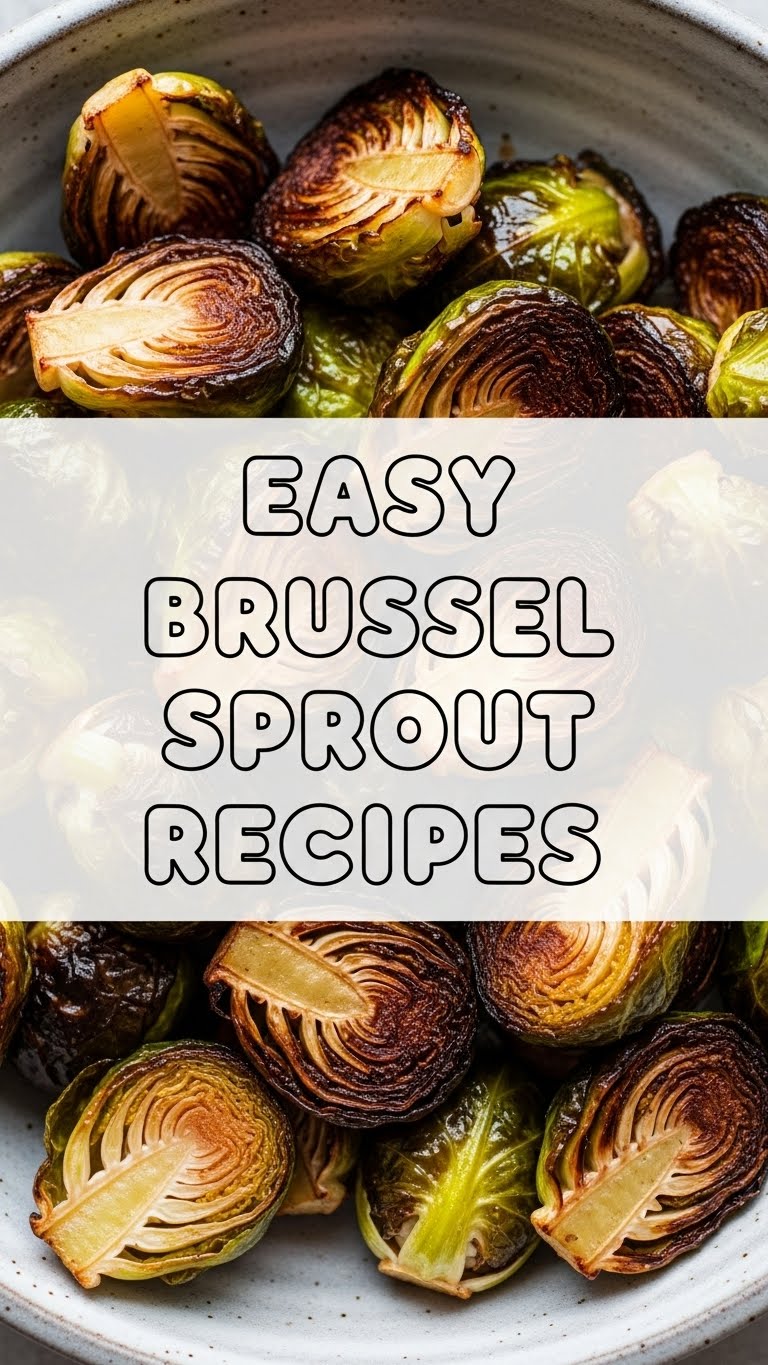
- Roast to Perfection: Pop that baking sheet into your preheated oven. Roast for **20-25 minutes**, flipping them once halfway through. You’re looking for tender insides and beautifully caramelized, slightly charred edges. That’s where the magic happens!
- Glaze & Guzzle (Optional): Once they’re out of the oven, transfer them to a serving dish. If you’re using balsamic glaze, drizzle it generously over the hot sprouts. Serve immediately and bask in the glory!
Common Mistakes to Avoid
Listen up, buttercup! Even easy recipes have their pitfalls. Steer clear of these rookie blunders:
- Not preheating your oven: Seriously, don’t rush it. A cold oven equals soggy sprouts. **Patience, young grasshopper!**
- Overcrowding the baking sheet: This is the #1 culprit for steamed, not roasted, veggies. Give those sprouts room to breathe and crisp up. If you have a lot, use two sheets.
- Under-seasoning: Brussels sprouts can handle flavor. Don’t be afraid of salt and pepper. A bland sprout is a sad sprout.
- Forgetting to flip: A quick flip halfway through ensures even browning and that glorious caramelization on both sides.
- Boiling them first: Just… no. We’re roasting here, not reenacting a culinary horror film from the 70s.
Alternatives & Substitutions
Feeling adventurous? Or just ran out of something? No worries, we got options!
- Spice it Up: Instead of just salt and pepper, try a sprinkle of **chili flakes** for a kick, or some smoked paprika for a deeper flavor profile. Onion powder is also a great addition if garlic isn’t your jam.
- Go Cheesy: A sprinkle of **Parmesan cheese** during the last 5 minutes of roasting (or right after) is a total game-changer. Seriously, try it.
- Add a Sweet Touch: A tiny drizzle of **maple syrup** or honey with your olive oil before roasting will give them an even more irresistible caramelization. Trust me on this one.
- Different Fats: No olive oil? Avocado oil or even melted butter works too!
- Bacon Bits: Because, let’s be honest, everything is better with bacon. Roast some diced bacon alongside the sprouts, or crisp it separately and toss it in at the end. **Y-U-M.**
FAQ (Frequently Asked Questions)
Got questions? I’ve got answers (mostly, don’t ask me about quantum physics).
- “Can I roast frozen Brussels sprouts?” You *can*, but should you? They tend to release more water and might not get as crispy. If you absolutely must, thaw them first and pat them *super* dry. Otherwise, fresh is always best, IMO.
- “My sprouts taste bitter. What gives?” A few things: they might be old (buy fresh!), or they might be undercooked. Roasting at high heat until nicely caramelized significantly reduces bitterness. Also, a little sweetness (like balsamic glaze or maple syrup) helps too!
- “Do I have to cut them in half?” For this recipe, yes! Cutting them exposes more surface area to the heat, which leads to those delicious crispy, caramelized bits we’re after. Whole sprouts will take longer and won’t get as uniformly delicious.
- “Can I prepare them ahead of time?” You can wash and cut them a day in advance and store them in an airtight container in the fridge. But don’t oil them until just before roasting, or they might get a bit soggy.
- “What’s the deal with the balsamic glaze? Can I just use regular balsamic vinegar?” Regular balsamic vinegar is thinner and will largely evaporate in the oven or soak into the sprouts without the same impact. Glaze is thicker and sticks better, giving that lovely sweet-tart finish. You can easily make your own by simmering regular balsamic vinegar until it reduces and thickens!
- “Are these actually healthy, or am I just kidding myself?” Oh, they are! Brussels sprouts are packed with vitamins K and C, fiber, and antioxidants. So yeah, you’re being healthy *and* delicious. Win-win!
Final Thoughts
See? Who said healthy eating had to be boring or complicated? You just took some humble little green guys and transformed them into a culinary masterpiece (or at least, something you actually *want* to eat). Now go forth and impress your taste buds, your family, or just your cat with your newfound Brussels sprout prowess. You totally nailed it, chef! And remember, life’s too short for bland veggies. Happy roasting!


