Ever stared into your pantry, feeling that deep, existential hunger for something warm and carby, but also kinda… lazy? Yeah, me too. And then you think, ‘Bread! But isn’t bread for, like, professional bakers with fancy hats and super strong arm muscles?’ Nope! Not this bread, my friend. This is the ‘I made it myself and it only took like, five minutes of actual effort’ kind of bread. Get ready to impress yourself (and maybe your dog).
Why This Recipe is Awesome
Okay, first off, it’s practically magic. You mix stuff, you wait, you bake, and BOOM! Bread. No wrestling with dough like you’re in a WWE match. Secondly, it’s idiot-proof. Seriously, if I can do it without setting off the smoke alarm (mostly), you can too. It’s perfect for little hands (with adult supervision, of course, because hot ovens are no joke). And finally, the smell? Oh my gosh, the smell of fresh bread baking will make you feel like a domestic god/goddess. Even if you just microwaved leftovers for dinner.
Ingredients You’ll Need
- Warm Water (about 1 cup): Not boiling, not ice cold. Think ‘warm bath’ for your finger. The yeast likes it just right.
- Active Dry Yeast (1 packet or 2 ¼ teaspoons): The tiny superheroes that make your bread fluffy, not flat. Don’t use expired yeast unless you like dense bricks.
- Granulated Sugar (2 tablespoons): A little treat for our yeast friends, gets them active and bubbly. Also adds a touch of sweetness.
- Salt (1 teaspoon): Don’t skip this! It makes the bread taste like… well, bread, instead of bland sadness.
- All-Purpose Flour (about 3 cups): The main character! We’re talking regular flour, nothing fancy.
- Olive Oil or Melted Butter (2 tablespoons, plus more for greasing): For a lovely texture and flavor. Plus, greasing the bowl so the dough doesn’t stage a sticky rebellion.
Step-by-Step Instructions
Wake Up the Yeast: Grab a large bowl. Pour in the warm water and sprinkle the sugar and yeast on top. Give it a gentle stir. Now, let it sit for about 5-10 minutes. It should get frothy and bubbly, like a tiny science experiment. If it doesn’t, your yeast might be snoozing forever – get new yeast!
Mix It Up: Add the salt and 2 tablespoons of oil/butter to your bubbly yeast mixture. Then, gradually stir in the flour, about a cup at a time. Mix until a shaggy dough forms. You might need to get your hands in there for the last bit – it’s fun, trust me!
Knead a Little (or not much): Turn the dough out onto a lightly floured surface. Knead it for just 5-7 minutes until it’s smoother and elastic. It doesn’t need to be perfect; this isn’t a baking competition, unless you want it to be.
First Nap (aka First Rise): Lightly grease your large bowl with a little oil. Plop the dough in, then flip it over once so it’s coated. Cover the bowl with plastic wrap or a clean kitchen towel. Find a warm spot and let it chill for 1 to 1.5 hours, or until it’s doubled in size. This is where the magic happens!
Shape It Up: Gently punch down the dough to release the air (satisfying, right?). Shape it into a loaf. You can just make it into a rectangle and roll it up, pinching the seams. Place it into a lightly greased 9×5 inch loaf pan.
Second Nap (aka Second Rise): Cover the loaf pan with plastic wrap or a towel again. Let it rise in a warm spot for another 30-45 minutes, or until it’s nice and puffy, almost spilling over the pan. Meanwhile, preheat your oven to 375°F (190°C).
Bake Away! Pop that beauty into your preheated oven. Bake for 30-35 minutes, or until the crust is golden brown and it sounds hollow when you tap the bottom. If it’s getting too dark, you can loosely tent it with foil.
Cool Down: This is the hardest part – waiting! Let it cool in the pan for 10 minutes, then turn it out onto a wire rack to cool completely. Resist the urge to cut into it immediately! It needs to finish cooking internally.
Common Mistakes to Avoid
Ignoring the yeast’s mood: If your yeast doesn’t get foamy, it’s dead. Don’t waste your other ingredients on a sad, flat loaf. Always check your yeast!
Water temperature woes: Too hot = dead yeast. Too cold = slow/sleepy yeast. Aim for body temperature.
Too much flour: You want a soft, slightly sticky dough, not a dry, crumbly mess. Add flour slowly.
Opening the oven door constantly: You’ll lose all that precious heat and make your bread sulk.
Cutting it hot: I know, I know, the smell is irresistible. But seriously, let it cool! Otherwise, it can get gummy. Rookie mistake!
Alternatives & Substitutions
Flour power: All-purpose works best here, but you could try half whole wheat for a nuttier flavor. Just know it might be a bit denser. IMO, stick to all-purpose for your first try.
Oil vs. Butter: Olive oil is great, but melted butter adds a richer, almost brioche-like flavor. Your call! Both work perfectly.
Sweet stuff: Want a touch more sweetness? A tablespoon of honey instead of sugar works wonders. Or add a sprinkle of cinnamon and raisins for a breakfast-y loaf!
No loaf pan? You can shape it into a round loaf and bake it on a parchment-lined baking sheet. It might be a bit flatter, but still delicious!
FAQ (Frequently Asked Questions)
“My dough isn’t rising! What did I do wrong?” Probably your yeast, friend! Was your water too hot/cold? Was the yeast expired? Or maybe your ‘warm spot’ wasn’t warm enough.
“Do I really need to knead?” For this recipe, yes, a little bit of kneading helps develop the gluten for a nicer texture. But it’s not a super intense workout. Think of it as a gentle dough massage.
“Can I add herbs or cheese?” Heck yes! Knead in some dried herbs (rosemary, thyme, oregano) or shredded cheese (cheddar, Parmesan) during the last few minutes of kneading for a savory treat.
“How long does homemade bread last?” Fresh bread is best eaten within 2-3 days. Keep it in an airtight container or bread bag. It also freezes beautifully!
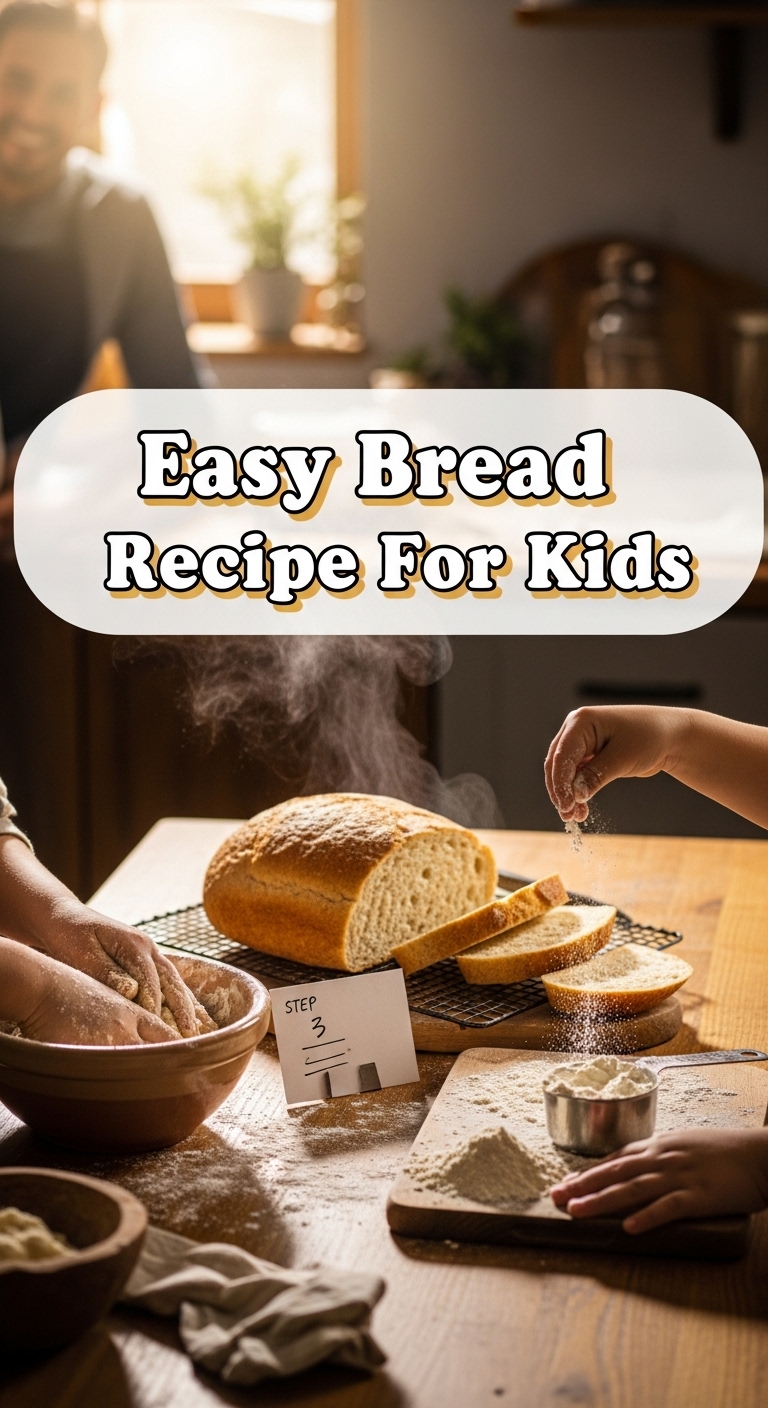
“Is this recipe *actually* for kids?” Absolutely! With adult supervision for the oven and hot water bits, kids can totally help measure, mix, and even knead. It’s a great way to get them excited about baking without too much fuss.
“My bread crust is hard, what gives?” Could be slightly overbaked, or your oven runs hot. Try a slightly lower temperature or shorter baking time next time. Or, brush with a little melted butter right after it comes out of the oven for a softer crust.
Final Thoughts
See? You’re practically a bread whisperer now! This recipe is your new secret weapon for when you want warm, comforting goodness without selling your soul to a complicated baking process. So go forth, bake some bread, and enjoy the glorious aroma and even more glorious taste. You totally nailed it. Now go impress someone—or yourself—with your new culinary skills. You’ve earned it!


