So you’re staring at those spotty, bruised bananas on your counter, feeling a tiny pang of guilt for letting them get *that* ripe, but also a huge craving for something warm, sweet, and comforting, huh? My friend, you’ve come to the right place. Let’s turn those brown beauties into a masterpiece, shall we? One that requires minimal effort and maximum deliciousness. Welcome to the wonderful world of Easy Banana Walnut Bread!
Why This Recipe is Awesome
Seriously, if you can mash a banana, you can make this bread. It’s practically **idiot-proof** – and coming from someone who once set off the smoke alarm making toast (don’t ask), that’s high praise. You don’t need fancy equipment, no bizarre techniques, just pure, unadulterated banana-y joy. Plus, your entire house will smell like a dream, which is a bonus if you’re trying to impress someone (or just yourself, totally valid).
This recipe is forgiving, fast (for baking, anyway), and makes the most amazing use of those bananas that are practically begging to be baked. You’re basically a hero, saving them from the compost bin.
Ingredients You’ll Need
Gather ’round, my fellow lazy gourmets. Here’s your simple shopping list:
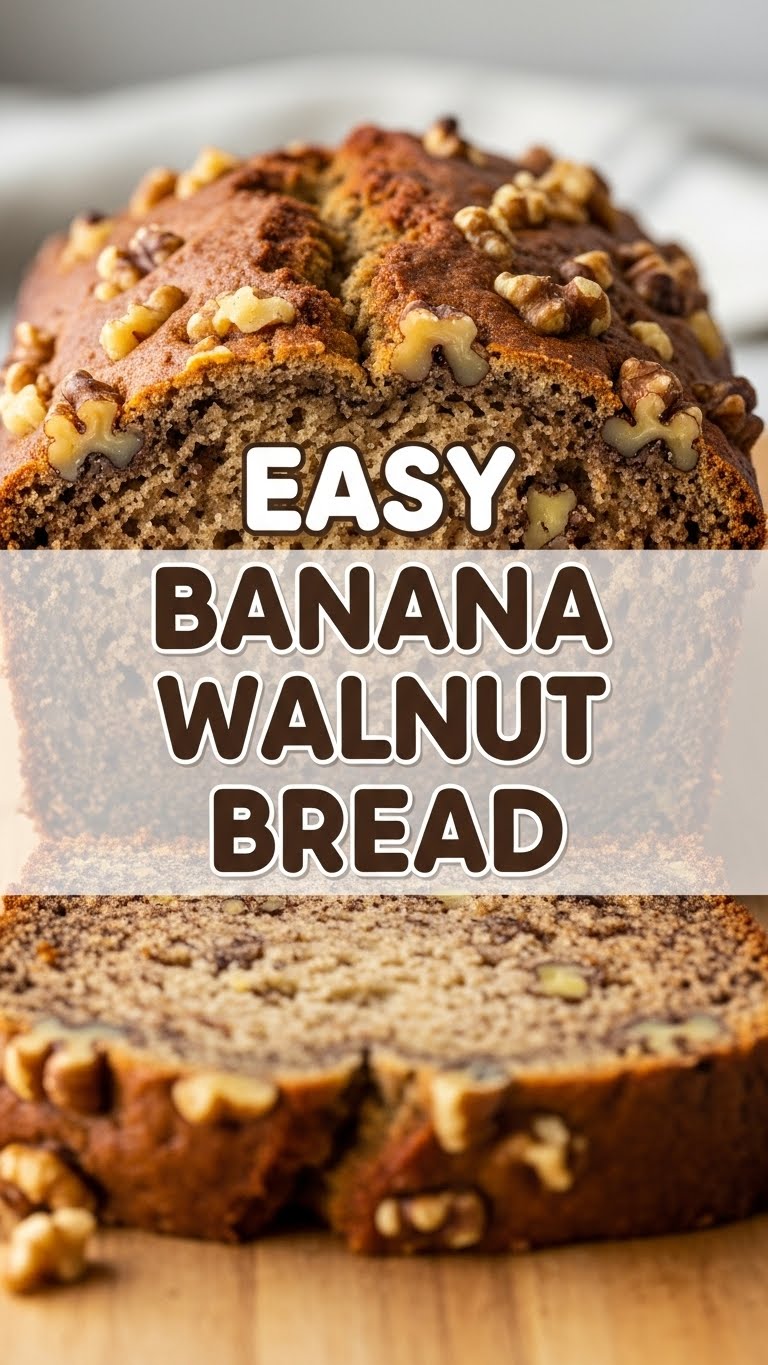
- 3 ripe bananas: The spottier, the better! We’re talking brown, mushy, practically liquid. Seriously, embrace the decay.
- 1 ½ cups all-purpose flour: The backbone of deliciousness.
- ¾ cup granulated sugar: Just enough to sweeten things up without making your teeth hurt.
- ½ cup (1 stick) unsalted butter: Melted. Because everything’s better with butter, IMO.
- 1 large egg: Our little binder.
- 1 teaspoon vanilla extract: A splash for that fancy bakery flavor. Don’t skip it!
- 1 teaspoon baking soda: Our leavening hero, making things light and fluffy.
- ½ teaspoon salt: Just a pinch, to make all the other flavors sing.
- 1 cup chopped walnuts: Because crunch! (Or pecans, if you’re feeling wild. Or chocolate chips, if you’re feeling extra decadent.)
Step-by-Step Instructions
Ready? Let’s get baking! It’s so easy, you’ll wonder why you ever bought banana bread from a cafe.
- Preheat & Prep: Get that oven heated to 350°F (175°C). Seriously, don’t skip this; it ensures even baking. Grease and flour a 9×5 inch loaf pan. A quick spray with non-stick stuff works too.
- Mash ‘Em Up: In a big bowl, mash those ridiculously ripe bananas with a fork. Leave a few small lumps for texture if you like, but mostly, go for a smooth-ish pulp.
- Wet Ingredients Party: Add the melted butter, sugar, and the egg to your mashed bananas. Stir ’em all up until they’re just combined. Don’t overmix, we’re not making a soufflé here. Pour in the vanilla extract.
- Dry Mix-Up: In a separate, medium-sized bowl, whisk together the flour, baking soda, and salt. Make sure there are no lumpy bits.
- Combine Forces: Gradually add the dry ingredients to the wet ingredients, stirring *just* until combined. A few streaks of flour are totally fine; **overmixing is the enemy of tender bread**, so stop as soon as it looks like everything’s wet.
- Nutty Goodness: Gently fold in your chopped walnuts. You can omit them if you’re a nut-hater, but trust me, they add a fantastic crunch and flavor.
- Into the Pan: Pour the batter into your prepared loaf pan. Give it a gentle tap on the counter to settle it evenly.
- Bake It, Baby! Pop it in the preheated oven for 55-65 minutes. How do you know it’s done? A toothpick inserted into the center should come out clean.
- Cool Down: Let it hang out in the pan for about 10 minutes before turning it out onto a wire rack to cool completely. Or, you know, slice into it while it’s still warm because you can’t resist. **No judgment here.**
Common Mistakes to Avoid
We all make ’em, but here are some easy ones to side-step for perfect banana bread every time:
- Under-ripe bananas: Trying to use yellow-green bananas is like trying to convince a cat to take a bath. It just won’t work well. **You need those brown, mushy ones for peak flavor and moisture.**
- Overmixing the batter: This is probably the biggest rookie mistake. You’ll end up with tough, dense bread instead of light, fluffy goodness. Mix *just* until the flour disappears.
- Not preheating the oven: Seriously, just do it. It ensures even baking from the get-go and helps the leavening agents do their job effectively.
- Cutting it too soon: I know, the smell is intoxicating. But let it cool a bit; it allows the bread to set properly and makes for cleaner slices. Patience, grasshopper.
Alternatives & Substitutions
Feeling creative? Or just missing an ingredient? Here are some simple swaps:
- No walnuts? No problem! Pecans are a fantastic swap, or even chocolate chips if you’re feeling extra indulgent (and who isn’t?). Mini chocolate chips are a personal fave.
- Gluten-free? You can totally use a 1:1 gluten-free flour blend. Just make sure it includes xanthan gum or add a tiny bit yourself according to package directions.
- Dairy-free? Swap butter for a plant-based butter alternative or even a neutral oil like canola or vegetable oil. The texture will be slightly different, but still delish.
- Less sugar? You can definitely reduce the sugar a bit (by about ¼ cup), especially if your bananas are super sweet. But don’t cut it out completely; it helps with moisture and browning.
FAQ (Frequently Asked Questions)
Got questions? I’ve got answers! (Mostly.)
- Can I use frozen bananas? Absolutely! Just thaw them first, and don’t drain the liquid – that’s where a lot of the banana flavor lives. It might look a little gross, but trust the process.
- My bread is really dense. What went wrong? Chances are you overmixed the batter, friend. Or maybe your baking soda is past its prime? **Always check the expiration date!**
- How do I store banana bread? Keep it tightly wrapped at room temperature for a few days, or in the fridge for up to a week. It also freezes beautifully for longer storage! Wrap it well in plastic wrap, then foil.
- Can I make muffins instead? Heck yes! Just pour the batter into a greased muffin tin (filling about two-thirds full) and bake for about 20-25 minutes. So easy for grab-and-go.
- What if I don’t have vanilla extract? You can skip it in a pinch, but that little splash really elevates the flavor. Think of it as the bread’s fancy perfume.
- Can I add spices? Totally! A half teaspoon of cinnamon or a pinch of nutmeg would be amazing, especially if you’re making this in the fall.
Final Thoughts
See? I told you it was easy! Now you’ve got a warm, fragrant loaf of banana walnut bread, perfect for breakfast, an afternoon snack, or a midnight treat (shh, I won’t tell). Go ahead, impress your friends, your family, or just your incredibly grateful self. You totally nailed it. Enjoy every single delicious bite! Now go forth and bake, my friend!


