So you’re craving something tasty but too lazy to spend forever in the kitchen, huh? Same. What if I told you that you’re about to become a banana bread wizard with minimal effort? Get ready, friend.
Why This Recipe is Awesome
Look, we all have those moments where we want to bake but also want to binge-watch something equally satisfying. This recipe gets it. It’s seriously foolproof; even if your kitchen skills are usually limited to microwaving popcorn, you’ll nail this. Plus, it uses up those sad, spotty bananas lurking on your counter, giving them a glorious second life. Sustainability, baby! And honestly, the smell alone will make your home feel like a warm hug.
Ingredients You’ll Need
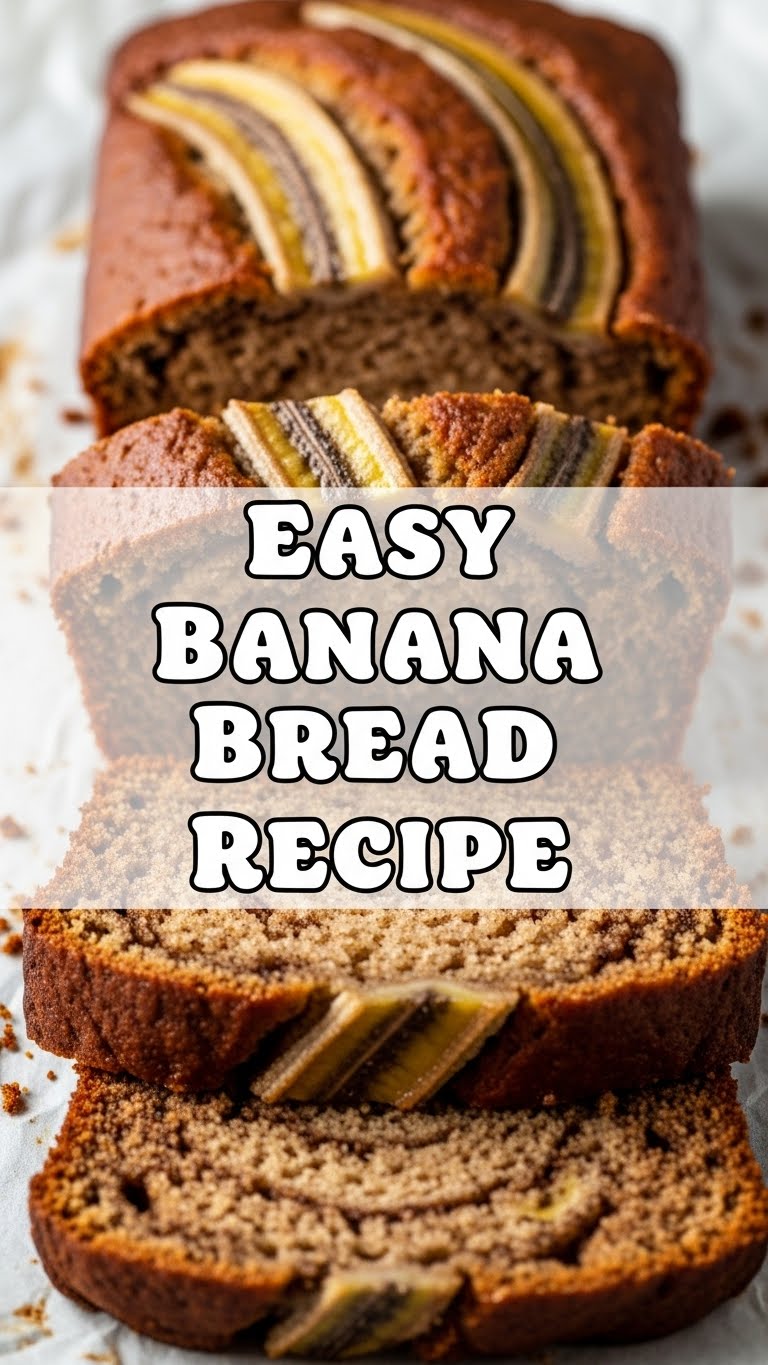
- 3 overly ripe bananas: The darker, the better! Think “almost compost, but not quite.” They’re the secret sauce for moisture and sweetness.
- 1/3 cup melted unsalted butter: Because butter makes everything better. Period.
- 1 tsp baking soda: Our little magic poof-maker.
- Pinch of salt: Just to balance things out and make the flavors sing.
- 1/2 cup granulated sugar: Or a bit less if your bananas are basically candy. Adjust to your sweet tooth.
- 1 large egg: The binder that holds our delicious dreams together.
- 1 tsp vanilla extract: Because life’s too short for bland baked goods.
- 1 1/2 cups all-purpose flour: The sturdy foundation of our banana-y masterpiece.
- Optional add-ins: Chocolate chips (duh), chopped nuts (walnuts or pecans, if you’re feeling fancy), or a sprinkle of cinnamon for extra hug-in-a-mug vibes.
Step-by-Step Instructions
- Preheat & Prep: Get that oven warming up to 350°F (175°C). Seriously, do it now. Grease a 9×5 inch loaf pan. You can also line it with parchment paper for easy removal later. Trust me on this one.
- Mash ‘Em Up: In a medium bowl, mash those ripe bananas with a fork until they’re chunky but mostly smooth. Don’t overthink it. A few lumps are totally fine, even welcome!
- Wet Ingredients Party: Stir in the melted butter, baking soda, and salt. Then beat in the sugar, egg, and vanilla extract until everything is just combined. We’re not going for a whisking marathon here.
- Fold in the Flour: Gently fold in the flour until just combined. Whatever you do, don’t overmix! Lumps of flour are okay; tough banana bread is not. If you’re using chocolate chips or nuts, now’s the time to fold those in too.
- Into the Pan: Pour the batter into your prepared loaf pan. Give it a little tap on the counter to settle.
- Bake It Baby: Pop it into the preheated oven and bake for about 50-60 minutes. Start checking around 50 minutes. A toothpick inserted into the center should come out clean (or with a few moist crumbs, but no wet batter).
- Cool Down: Let it cool in the pan for 10 minutes (the hardest part, I know!) before transferring it to a wire rack to cool completely. Or, you know, just slice into it while it’s warm and gooey. Your house, your rules.
Common Mistakes to Avoid
- Underripe bananas: Using yellow, firm bananas? You’re basically signing up for bland, dry bread. Wait for those brown spots! They’re the real MVPs.
- Overmixing the batter: This is the arch-nemesis of tender baked goods. You’ll activate the gluten too much, leading to a tough, dense loaf. Mix just until combined.
- Not preheating the oven: Patience, grasshopper. A properly preheated oven ensures even baking from the start. Rookie mistake.
- Skipping the cooling time: I know it’s tempting to dive right in, but letting it cool slightly in the pan helps it set and prevents it from crumbling when you try to remove it.
Alternatives & Substitutions
- Butter vs. Oil: You can use an equal amount of vegetable oil instead of butter for a slightly moister crumb, but honestly, butter just brings that flavor. IMO, stick with butter.
- Sugar Swaps: Brown sugar can replace granulated sugar for a deeper, more caramel-like flavor. Maple syrup or honey could also work, but reduce the amount slightly as they’re often sweeter and add more liquid.
- Flour Power: Want to get a little fancy? Swap out 1/2 cup of all-purpose flour for whole wheat flour for a nuttier taste and extra fiber.
- Spice it Up: A pinch of nutmeg or a dash of cinnamon can elevate the flavor profile. Go wild! (But not too wild, it’s still banana bread.)
FAQ (Frequently Asked Questions)
- “My bananas aren’t ripe enough! Help!” Don’t panic! You can ripen them faster by baking them unpeeled on a baking sheet at 300°F (150°C) for 15-30 minutes until they’re black and soft. Let them cool before mashing. Crisis averted.
- “Can I use margarine instead of butter?” Well, technically yes, but why hurt your soul like that? Butter just has a superior flavor and texture, FYI. If you’re really out of butter, fine, but don’t say I didn’t warn you.
- “How do I know it’s cooked through?” The trusty toothpick test! Insert it into the center. If it comes out clean, you’re golden. If it’s gooey, give it 5-10 more minutes.
- “Can I freeze banana bread?” Absolutely! Wrap cooled banana bread tightly in plastic wrap, then aluminum foil. It’ll keep for up to 3 months. Thaw at room temp. Future you will thank present you.
- “My banana bread is dry. What went wrong?” Two main culprits: under-ripe bananas (not enough moisture) or overmixing/overbaking (tough gluten, dried out). Remember those tips!
- “Can I add other fruits?” Sure, go for it! A handful of blueberries or raspberries can be a fun twist. Just be aware they add more moisture, so the baking time might adjust slightly.
- “Is this healthy?” Let’s be real, it’s banana bread, not a salad. It’s got fruit, which is a win! Everything in moderation, right? Enjoy your delicious creation without guilt.
Final Thoughts
Alright, my culinary compadre, you’ve officially got this! You’re now equipped to turn those forgotten bananas into a moist, fragrant masterpiece that will impress anyone (even yourself!). So go on, preheat that oven, mash those bananas, and get baking. You’ve earned those delicious, warm slices. Now go impress someone—or yourself—with your new culinary skills. You’ve earned it!


