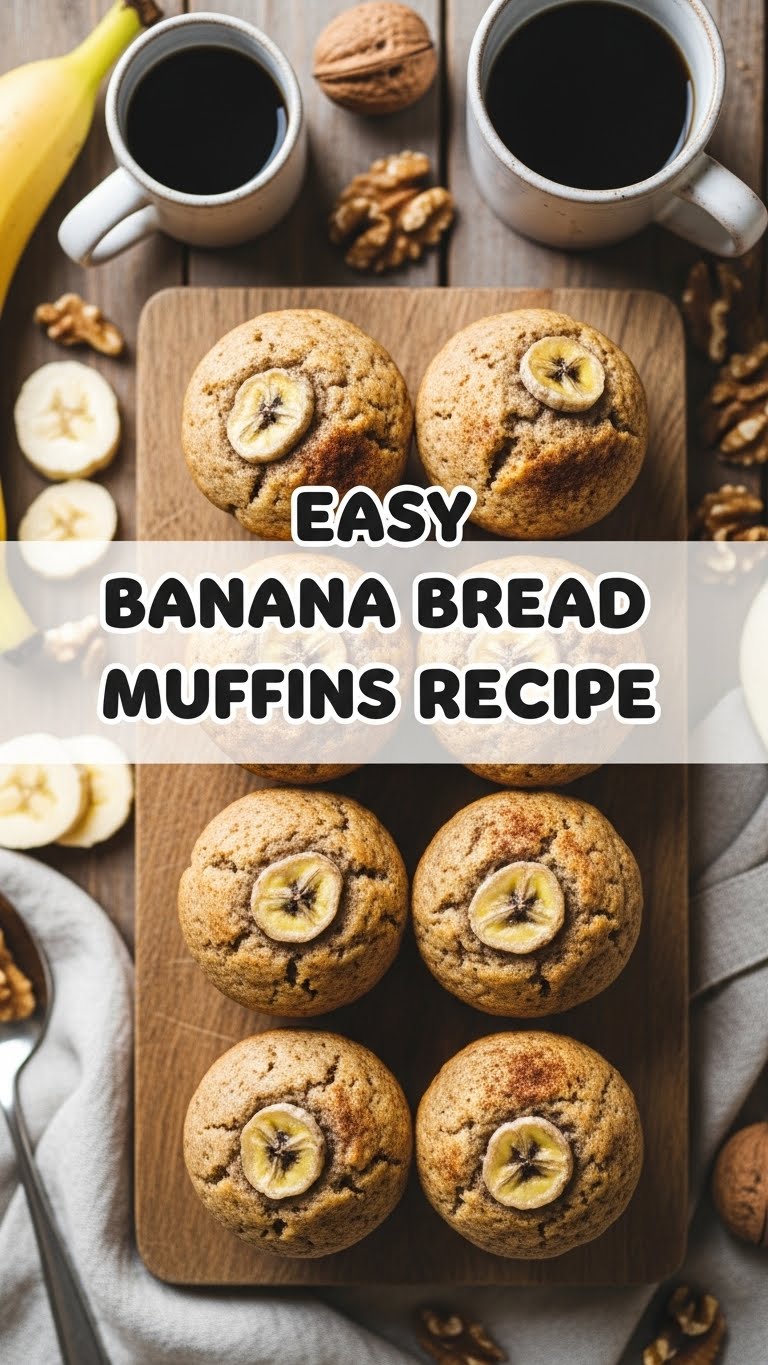
So you’re staring at those sad, overripe bananas on your counter, wondering if they’re still edible or if they’ve officially joined the compost club, huh? Been there. But before you toss ’em, let me introduce you to their glorious destiny: easy, breezy, unbelievably delicious Banana Bread Muffins. It’s like banana bread had a baby with convenience, and it’s pure magic!
Why This Recipe is Awesome
Why bother with this recipe, you ask? Because it’s practically idiot-proof, even for those of us who occasionally burn water (no judgment!). Seriously, it’s so straightforward, you’ll wonder why you ever bought those measly, overpriced muffins from the coffee shop. Plus, your kitchen will smell like a warm hug, and who doesn’t want that? **Minimal effort, maximum reward.** That’s the motto here, folks.
Ingredients You’ll Need
- **The Bananas:** 3-4 ripe ones. We’re talking brown, spotty, almost-black beauties. The uglier, the better, trust me.
- **All-Purpose Flour:** 1 ½ cups. The backbone of our muffin empire.
- **Granulated Sugar:** ¾ cup. For that sweet, sweet goodness. Adjust if your bananas are super sweet (or if you’re feeling extra cheeky).
- **Baking Soda:** 1 teaspoon. Our little leavening hero.
- **Salt:** ½ teaspoon. Just a pinch to make everything pop.
- **Melted Butter:** ½ cup (1 stick). Unsalted, please. Or salted, if you like a rebel muffin. 😉
- **Egg:** 1 large. The binder that holds our dreams together.
- **Vanilla Extract:** 1 teaspoon. Because everything’s better with a splash of vanilla.
- **Optional Fun Stuff:** Chocolate chips, chopped nuts, a sprinkle of cinnamon… live a little!
Step-by-Step Instructions
- **Preheat & Prep:** First things first, get that oven nice and toasty to 400°F (200°C). Then line a 12-cup muffin tin with paper liners or give it a good spray. **Don’t skip the liners unless you enjoy scrubbing!**
- **Mash ‘Em Up:** Grab a medium bowl and those wonderfully mushy bananas. Mash ’em with a fork until they’re chunky but not completely pureed. A few lumps are totally fine, adds character!
- **Wet Ingredients Party:** Into the mashed banana bowl, pour in your melted butter, the beaten egg, and that lovely vanilla extract. Stir it all together until just combined. Don’t overmix!
- **Dry Ingredients Unite:** In a separate, larger bowl, whisk together the flour, sugar, baking soda, and salt. Make sure there are no lumpy bits.
- **Combine & Conquer:** Now, gently add the wet banana mixture into the dry ingredients. Stir *just* until everything is moistened. A few dry streaks are okay; **overmixing leads to tough muffins, and nobody wants that.** If you’re adding optional goodies, fold them in now.
- **Fill ‘Em Up:** Divide the batter evenly among your prepared muffin cups. Fill each one about two-thirds full.
- **Bake Away!** Pop that tin into your preheated oven. Bake for 18-20 minutes, or until a toothpick inserted into the center of a muffin comes out clean.
- **Cool Down:** Let those golden beauties cool in the tin for a few minutes before transferring them to a wire rack. Try not to eat them all immediately. (Spoiler: you probably will.)
Common Mistakes to Avoid
- **Using *fresh* bananas:** Seriously, this is a no-go. Green or yellow bananas won’t give you that deep banana flavor or the right texture. **FYI, embrace the brown spots!**
- **Overmixing the batter:** I cannot stress this enough. Stirring too much develops the gluten, making your muffins dense and chewy instead of light and fluffy. Stop when just combined!
- **Forgetting to preheat:** Rookie mistake! An oven that’s not up to temperature will mess with the rise and baking time. Give it time to heat up properly.
- **Eating them all in one sitting:** Okay, maybe not a *mistake*, but your stomach might disagree. Pace yourself… or don’t. Your call.
Alternatives & Substitutions
- **Sweetener Swap:** Out of granulated sugar? Brown sugar works wonderfully and adds a lovely molasses note. You could even try a sugar substitute, but I personally stick to the classic for these.
- **Butter Alternative:** While butter gives the best flavor, you can totally use an equal amount of vegetable oil or even melted coconut oil if you’re in a pinch. **Just know it might change the texture slightly.**
- **Flour Power:** Want to make them a *tiny* bit healthier? Swap out up to half of the all-purpose flour for whole wheat flour. They’ll be a bit denser, but still delicious.
- **Add-Ins Galore:** Don’t limit yourself to chocolate chips! Walnuts, pecans, shredded coconut, dried cranberries, or a swirl of Nutella are all fantastic additions. Get creative!
FAQ (Frequently Asked Questions)
- **My bananas aren’t ripe enough. Help!** Panicked, are we? You can ripen them faster by baking them unpeeled on a baking sheet at 300°F (150°C) for 15-30 minutes, until they’re soft and black. Or just wait. Patience is a virtue, even for bananas.
- **Can I use margarine instead of butter?** Well, technically yes, but why hurt your soul like that? IMO, butter truly gives these muffins that rich, comforting flavor we’re aiming for. If you *must*, use it, but don’t say I didn’t warn you.
- **How long do these glorious muffins last?** Stored at room temperature in an airtight container, they’re usually good for 2-3 days. If you haven’t devoured them by then, you have more willpower than me!
- **Can I freeze them?** Absolutely! Once completely cooled, wrap individual muffins in plastic wrap and then pop them into a freezer bag. They’ll last for up to 3 months. Just thaw at room temp or a quick zap in the microwave.
- **My muffins didn’t rise much. What gives?** Did you use old baking soda? Is your oven temperature accurate? Did you overmix the batter? These are the usual suspects. **Always check your baking soda’s freshness!**
- **Can I make this into a loaf instead?** You betcha! Just pour the batter into a greased 9×5 inch loaf pan and bake for 50-60 minutes at 350°F (175°C), or until a toothpick comes out clean. Muffins are just mini loaves, after all!
Final Thoughts
So there you have it, friend! Your new go-to recipe for whipping up some seriously delicious banana bread muffins without breaking a sweat (or a mental state). These bad boys are perfect for breakfast, a quick snack, or, let’s be real, a midnight treat. Now go impress someone—or yourself—with your new culinary skills. You’ve earned it! Happy baking, and don’t forget to send me a pic!


