So you’re craving something tasty but too lazy to spend forever in the kitchen, or perhaps you’ve got tiny aspiring chefs who aren’t quite ready for a hot oven? Same, friend, same. Or maybe your oven is just… decorative? No judgment here! We’re diving into the glorious world of no-bake desserts, where deliciousness meets absolute minimal effort. Get ready to whip up something so good, you’ll wonder why you ever bothered with an oven in the first place.
Why This Recipe is Awesome
Let’s be real, turning on an oven feels like a commitment. This recipe, though? It’s the ultimate commitment-phobe’s dream. First off, it’s practically **idiot-proof**. Seriously, if I can make it without setting off the smoke alarm, you’re golden. No oven means no preheating stress, no waiting around, and zero risk of turning your cookies into hockey pucks (unless you somehow mess up the chilling part, which is hard). It’s fast, it’s fun, and it produces an outrageously delicious treat that tastes like you put in way more effort than you actually did. Plus, it’s a fantastic way to get kids involved without the added oven hazards. Safety first, deliciousness second!
Ingredients You’ll Need
Gather your troops, er, ingredients! These are usually pantry staples, so you might not even need a grocery run. Score!
- 1/2 cup (1 stick) unsalted butter: The good stuff. Don’t skimp here, unless you hate deliciousness.
- 2 cups granulated sugar: Because, well, it’s dessert. We’re not health food gurus today, folks.
- 1/2 cup milk: Any kind works, but whole milk just feels right, ya know?
- 1/2 cup unsweetened cocoa powder: Get the good quality stuff. It makes a difference, IMO.
- 1/2 cup creamy peanut butter: Creamy is key for that smooth texture. If you use crunchy, prepare for a textural adventure. (Mostly kidding, but seriously, creamy is better here.)
- 3 cups quick-cooking oats: The “healthy” part, so you can tell yourself it’s practically a salad. Full disclosure: it’s not.
- 1 teaspoon vanilla extract: This is where the magic happens. Don’t skip it!
- Pinch of salt: Just a tiny bit to balance out all that sweetness. It’s like a secret weapon.
Step-by-Step Instructions
Alright, apron on (or not, we’re chill here), let’s get cooking!
- Grab a medium-sized saucepan and toss in the butter, sugar, milk, and cocoa powder.
- Heat this glorious mixture over medium heat. Stir constantly until the butter is completely melted and everything is well combined and smooth.
- Bring the mixture to a **rolling boil**. This means big, bubbly, can’t-be-stirred-down kind of boil. Once it hits that point, let it boil for exactly 1 minute. **Don’t skip this step!** It’s crucial for the cookies to set properly.
- Immediately remove the saucepan from the heat. Now, quickly stir in the peanut butter, quick-cooking oats, vanilla extract, and that tiny pinch of salt. Stir until everything is fully combined and coated.
- Drop spoonfuls of the mixture onto sheets of wax paper or parchment paper. You can use a regular spoon for a rustic look or a cookie scoop for perfectly uniform circles.
- Let them cool on the counter for a bit, then transfer them to the fridge. **Chill time is crucial!** Let them hang out in there for at least 30 minutes, or until they’re firm enough to pick up without falling apart.
- Devour! You’ve earned it.
Common Mistakes to Avoid
Even the simplest recipes have their pitfalls, usually involving impatience. Learn from my mistakes, people!
- Not boiling for the full minute: This is probably the number one reason your cookies won’t set. That minute of boiling helps the sugar reach the right stage to solidify when cooled. Don’t rush it!
- Substituting old-fashioned oats for quick oats: While old-fashioned oats are great for oatmeal, they’re too thick and won’t absorb the liquid properly in this recipe, leaving you with a gritty texture. Stick to quick oats, **FYI**.
- Eating all the batter before it sets: This isn’t a “mistake” in terms of recipe outcome, but more of a self-control issue. The warm batter is dangerously delicious, but give those cookies a chance to firm up!
- Using chunky peanut butter: Again, not a total disaster, but it changes the texture quite a bit. If you want smooth cookies, creamy is the way to go.
Alternatives & Substitutions
Feeling adventurous? Or just out of one ingredient? Here are some tweaks:
- Nutella instead of peanut butter? **YES, PLEASE!** Swap out the peanut butter for an equal amount of Nutella for a rich hazelnut twist. You’re welcome.
- Add-ins: Sprinkle in some mini chocolate chips, shredded coconut, or even a few chopped nuts (if no allergies!) when you add the oats.
- Spice it up: A pinch of cinnamon or a dash of almond extract can add a whole new flavor dimension.
- Butter alternatives: You can technically use margarine, but honestly, butter just tastes better. Your soul will thank you.
- Milk alternatives: Almond milk or oat milk work fine if you’re dairy-free, but they might slightly alter the richness.
FAQ (Frequently Asked Questions)
Got questions? I’ve got (casual) answers!
- My cookies aren’t setting! What did I do wrong? Ah, the classic! Did you boil the mixture for a full minute after it reached a rolling boil? That’s the secret sauce. If not, the sugar didn’t get hot enough to crystalize, and you’ve got tasty, but gooey, blobs.
- Can I use natural peanut butter? You can, but it might make the cookies a bit greasier and less firm because of the oil separation. Stick to the processed stuff for best results here.
- How long do these magical cookies last? In my house? About 5 minutes. Realistically, store them in an airtight container at room temperature for up to a week, or in the fridge for even longer.
- Can I freeze these? Absolutely! Pop them into a freezer-safe bag or container for up to 3 months. Thaw at room temp or munch them slightly frozen for a different texture.
- I don’t like oats, what else can I use? Hmm, this recipe is pretty oat-centric. You *could* try crushed cornflakes, but the texture would be very different. I’d recommend finding a different no-bake recipe if oats aren’t your jam.
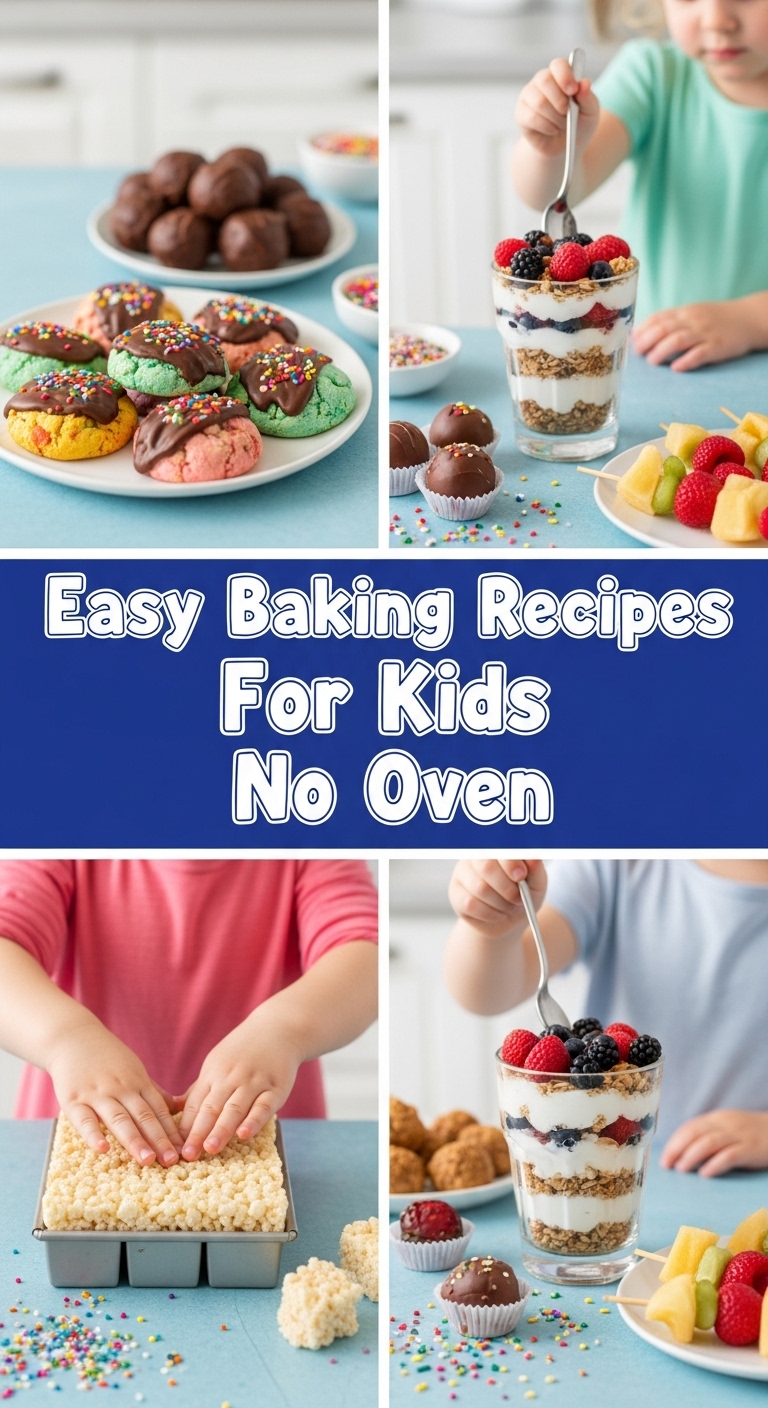
- Is this recipe kid-friendly? Beyond kid-friendly! It’s a great way to teach them about measuring, stirring, and the pure joy of making something yummy without turning on the big scary oven. Just supervise the hot stovetop part, of course!
Final Thoughts
So there you have it, kitchen wizard! You’ve just unlocked a new level of lazy genius with these ridiculously easy, no-bake cookies. Go forth and conquer your sweet cravings, one delicious spoonful at a time. Whether you’re making them with kids, for kids, or just for your fabulous self, these are guaranteed to be a hit. Now go impress someone—or yourself—with your new culinary skills. You’ve earned it!


