So you’re craving something warm, cozy, and utterly delicious but the thought of spending hours in the kitchen makes you want to crawl under a blanket? Same, friend, same. Good news: I’ve got your back. Forget those fussy, complicated dessert recipes. Today, we’re diving headfirst into the glorious, no-fuss world of an Easy Apple Crisp. Get ready for minimal effort, maximum comfort!
Why This Recipe is Awesome
Let’s be real, you’re not trying to win “MasterChef” here, you just want something yummy that doesn’t require a culinary degree or a mountain of dishes. This apple crisp? It’s literally idiot-proof. Seriously, if I can make it without setting off the smoke detector, anyone can. It’s perfect for those sudden dessert cravings, a last-minute potluck contribution (you’ll look like a hero!), or just a Tuesday night when you deserve a treat. Plus, it makes your whole house smell like a warm hug, and who doesn’t need more of those?
Ingredients You’ll Need
Gather ’round, buttercup, it’s time to raid the pantry! You probably have most of this stuff already. No fancy, obscure ingredients here, promise.
- For the Apple Filling:
- 6-8 medium apples (think Granny Smith for tartness, or Honeycrisp for sweetness, or a mix – live a little!)
- 1/4 cup granulated sugar (or less if your apples are super sweet)
- 1/4 cup packed light brown sugar (adds that lovely caramel note)
- 1 tablespoon all-purpose flour (to thicken things up a bit, no one likes watery crisp!)
- 1 teaspoon ground cinnamon (the MVP of apple desserts)
- 1/4 teaspoon ground nutmeg (cinnamon’s bestie)
- 1 tablespoon lemon juice (optional, but helps keep apples from browning and adds a zing)
- For the Crispy Topping:
- 1 cup all-purpose flour
- 1/2 cup packed light brown sugar
- 1/2 cup granulated sugar
- 1 teaspoon ground cinnamon (yes, more!)
- 1/2 cup (1 stick) unsalted butter, COLD and cut into cubes (Key tip: cold butter equals crispier topping!)
- 1 cup old-fashioned rolled oats (not instant, unless you want a sad, mushy topping)
Step-by-Step Instructions
- First things first: Preheat your oven to 375°F (190°C). And find a 9×13 inch baking dish. Don’t skip the preheat, it’s like warming up before a workout – essential!
- Let’s get those apples ready! Peel, core, and slice your apples into about 1/4-inch thick pieces. Aim for uniform size so they cook evenly. Throw ’em into a large bowl.
- Sprinkle the granulated sugar, brown sugar, flour, cinnamon, nutmeg, and lemon juice (if using) over the apples. Give ’em a good toss until every apple slice is coated in that spicy, sweet goodness. Pour this glorious mixture into your prepared baking dish.
- Now for the star of the show: the crispy topping! In a separate medium bowl, combine the flour, brown sugar, granulated sugar, and cinnamon. Whisk them together.
- Add your cold, cubed butter to the dry ingredients. Now, get your hands in there! Or use a pastry blender if you’re fancy. Rub the butter into the flour mixture until it looks like coarse crumbs, with some pea-sized pieces remaining. Don’t overmix!
- Stir in the rolled oats. Distribute this magical crumbly topping evenly over the apples in the baking dish.
- Bake for 35-45 minutes, or until the topping is golden brown and the apples are tender and bubbly. If the topping starts to brown too quickly, you can loosely tent it with foil.
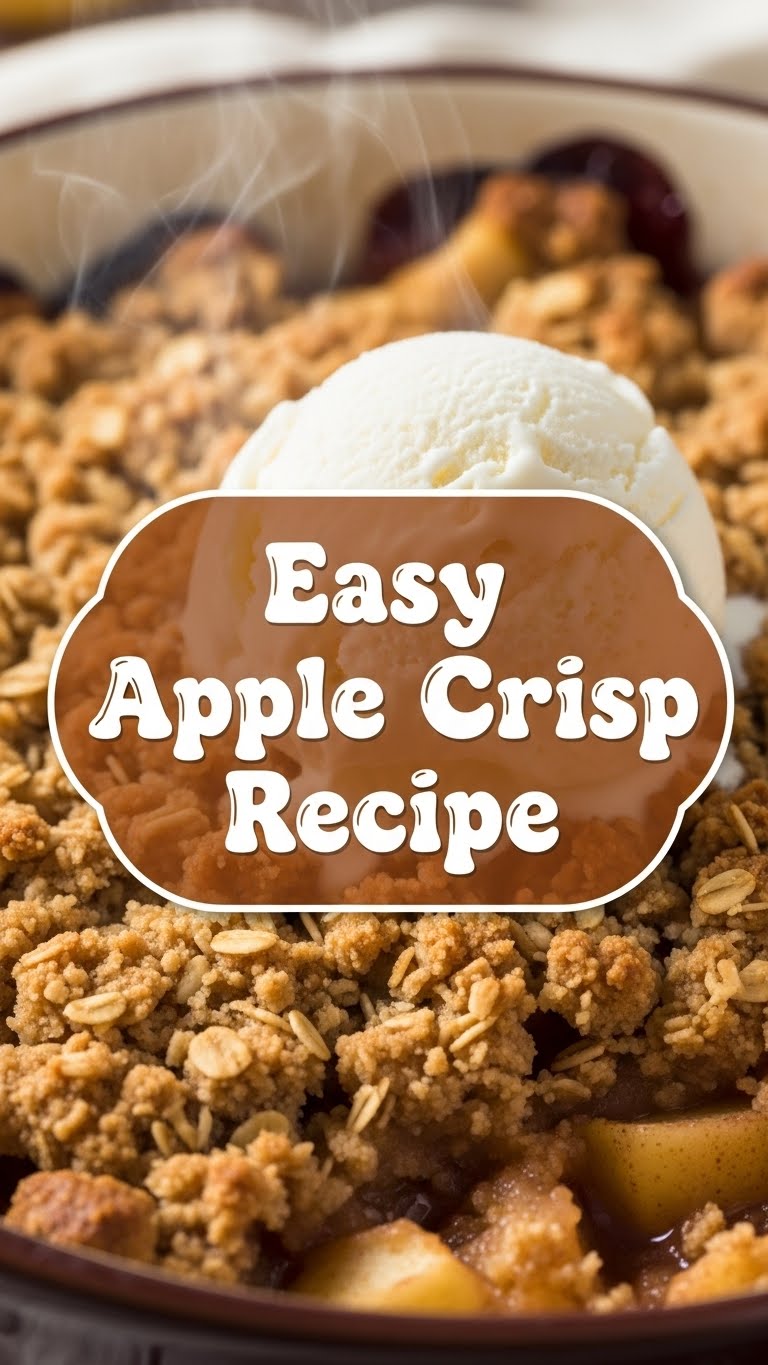
- Let it cool for at least 15-20 minutes before serving. I know, I know, it’s hard to wait. But that molten apple lava will burn your tongue! Serve warm with a scoop of vanilla ice cream. Pure bliss!
Common Mistakes to Avoid
- Not preheating the oven: Rookie mistake! Your crisp won’t bake evenly, and you’ll end up with a sad, pale topping.
- Using instant oats: Big no-no. They’ll just turn into mush. We want texture, people! Always go for old-fashioned rolled oats.
- Overmixing the topping: If you work the butter too much, it gets warm and melts, resulting in a tough, not-so-crispy topping. Light hands, friends!
- Under-baking the apples: Biting into crunchy, raw apples is a disappointment. Make sure they’re bubbly and tender! Give it the full bake time, and test with a fork if you’re unsure.
- Serving immediately: Yes, it smells amazing, but seriously, let it cool a bit. Your taste buds will thank you.
Alternatives & Substitutions
Feeling adventurous? Or just out of something? Here are some ideas:
- Other Fruits: This recipe works wonders with peaches, berries (mixed berry crisp is divine!), or pears. Just adjust sugar based on fruit sweetness. FYI: Berry crisps can be a bit juicier, so you might need a tiny bit more flour in the filling.
- Spices: Swap out or add a pinch of allspice, ginger, or cardamom for a different flavor profile. Chai spice mix? Yes, please!
- Nutty Topping: Add 1/2 cup chopped pecans or walnuts to your oat topping for an extra crunch and nutty flavor. Delish!
- Gluten-Free: Use a 1:1 gluten-free flour blend for both the apple filling and the topping. Ensure your oats are certified gluten-free.
- Butter Substitute: Can you use margarine? Well, technically yes, but why hurt your soul like that? If you absolutely must, a good quality plant-based butter will work better for that rich flavor.
FAQ (Frequently Asked Questions)
Got questions? I probably have snarky, yet helpful, answers!
- Can I use different types of apples? Absolutely! A mix of tart (Granny Smith) and sweet (Honeycrisp, Fuji) often gives the best balance. Don’t be shy, mix it up!
- How do I store leftover apple crisp? Cover it tightly with plastic wrap or foil and keep it in the fridge for up to 3-4 days. Reheat gently in the oven or microwave.
- Can I make this ahead of time? You can assemble the crisp (apples and topping) and store it in the fridge, unbaked, for up to a day. Bake just before serving for best results. Alternatively, you can bake it and gently reheat.
- My topping isn’t crispy, what did I do wrong? Likely culprits: warm butter, overmixing the topping, or using instant oats. Or maybe your oven temperature was off. IMO, cold butter is non-negotiable for max crispiness.
- Can I freeze apple crisp? Yes! Bake it, let it cool completely, then wrap it tightly and freeze for up to 3 months. Thaw in the fridge overnight and reheat in the oven.
- What if I don’t have brown sugar? You can make your own! Just add 1 tablespoon of molasses to 1 cup of granulated sugar and mix well. Or, just use all granulated sugar, but you’ll lose a little depth of flavor.
Final Thoughts
See? That wasn’t scary at all, was it? You just whipped up a ridiculously tasty, soul-soothing apple crisp like a total pro. Now go impress someone—or yourself—with your new culinary skills. You’ve earned that warm, cinnamony, apply goodness. Don’t forget to pair it with a good book, a cozy blanket, and absolutely no regrets. Happy baking, my friend!


