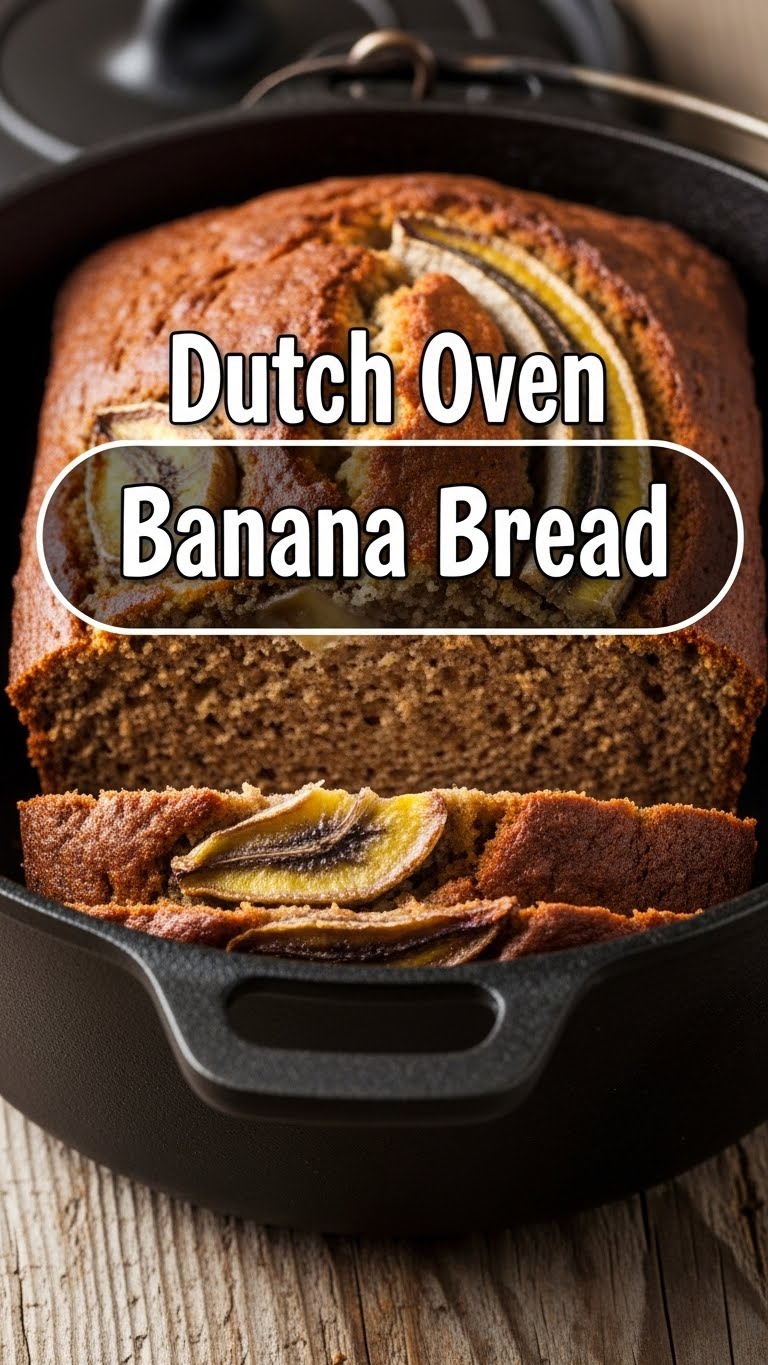
So you’re craving something warm, comforting, and utterly delicious but the thought of washing a gazillion dishes afterward makes you want to crawl back into bed, huh? Same, friend, same. That’s why we’re diving headfirst into the glorious world of **Dutch Oven Banana Bread**. It’s basically a hug in a loaf, but without the awkward arm placement.
Why This Recipe is Awesome
Let’s be real, you’re not here for a lecture on the history of quick breads. You’re here because you have some suspiciously ripe bananas giving you the side-eye from your counter, and you’re tired of guilt-tripping yourself. Good news: this recipe is your redemption! It’s practically **idiot-proof** (and trust me, I’ve tested that theory extensively). The Dutch oven works its magic, giving you a crust that’s perfectly crisp and a center that’s moist AF. Plus, it’s a one-pot wonder, which means less cleanup. Your future self will thank you. Maybe even buy you a drink.
Ingredients You’ll Need
Gather ’round, my fellow culinary adventurers! Here’s what you’ll need to conjure this masterpiece. No fancy-pants ingredients, promise!
- **3 ripe bananas:** We’re talking brown spots, practically mushy. The sadder they look, the sweeter your bread will be. Don’t fight it.
- **1/2 cup (113g) unsalted butter:** Melted, because who has time to soften butter the “right” way?
- **1/2 cup (100g) granulated sugar:** Or a bit more if your bananas are being shy with the sweetness.
- **1/4 cup (50g) packed brown sugar:** For that extra caramel-y depth. So good!
- **1 large egg:** Room temperature if you’re feeling fancy, straight from the fridge if you’re human.
- **1 teaspoon vanilla extract:** Don’t skimp. Vanilla is the backbone of all things delicious.
- **1 1/2 cups (190g) all-purpose flour:** No need to sift unless you’re feeling particularly ambitious (you’re not, trust me).
- **1 teaspoon baking soda:** Our leavening MVP.
- **1/2 teaspoon salt:** Just a pinch to make everything else sing.
- **Optional add-ins:** 1/2 cup chocolate chips, walnuts, pecans – choose your fighter!
- **1 (6-quart or larger) Dutch Oven:** The star of our show!
Step-by-Step Instructions
Alright, apron on (or not, I’m not your mom), let’s get baking!
- **Preheat & Prep:** First things first, get that oven screaming hot to **350°F (175°C)**. While it’s warming up, grab your Dutch oven, give it a light spray with cooking oil or butter. Set aside.
- **Smash Those Bananas:** In a medium bowl, mash your ripe bananas with a fork. Leave a few small lumps if you like a bit of texture in your bread. Don’t go full purée, we’re making bread, not baby food.
- **Wet Ingredients Unite!** In a separate, larger bowl, whisk together the melted butter, granulated sugar, and brown sugar. Beat in the egg and vanilla extract until well combined and smelling fantastic.
- **Combine the Wet & Dry:** Pour your mashed bananas into the butter-sugar mixture. In another smaller bowl, whisk together the flour, baking soda, and salt. Now, gently add the dry ingredients to the wet ingredients. **Mix just until combined.** A few streaks of flour are totally fine; overmixing is the enemy of tender banana bread! If using, fold in your chocolate chips or nuts now.
- **Into the Dutch Oven:** Carefully pour the batter into your prepared Dutch oven. Smooth the top with a spatula.
- **Bake It Up:** Pop the Dutch oven, **uncovered**, into your preheated oven. Bake for **55-65 minutes**, or until a wooden skewer inserted into the center comes out clean or with just a few moist crumbs.
- **Cool & Devour:** Once baked, carefully remove the Dutch oven from the oven. Let the banana bread cool in the Dutch oven for about 10-15 minutes before attempting to lift it out (use oven mitts, obviously!). Transfer to a wire rack to cool completely, or, if you’re like me, cut a slice while it’s still warm and burn your tongue. Worth it.
Common Mistakes to Avoid
We all make mistakes, darling. Here are a few to dodge for banana bread perfection:
- **Using unripe bananas:** This is the cardinal sin. Green bananas equal sad, flavorless bread. Wait for those brown spots!
- **Overmixing the batter:** You’ll end up with tough, dense bread. Mix *just* until the flour disappears. It’s not a wrestling match.
- **Forgetting to grease your Dutch oven:** Unless you enjoy chiseling your bread out, don’t skip this step.
- **Not cooling it (enough):** While warm is great, trying to slice it straight out of the oven will result in a crumbly mess. Patience, young Padawan.
- **Thinking you don’t need to preheat the oven:** Rookie mistake. Your bread needs a consistent temp to rise properly.
Alternatives & Substitutions
Feeling a little rebellious? Here are some ways to jazz things up or adapt to what you have on hand:
- **Flour Power:** You can swap up to half of the all-purpose flour for whole wheat flour for a nuttier, healthier twist. Gluten-free? A 1:1 gluten-free baking blend usually works wonders.
- **Sweeteners:** Short on brown sugar? Use all granulated. Or throw in a tablespoon of maple syrup or honey for extra flavor depth.
- **Spice it Up:** A pinch of cinnamon or nutmeg can elevate this bread to new heights. FYI, a dash of cardamom is surprisingly good!
- **Add-ins Galore:** Chocolate chips and nuts are classics, but consider dried cranberries, shredded coconut, or even a swirl of peanut butter. Get creative!
- **Dairy-Free:** Swap the butter for a plant-based butter alternative or coconut oil.
FAQ (Frequently Asked Questions)
Got questions? I’ve got answers. Mostly.
- **My bananas aren’t ripe enough, HELP!** Pop them on a baking sheet and bake at 300°F (150°C) for 15-30 minutes until they’re black and soft. Instant ripeness! You’re welcome.
- **Can I use margarine instead of butter?** Well, technically yes, but why hurt your soul like that? Butter just tastes better, IMO. But if that’s all you have, go for it.
- **Do I really need a Dutch oven?** For *this* recipe, yes, that’s the whole point! It creates a fantastic crust. If you don’t have one, you can use a regular loaf pan, but adjust baking time and expect a slightly different texture.
- **How do I store leftover banana bread?** Ha! “Leftover.” Good one. If by some miracle you have some, wrap it tightly in plastic wrap or foil at room temperature for up to 3 days, or in the fridge for a week. It also freezes beautifully!
- **Can I add more sugar?** You do you, boo. If you like things super sweet, add an extra 1/4 cup. Just don’t blame me when your dentist gives you the stink eye.
Final Thoughts
And there you have it! A Dutch oven banana bread recipe that’s as easy as Sunday morning. So, go on, unleash your inner baking guru, impress your friends (or just yourself, because self-love is important), and fill your home with the glorious aroma of fresh-baked goodness. You’ve earned this. Now go impress someone—or yourself—with your new culinary skills. You’ve earned it!

