Ever stare into the abyss of your fridge at 7 AM, knowing you need to pack a lunch that won’t come back untouched, and think, “There has to be a better way?” You’re not alone, friend. We’ve all been there, battling soggy sandwiches and the eternal question of “What even IS that?” Today, we’re ditching the hot meal hassle and embracing the art of the effortless, disposable (read: no dishes for you!) lunchbox. Think of it as a DIY charcuterie board for the discerning, pint-sized critic in your life. No cooking required, just pure, unadulterated lunch-packing genius.
Why This “Recipe” Is Awesome
Okay, “recipe” might be a strong word here. It’s more of an assembly guide. But trust me, this is awesome. Why? Because it’s **idiot-proof**. Seriously, even if your culinary skills peak at making toast, you can nail this. It requires zero actual cooking, minimal cleanup (hello, disposable everything!), and it’s endlessly customizable. Your kid gets to feel fancy and grown-up, and you get to feel like a super-parent without actually having to, you know, *cook*. Plus, it’s pretty hard to mess up a lunch that’s essentially a collection of delicious bits and bobs.
Ingredients You’ll Need
Get ready for the most flexible ingredient list ever. Mix and match to your heart’s content (and your kid’s picky preferences!)
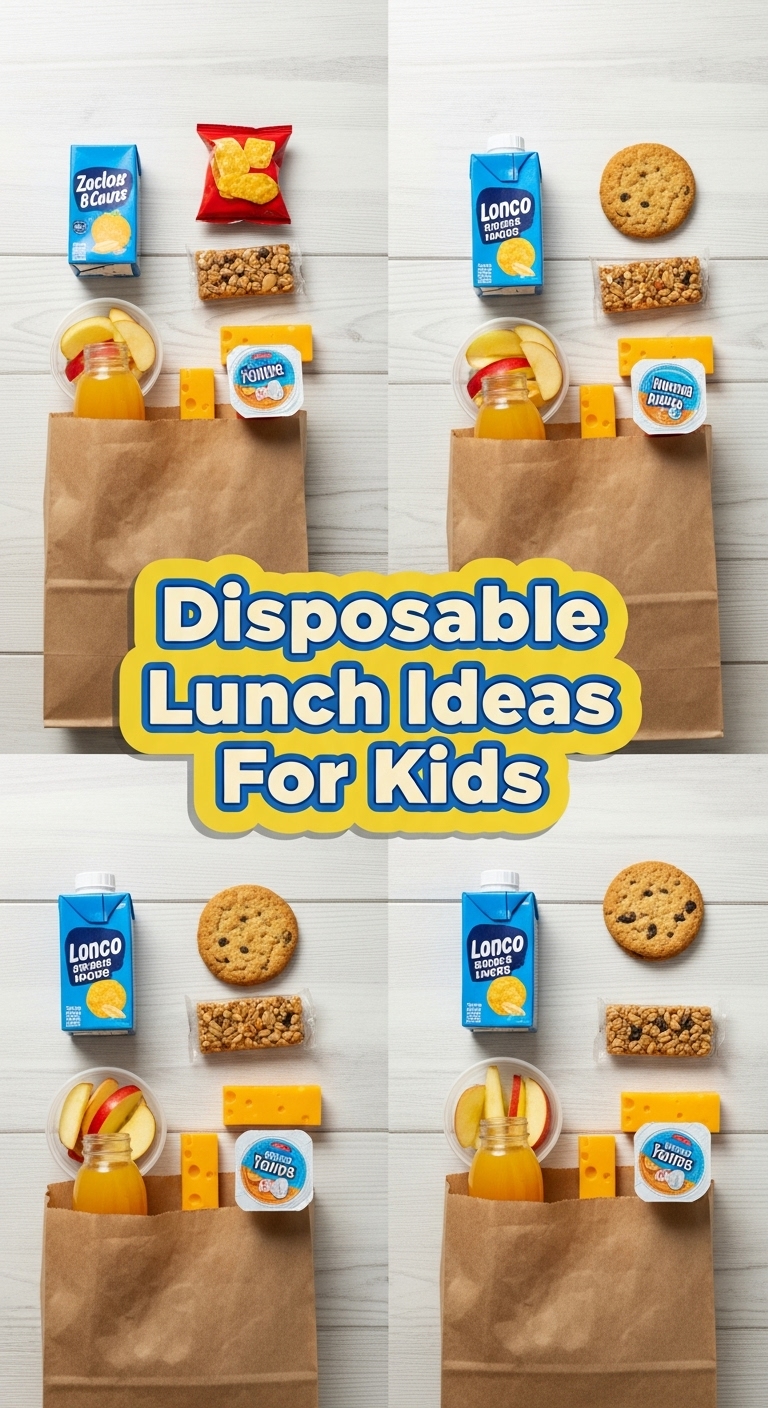
- Crackers: Your choice! Ritz, wheat thins, goldfish crackers, rice crackers… the more variety, the better for tiny fingers.
- Sliced Cheese: Cheddar squares, provolone circles, mozzarella sticks cut into halves. Whatever melts their little hearts.
- Deli Meats: Turkey slices, ham, pepperoni, salami. Roll ’em up, fold ’em, make little origami creatures – totally optional, but fun!
- Fresh Fruits: Grapes (halved for younger kids, **safety first!**), berries, apple slices (toss with a tiny bit of lemon juice to prevent browning), orange segments. Nature’s candy!
- Crunchy Veggies: Cucumber slices, mini bell pepper strips (various colors are a bonus!), baby carrots, cherry tomatoes (halved). For that “I swear they’re eating healthy” vibe.
- Dips & Spreads (Optional, but highly recommended for dipping adventures): Hummus, ranch dressing, cream cheese, individual guacamole cups.
- Small Treats (Optional, because life’s short): A mini cookie, a few chocolate-covered pretzels, or some fruit snacks.
- Small Containers/Silicone Cups: Crucial for keeping everything separate and preventing the dreaded ‘soggy cracker’ phenomenon.
Step-by-Step Instructions
This is where your inner lunchbox artist shines! Grab your kid’s favorite bento-style box or a few small, disposable containers and let’s get building.
- Lay the Foundation: Start by adding a handful of crackers to one section of the lunchbox. Don’t go overboard; we want variety, not a cracker mountain.
- Cheese Please! Next, artfully arrange your sliced cheese alongside the crackers. You can use fun cookie cutters if you’re feeling extra fancy (and have 30 seconds to spare!).
- Meaty Business: Tuck in the deli meats. Rolling them up makes them easier to grab and look a little more enticing than flat slices.
- Fruit & Veggie Power-Up: Fill another section with your chosen fruits and veggies. Remember to cut grapes and cherry tomatoes in half for younger kids. Safety first, always!
- Dip It Good: Pour your chosen dip into a small, leak-proof container and pop it into the lunchbox. This keeps things fresh and prevents a soggy mess.
- Sweet Endings (Optional): If you’re including a treat, add it to its own little compartment. We don’t want chocolate-covered pretzels touching the carrots, do we?
- Seal the Deal: Close up the lunchbox, and admire your handiwork. You just created a masterpiece!
Common Mistakes to Avoid
Even though this is super easy, there are a few pitfalls to sidestep. Don’t say I didn’t warn you!
- The Soggy Swamp: Don’t put anything wet (like sliced cucumbers that sweat) directly next to your crackers. Use those handy silicone cups or small containers to keep things separate. Nobody wants a soggy cracker. Nobody.
- Forgetting the Dip Utensil: If you include dip, don’t forget to pack a tiny spoon or a few carrot sticks for scooping. Otherwise, your kid might have to resort to finger-scooping, which, while fun, isn’t always ideal.
- Overpacking: It’s tempting to shove everything in, but kids often get overwhelmed by too much choice. Pack enough for a satisfying lunch, but not so much that it looks like a mini grocery store.
- Ignoring Preferences: Thinking your kid will magically eat a new veggie just because you packed it? Rookie mistake. Stick to what they like, or introduce one new thing at a time in a small amount.
- Warm Woes: This setup is designed for cool/room temperature. Don’t try to sneak in a hot nugget unless you have a proper thermos. You’ll just end up with sad, cold nuggets.
Alternatives & Substitutions
The beauty of this “recipe” is its chameleon-like ability to transform. Here are some ideas:
- Cracker Swap: Instead of crackers, try mini bagels, small pita bread triangles, rice cakes, or even those fancy veggie straws.
- Protein Power-Up: Not a deli meat fan? How about hard-boiled egg halves, edamame pods, roasted chickpeas, or small cheese curds? For older kids, a small container of chicken salad or tuna salad (with a tiny spoon!) can work.
- Fruit Fantasies: Switch up the fruits seasonally! Melon cubes, kiwi slices, or even dried fruit (like raisins or dried cranberries) are great alternatives.
- Veggie Varieties: Jicama sticks, snap peas, olives, or even lightly steamed broccoli florets (if your kid is into that sort of thing) can replace the usual suspects.
- Dip & Spread Shenanigans: Instead of ranch, try a squeeze pack of almond butter for apple slices, cream cheese for crackers, or even a tiny container of plain yogurt with a drizzle of honey.
FAQ (Frequently Asked Questions)
Got questions? I’ve got (casual and hopefully amusing) answers!
Q: Can I make this the night before?
A: Absolutely! But here’s the kicker: keep anything wet (fruit, some veggies, dip) separate from the crackers/bread until morning. No one wants a soggy cracker for lunch, IMO. Assemble the dry stuff, then pop the wet bits in right before school.
Q: My kid is super picky. Any tips for getting them to eat it?
A: Ah, the eternal struggle! Involve them in the packing! Let them pick their own crackers, cheese, and fruit. When they’re part of the process, they’re often more inclined to eat it. Also, cookie cutters for cheese and sandwiches work wonders.
Q: How do I keep everything cold without a bulky ice pack?
A: Small, thin ice packs are your friend here! Or, freeze a juice box or a yogurt tube and use it as a mini ice pack. It’ll thaw by lunchtime, giving them a cold drink/snack!
Q: What about adding a sweet treat? Is that allowed?
A: Honey, it’s your lunchbox, your rules! A little something sweet, like a few chocolate chips or a mini cookie, can be a great motivator to eat the “good stuff” first. Everything in moderation, right?
Q: My kid prefers hot lunches. Can I adapt this?
A: This specific setup is truly for cold/room temp. If they love hot food, you’d be better off with a good quality thermos for things like pasta, soup, or even leftover chicken nuggets. This “recipe” is your chill, no-fuss alternative.
Q: Any eco-friendly tips for disposable lunches?
A: Great question! While we’re aiming for “disposable” in the sense of less cleanup for you, consider reusable bento boxes with compartments, silicone cupcake liners for separating foods, and reusable snack bags. Less waste, more winning!
Final Thoughts
So there you have it, folks! Your new secret weapon in the daily lunchbox battle. You’re not just making lunch; you’re crafting a tiny, edible adventure. It’s easy, it’s fun, and best of all, it keeps those dishes out of your sink. Now go impress someone—or yourself—with your newfound lunch-packing prowess. You’ve earned it!


