So, you’re on a quest for the ultimate chocolate chip cookie, but feeling a bit overwhelmed by all the options? Or maybe you just made one kind and now you’re wondering, “Is this *it*?” Trust me, friend, you’re not alone. The world of chocolate chip cookies is vast and glorious, a beautiful testament to butter, sugar, and tiny chocolate morsels. And guess what? There’s no single “perfect” one because perfection is in the eye of the cookie-holder!
Why This Recipe is Awesome
Okay, so “a recipe” is a bit of a misnomer here, because what we’re actually doing is giving you the keys to the chocolate chip cookie kingdom! This isn’t just one recipe; it’s a launchpad for *all* the recipes. We’re talking about a foundational, ridiculously easy-to-follow method that lets you tweak and twist your way to your ideal cookie, whether you’re into chewy, crispy, gooey, or something in between. It’s so foolproof, even your cat could probably supervise. No judgment if you let them.
Ingredients You’ll Need
Here’s the basic crew for our cookie adventure. Think of these as your core Avengers; we’ll talk about their super-powered variants later.
- 1 cup (2 sticks) unsalted butter, softened. Because everything’s better with butter, right? Don’t even try to argue.
- ¾ cup granulated sugar. The classic. Sweetens things up without getting too wild.
- ¾ cup packed light brown sugar. This is where the magic starts for chewiness. Dark brown sugar works too if you’re feeling feisty.
- 2 large eggs. Room temp is ideal, but honestly, who plans that far ahead?
- 2 teaspoons vanilla extract. Use the good stuff if you have it. It makes a difference, IMO.
- 2 ¼ cups all-purpose flour. Your basic building block.
- 1 teaspoon baking soda. Gives our cookies a little lift.
- ½ teaspoon salt. Don’t skip this! It balances the sweetness and makes the chocolate pop.
- 1 ½ cups chocolate chips. Semisweet is standard, but we’ll chat about other options because life’s too short for just one kind of chocolate.
Step-by-Step Instructions
- Get Your Oven Ready: Preheat that bad boy to 375°F (190°C). Line a couple of baking sheets with parchment paper or silicone mats. Don’t skip this, unless you enjoy scraping stuck cookies.
- Cream the Fats & Sugars: In a large bowl (or stand mixer, if you’re fancy), beat the softened butter with both sugars until light and fluffy. This usually takes 2-3 minutes. You want it to look pale and airy.
- Add Eggs & Vanilla: Beat in the eggs, one at a time, making sure each is fully incorporated before adding the next. Then stir in the vanilla extract. Scrape down the sides of the bowl to ensure everything gets mixed in.
- Whisk Dry Ingredients: In a separate, medium bowl, whisk together the flour, baking soda, and salt. This ensures even distribution and no pockets of weirdness.
- Combine Wet & Dry: Gradually add the dry ingredients to the wet ingredients, mixing on low speed until *just* combined. Do not overmix! Overmixing develops gluten, leading to tough cookies. Nobody wants tough cookies.
- Fold in the Chocolate: Gently fold in your chosen chocolate chips. A spatula works best here.
- Scoop & Bake: Drop rounded tablespoons of dough onto your prepared baking sheets, leaving a couple of inches between them. Bake for 9-11 minutes, or until the edges are golden brown and the centers still look a little soft.
- Cool Down: Let the cookies cool on the baking sheets for a few minutes before transferring them to a wire rack to cool completely. Or, you know, eat them warm. We won’t tell.
Common Mistakes to Avoid
- Overmixing the Dough: We just talked about this, but it bears repeating. Once the flour goes in, mix only until no streaks remain. Tough cookies are a sad affair.
- Not Chilling Your Dough: While not strictly necessary for every recipe, chilling your dough (for at least 30 minutes, or even overnight) can prevent spreading and deepen the flavor. If your cookies consistently spread into flat pancakes, chilling is your friend.
- Baking Too Long: Pull those cookies out when they *just* start to turn golden at the edges and the center still looks a bit underdone. They’ll continue to cook on the hot baking sheet. This is the secret to chewy centers!
- Using Cold Butter: Unless a recipe specifically calls for it, softened butter creams better with sugar, incorporating more air for a lighter texture. Trying to cream cold butter is like trying to convince a toddler to nap – futile and frustrating.
- Ignoring the Salt: Salt isn’t just for savory dishes! It enhances all the flavors, especially the chocolate. Seriously, don’t skip it.
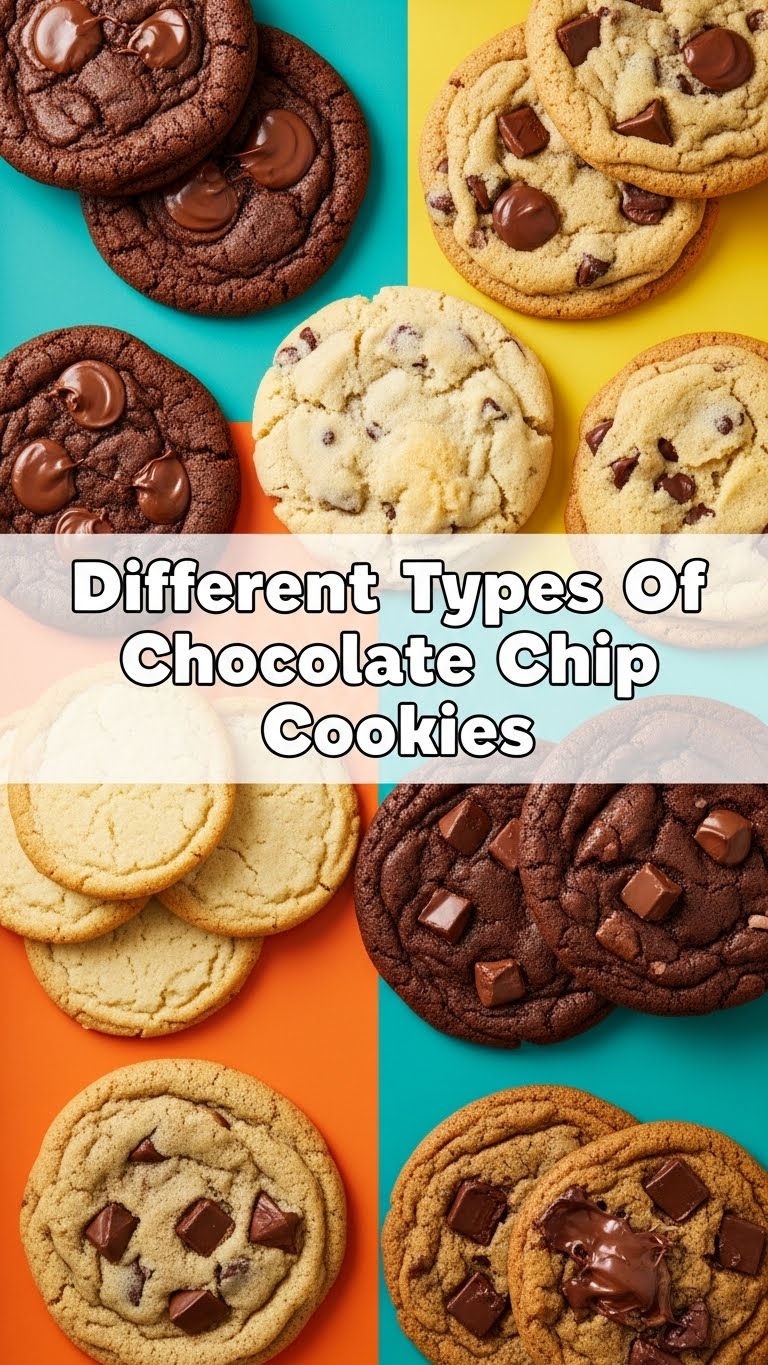
Alternatives & Substitutions: The “Types” Revealed!
Alright, this is where the fun really begins! Our base recipe is fantastic, but here’s how you can play around to get different types of chocolate chip cookies:
- The Classic Chewy Cookie: This is pretty much what our base recipe delivers. The combo of brown sugar and slightly underbaking gives you that glorious bendy, soft center. If you want *extra* chewy, replace a tablespoon or two of flour with bread flour. Yup, bread flour!
- The Crispy Edge, Chewy Center Cookie: Want more snap? Increase your white sugar to 1 cup and reduce brown sugar to ½ cup. Bake a minute or two longer until the edges are visibly golden all around. You’ll get a beautiful contrast.
- The Gooey, Bakery-Style Monster: Use all brown sugar (1.5 cups total) and add an extra egg yolk. Also, chill your dough for at least an hour. Use a larger scoop (about 3 tablespoons of dough per cookie) and bake for 12-14 minutes. Mix in some chopped chocolate bars instead of chips for epic melty puddles.
- The Cakey, Puffy Cookie: Swap out baking soda for 1.5 teaspoons of baking powder and reduce the butter slightly to 1 ½ sticks (¾ cup). This will give you a softer, more cake-like crumb. Less spread, more puff!
- Different Chocolates & Mix-ins:
- Milk Chocolate: For a sweeter, creamier cookie.
- Dark Chocolate: For a more intense, sophisticated flavor. Use chunks or bars for bigger melty pockets.
- White Chocolate: A delightful contrast, especially with dried cranberries or macadamia nuts.
- Toffee Bits, Nuts (pecans, walnuts), Pretzels (crushed): Add texture and extra flavor dimensions. Try ½ cup of your favorite add-in along with the chocolate.
- Flaked Sea Salt: A sprinkle on top before baking is a game-changer. Elevates *any* chocolate chip cookie.
FAQ (Frequently Asked Questions)
Got questions? I’ve got (casual) answers!
- Can I use margarine instead of butter? Well, technically yes, but why hurt your soul like that? Butter provides superior flavor and texture. Margarine can result in flatter, greasier cookies. Stick with butter, my friend.
- My cookies are spreading too much! What gives? A few culprits here: your butter might have been too soft (or even melted), your oven might not be hot enough, or your dough might need chilling. Also, too much baking soda can cause spread. Try chilling your dough for 30 minutes next time!
- Can I make the dough ahead of time? Heck yes! Cookie dough is fantastic for make-ahead. Wrap it tightly in plastic wrap and refrigerate for up to 3 days, or freeze for up to 3 months. Just let it come to room temp for 15-20 minutes before baking if it’s super cold.
- What if I don’t have brown sugar? You can make your own! Just mix 1 cup of granulated sugar with 1 tablespoon of molasses (for light brown sugar) or 2 tablespoons (for dark brown sugar). No molasses? Your cookies will be less chewy but still delicious.
- How do I store leftover cookies? In an airtight container at room temperature for up to 3-5 days. If you want them to stay super soft, throw in half a slice of bread with them – the cookies will absorb moisture from the bread. Genius, right?
- Can I freeze baked cookies? Absolutely! Once completely cooled, place them in a freezer-safe bag or container for up to 3 months. Thaw at room temperature, or zap ’em in the microwave for a few seconds for that “fresh out of the oven” feel.
Final Thoughts
So there you have it – not just a recipe, but a whole philosophy on chocolate chip cookie mastery. Go forth and experiment! Don’t be afraid to play around with the ratios, the types of chocolate, or even the baking times. The best cookie is the one *you* love the most. Now go impress someone – or yourself – with your new culinary skills. You’ve earned it!


