So you’re craving something tasty but too lazy to spend forever in the kitchen, huh? Same. Like, who has time for complicated culinary masterpieces when a snack attack hits? Certainly not me on a Tuesday. Good news, my friend! We’re diving headfirst into the glorious world of **Deviled Eggs**. And nope, we’re not making some fancy, over-the-top version that requires a culinary degree. This is the “OMG, I just whipped these up and they’re amazing” kind of deviled egg recipe. Perfect for parties, picnics, or just, you know, a Tuesday. 😉
Why This Recipe is Awesome
Okay, let’s be real. There are a gazillion deviled egg recipes out there. So why *this* one? Because it’s **idiot-proof**. Seriously, even I, someone who once tried to microwave a spoon (don’t ask), can nail this. It’s fast, it uses ingredients you probably already have, and it turns humble eggs into an absolute superstar snack. Plus, who doesn’t love deviled eggs? They’re like the ultimate retro party food, and they *always* disappear first. **Always.** You’ll look like a kitchen wizard without breaking a sweat. It’s basically magic, but with mayo.
Ingredients You’ll Need
- **6-12 Large Eggs:** The fresher the eggs, the harder they are to peel sometimes, ironically. Don’t stress, just use what you’ve got!
- **1/4 cup Mayonnaise:** Or a bit more if you like things extra creamy. This is your binder of deliciousness.
- **1-2 teaspoons Dijon Mustard:** Or yellow mustard if that’s your jam. Dijon adds a little fancy zing without being obnoxious. Start with 1 tsp, add more if you’re feeling feisty.
- **1 teaspoon White Vinegar (or Apple Cider Vinegar):** This is my secret weapon for brightness. A little tang cuts through the richness beautifully. Don’t skip it, IMO!
- **Salt and Black Pepper:** To taste, obviously. Don’t be shy! Seasoning is key to not making bland eggs.
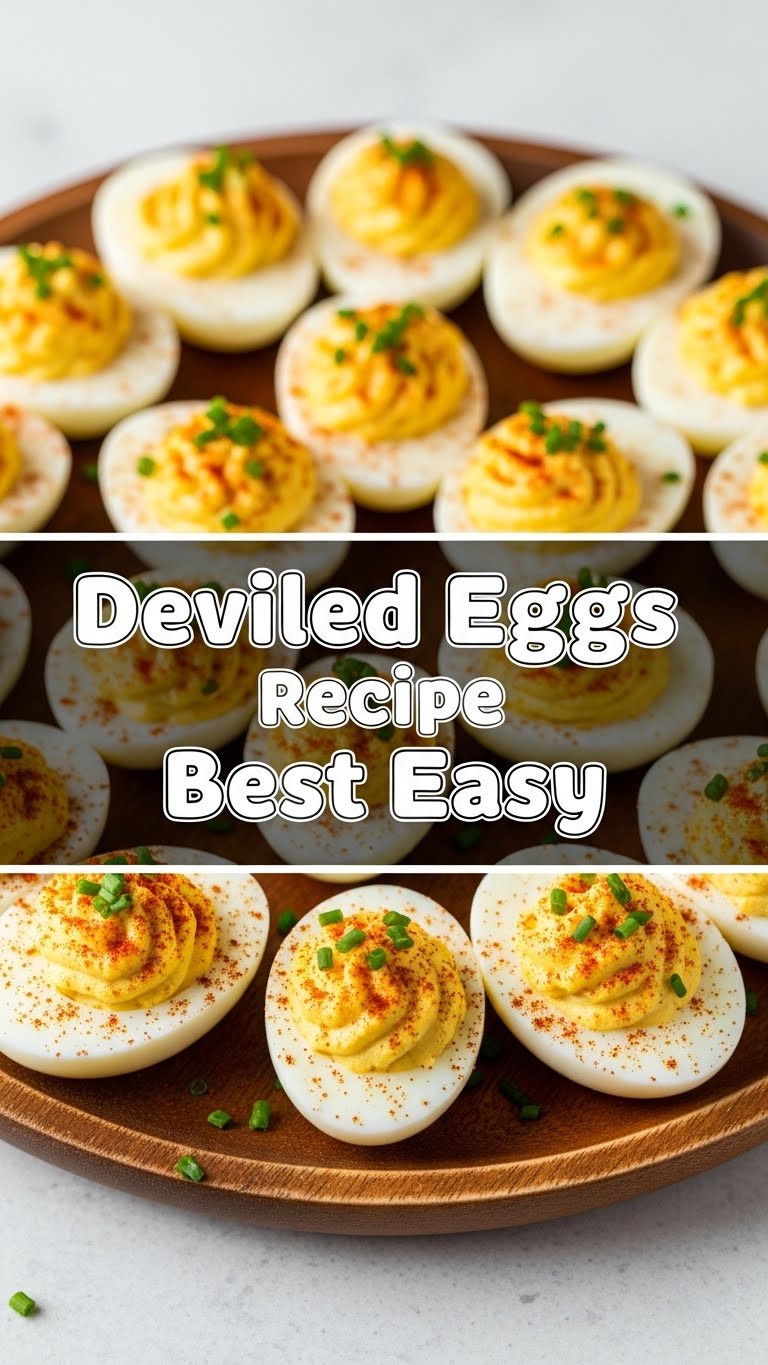
- **Paprika (for garnish):** Sweet or smoked, your call. It’s purely for aesthetics, but it makes them look extra “chef-y.”
- **(Optional) A dash of Hot Sauce or a pinch of Cayenne:** If you like a little kick in your step (and your eggs!).
Step-by-Step Instructions
- **Boil ‘Em Good:** Gently place your eggs in a single layer in a pot. Cover them with cold water by about an inch. Bring the water to a rolling boil over high heat, then immediately turn off the heat, cover the pot, and let them sit for 10-12 minutes. This method helps prevent that weird green ring around the yolk.
- **Ice Bath Time!:** Once the timer’s up, drain the hot water and immediately transfer the eggs to a bowl of ice water. Let them chill out (literally) for at least 5-10 minutes. This stops the cooking process and makes them easier to peel. **Do not skip this step.**
- **Peel with Panache:** Once cool, gently tap and roll each egg on a hard surface to crack the shell all over. Peel under cool running water for extra help. Try to be gentle; nobody likes a lumpy egg white.
- **Slice and Scoop:** Carefully slice each peeled egg in half lengthwise. Gently scoop out the bright yellow yolks into a medium bowl. Place the pristine white halves on a platter, waiting patiently for their glorious return.
- **Mash and Mix:** Grab a fork and mash those yolks until they’re smooth and creamy. Add the mayonnaise, mustard, vinegar, salt, and pepper to the mashed yolks. Mix everything thoroughly until it’s super smooth and has no lumps. Taste and adjust seasoning! This is your moment to shine.
- **Fill ‘Em Up:** You can spoon the yolk mixture back into the egg white halves. For a fancier look, use a piping bag with a star tip (or just snip the corner off a Ziploc bag—no judgment here!). Fill each egg white half with the creamy yolk mixture.
- **Garnish and Chill:** Sprinkle a little paprika over each deviled egg for that classic look. If you’re not serving them immediately, cover them loosely with plastic wrap and chill in the fridge for at least 30 minutes. This allows the flavors to meld and makes them even better.
Common Mistakes to Avoid
- **The Green Ring of Shame:** This happens when you overcook your eggs. That greenish-gray ring around the yolk? Not pretty. Follow the boiling instructions precisely!
- **Under-seasoning is a Crime:** Bland deviled eggs are just sad. Don’t be afraid to add enough salt, pepper, and that dash of vinegar to make the flavors pop. **Taste as you go!**
- **Trying to Peel Hot Eggs:** Just… no. You’ll end up with mangled whites and a strong urge to cry. Ice bath first, always.
- **Not Chilling Long Enough:** While you *can* eat them right away, a little fridge time really lets those flavors become best friends. Patience, young grasshopper.
Alternatives & Substitutions
Feeling adventurous? Good! This recipe is super flexible:
- **Mayo Swap:** Not a fan of mayo? You can use plain Greek yogurt for a tangier, lighter version, or even a mix of mayo and sour cream. Just adjust seasoning accordingly.
- **Mustard Mania:** Swap Dijon for spicy brown mustard, whole grain mustard, or even a tiny bit of horseradish for an extra kick. Yellow mustard is classic, but why not explore?
- **Herb Heaven:** Chop up some fresh chives, dill, or parsley and mix them into the yolk filling for a burst of freshness. So fancy, yet so easy!
- **Spice It Up:** A tiny sprinkle of smoked paprika, a dash of your favorite hot sauce, or a pinch of curry powder can totally transform your deviled eggs. Go wild!
- **Pickle Power:** Finely chopped pickles or sweet relish can add a delightful crunch and extra tang. Just drain them well so your filling isn’t watery.
FAQ (Frequently Asked Questions)
Got questions? I’ve got (casual) answers!
- **How do I get my eggs to peel easily?** Ah, the age-old question! Using slightly older eggs (not super fresh) helps. Also, the boiling method I described (boil, turn off heat, cover, then ice bath) is usually a winner. **Don’t skip that ice bath!**
- **Can I make these ahead of time?** Absolutely! You can boil and peel the eggs a day or two in advance. Store them in the fridge. You can even mix the yolk filling a day ahead, just store it in an airtight container. Assemble right before serving for the freshest look.
- **How long do deviled eggs last in the fridge?** Generally, they’re best within 2 days. After that, the texture might get a bit weird, and food safety becomes a bigger concern due to the mayo. Always keep them chilled!
- **What if I don’t have a piping bag?** No problem! A good old-fashioned spoon works perfectly. For a slightly neater look, snip off the corner of a Ziploc bag, fill it with the mixture, and pipe away. Easy peasy!
- **Is the white vinegar really necessary?** Well, technically no, you *can* skip it. But why hurt your soul like that? 😉 It adds a crucial brightness and tang that elevates the flavor. Trust me on this one.
- **My yolks look green! What happened?** Oops, you probably overcooked them a bit. Don’t worry, they’re still safe to eat, just not as aesthetically pleasing. Next time, stick to the 10-12 minute timing, and remember that immediate ice bath!
Final Thoughts
There you have it, future deviled egg connoisseur! A ridiculously easy, super tasty, and utterly charming deviled egg recipe that will make you feel like a culinary genius (even if you just nuked a Hot Pocket for lunch). Now go forth and impress someone—or just yourself—with your new culinary skills. You’ve earned it! Seriously, go make these. Your taste buds will thank you. And maybe send me a picture? 😉 Happy deviling!


