So you’re craving something warm, sweet, and comforting, but your energy levels are currently stuck somewhere between ‘meh’ and ‘nah’? Been there, buddy, been there. This recipe is your delicious escape ticket – it’s basically apple pie, but without the commitment issues of making a whole crust from scratch. We’re talking maximum yum, minimum effort. Let’s get baking!
Why This Recipe is Awesome
Okay, let’s be real. We all love apple pie, but sometimes the thought of peeling a dozen apples, making a perfect crust, and then waiting *forever* for it to bake is just… too much. This recipe swoops in like a superhero in a cape, saving your dessert cravings with its sheer simplicity. It’s practically idiot-proof, even I didn’t mess it up! Plus, it comes together faster than you can decide what to binge-watch tonight. Seriously, **it’s ridiculously easy.** Even if your “cooking” usually involves pressing buttons on a microwave, you got this.
Ingredients You’ll Need
Gather ’round, my lazy-gourmet friend. Here’s what you’ll need to conjure up this magic:
- 1 sheet Frozen Puff Pastry: Thawed, please! This is the real MVP, saving us from hours of tedious pastry-making. Bless.
- 1 can (21 oz) Apple Pie Filling: The other MVP. Why peel when you can pop a top?
- 1-2 tablespoons Unsalted Butter: Melted. A little extra fat never hurt anyone (or anything this delicious).
- 1/2 teaspoon Ground Cinnamon: Optional, but why wouldn’t you? It’s like a warm hug for your tastebuds. A pinch of nutmeg wouldn’t hurt either, just sayin’.
- 1 large Egg: Beaten with a splash of water (for an egg wash). Gives it that fancy, golden glow. Totally optional, but makes it look pro.
- 1 tablespoon Granulated Sugar: For sprinkling. Because sparkle and sweetness! Duh.
Step-by-Step Instructions
- Preheat & Prep: Set your oven to a cozy 400°F (200°C). Line a baking sheet with parchment paper. Trust me on the parchment; it saves cleanup time.
- Unfurl the Magic: Gently unroll your thawed puff pastry sheet onto a lightly floured surface. Cut it into about 6-8 squares or rectangles, depending on how big you want your individual apple pie pockets to be.
- Spice it Up: In a small bowl, mix your canned apple pie filling with the melted butter and cinnamon (and nutmeg, if you’re feeling spicy). This step elevates the canned stuff, **FYI**.
- Fill ‘Em Up: Spoon a generous dollop of the apple filling onto one half of each pastry square. Don’t overdo it, or it’ll explode like a delicious, sticky volcano during baking. (Speaking from experience, it’s tasty but messy.)
- Fold & Seal: Fold the other half of the pastry over the filling, creating a little pastry pocket. Use a fork to crimp and seal the edges all the way around. This is important for keeping all that gooey goodness inside!
- Glow Up: If you’re using it, brush the tops of your pastry pockets with the egg wash. Then, sprinkle a little granulated sugar over each one. It’s like glitter, but edible!
- Bake to Perfection: Transfer your apple pie pockets to the prepared baking sheet. Bake for 15-20 minutes, or until they’re beautifully puffed up and golden brown.
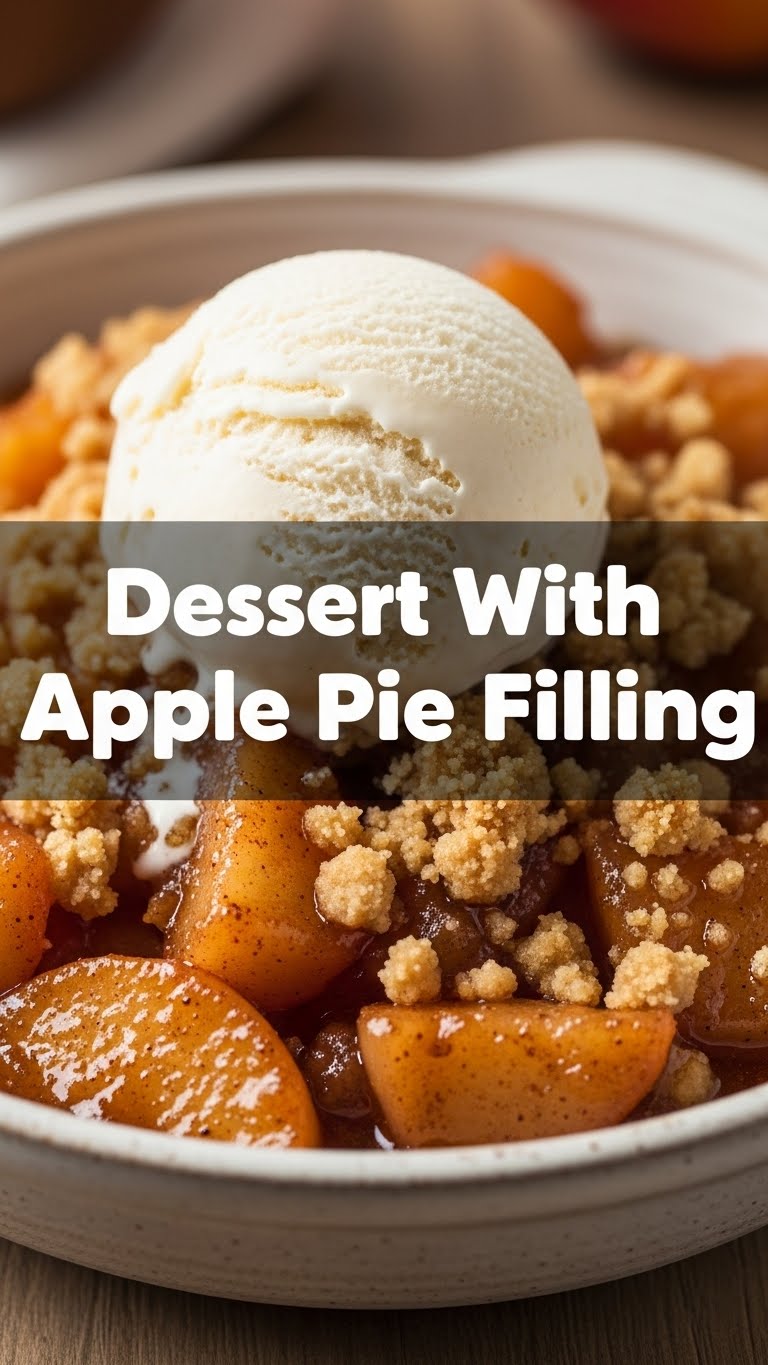
- Cool & Devour: Let them cool on the baking sheet for a few minutes (because lava-hot fruit filling is no fun). Then, transfer them to a wire rack to cool completely, or just dig in while they’re still warm and wonderfully melty. Maybe with some ice cream? Just a thought.
Common Mistakes to Avoid
- Overfilling: Seriously, don’t do it. It’s tempting, I know, but less is more here. Or, at least, “just enough” is more.
- Not Sealing the Edges Properly: If you don’t crimp those edges like your life depends on it, your delicious filling will stage a daring escape. And then you’ll have a sticky mess and sad, empty pastry.
- Forgetting to Preheat the Oven: Rookie mistake! A properly preheated oven ensures even baking and that gorgeous puff. Patience, grasshopper.
- Eating It Right Out of the Oven: I know, I know, the smell is intoxicating. But that fruit filling is molten hot. Give it 5-10 minutes to cool down unless you enjoy third-degree tongue burns.
Alternatives & Substitutions
Feeling adventurous? Here are some ways to shake things up:
- Different Fillings: This recipe is a canvas! Swap the apple for cherry pie filling, peach, blueberry, or even a mix of berries. **IMO**, cherry is a close second for ease and deliciousness.
- No Puff Pastry? If you’re in a pinch, refrigerated crescent roll dough can work, though the texture won’t be as flaky. Phyllo dough is another option if you’re feeling ambitious and want more layers!
- No Egg Wash? You can skip it. Your pastries just won’t be as golden and shiny. A splash of milk or even water can give a subtle sheen.
- Add-ins: Want to be fancy? Sprinkle in some chopped walnuts or pecans with the apples, or drizzle with caramel sauce after baking. Vanilla ice cream or whipped cream on top is practically mandatory.
FAQ (Frequently Asked Questions)
Got questions? I’ve got (casual) answers!
- Can I use fresh apples instead of canned filling? Well, technically yes, but why hurt your soul (and time) like that? The whole point of this recipe is *easy*. If you want fresh, you’d need to peel, slice, and cook them down first.
- How do I store leftovers? Hah, leftovers? Good luck with that! But seriously, store them in an airtight container at room temperature for a day or two, or in the fridge for up to 3-4 days. Reheat briefly in the oven for best results.
- Can I make these ahead of time? You bet! You can assemble them, egg wash and sugar included, then freeze them unbaked on a baking sheet. Once solid, transfer to a freezer bag. Bake from frozen, adding an extra 5-10 minutes to the baking time.
- What if my puff pastry cracks when I unroll it? Don’t panic! Just gently press the cracks together with your fingers. Puff pastry is surprisingly forgiving.
- Can I use oil instead of butter in the filling? You could, but butter adds a richness that oil just can’t quite replicate. It’s a small amount, embrace the butter!
Final Thoughts
See? Told ya it was easy! Now go impress someone (or just yourself, because you deserve it!) with your newfound baking prowess. You’ve just whipped up a dessert that tastes like a cozy autumn evening without breaking a sweat. So, kick back, enjoy your glorious creation, and bask in the deliciousness. You magnificent human, you!


