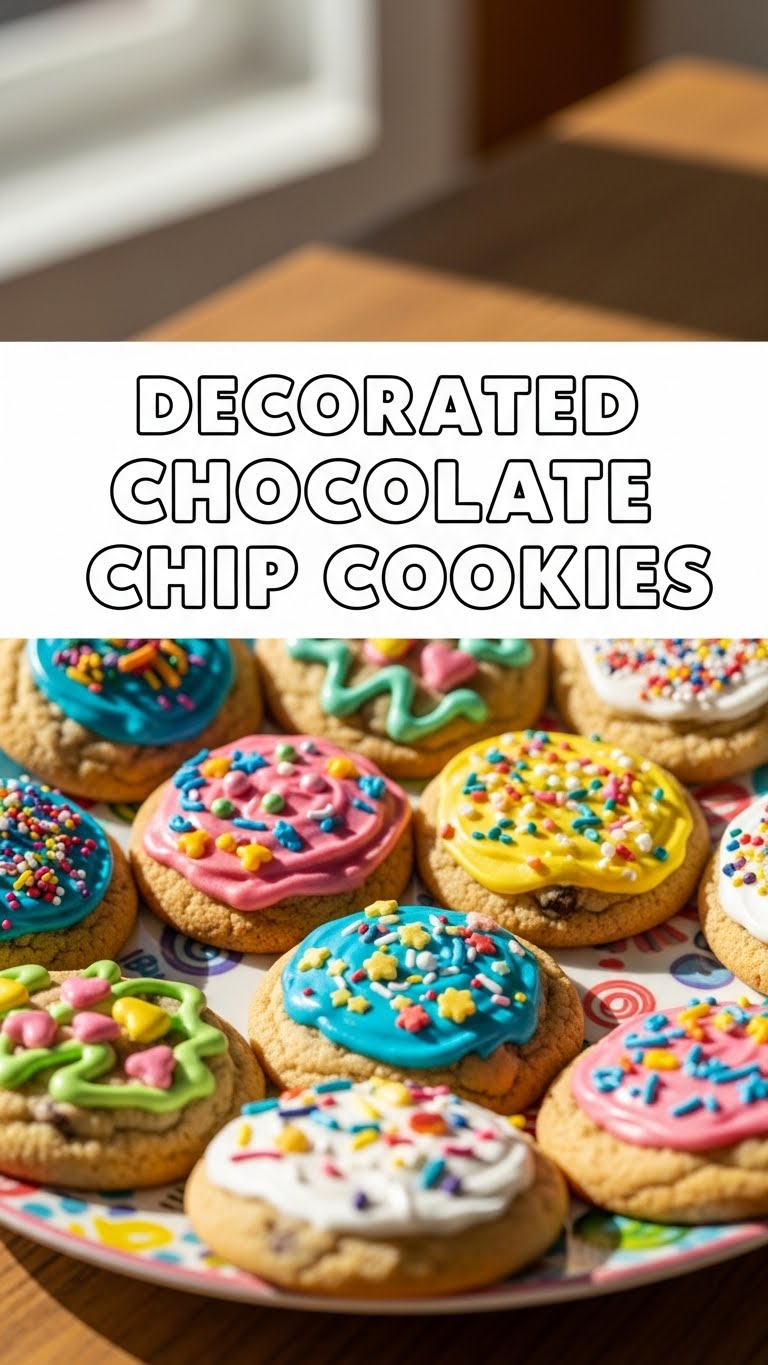
Okay, so you’ve got that nagging sweet tooth, but also that nagging feeling that baking should be *fun*, not a science project, right? And maybe, just maybe, you want something a little extra to impress… or just to make your Tuesday feel like a Friday. Welcome, my friend, to the glorious world of Decorated Chocolate Chip Cookies! Because why have a plain cookie when you can have a party in your mouth, complete with sprinkles?
Why This Recipe is Awesome
Let’s be real, who doesn’t love a good chocolate chip cookie? But sometimes, plain old delicious just isn’t enough. This recipe takes your favorite classic and gives it a glow-up! It’s so ridiculously easy, I’m pretty sure my cat could supervise (and probably ask for extra sprinkles). No fancy equipment, no bizarre techniques, just pure joy from dough to drizzle. Seriously, if I can do it without setting off the smoke alarm, you’re golden.
Ingredients You’ll Need
- 1/2 cup (1 stick) unsalted butter, softened: Don’t even *think* about microwaving it to oblivion. Soft, not melted, people!
- 1/2 cup granulated sugar: The sweet stuff.
- 1/4 cup packed light brown sugar: Adds that chewy, caramel-y goodness. Don’t skip!
- 1 large egg: The binder, the unifier, the reason your cookies aren’t crumbly messes.
- 1 teaspoon vanilla extract: Liquid magic. Use the good stuff, you deserve it.
- 1 1/4 cups all-purpose flour: The backbone of your cookie dreams.
- 1/2 teaspoon baking soda: For that perfect puff.
- 1/4 teaspoon salt: Enhances all the other flavors. It’s not just for seasoning fries, ya know.
- 1 cup chocolate chips: Because what’s a chocolate chip cookie without ’em? Milk, semi-sweet, dark—your call, champ.
- For Decorating:
- 1/2 cup melting chocolate (white, dark, or milk): Get the good kind, the kind that actually melts smoothly. Chips or wafers work great.
- Assorted sprinkles: Go wild! Rainbow, fancy shapes, edible glitter – it’s your party.
Step-by-Step Instructions
- Preheat & Prep: Get that oven preheated to 375°F (190°C). Line a couple of baking sheets with parchment paper. Trust me, it makes cleanup a breeze.
- Cream It Up: In a large bowl, beat the softened butter, granulated sugar, and brown sugar together until light and fluffy. A hand mixer makes this easy, but a strong arm works too!
- Egg-cellent Addition: Beat in the egg and vanilla extract until everything is well combined and looks deliciously creamy.
- Dry Mix Fun: In a separate (smaller) bowl, whisk together the flour, baking soda, and salt.
- Combine ‘Em: Gradually add the dry ingredients to the wet ingredients, mixing on low speed (or by hand) until just combined. Don’t overmix! Overmixing leads to tough cookies, and no one wants that.
- Chocolate Time: Fold in those glorious chocolate chips. Get them evenly distributed so every bite is chocolatey goodness.
- Scoop & Bake: Drop rounded tablespoons of dough onto your prepared baking sheets, leaving a little space between each. Bake for 9-11 minutes, or until the edges are golden brown and the centers are still slightly soft.
- Cool Down: Let the cookies cool on the baking sheets for a few minutes before transferring them to a wire rack to cool completely. Patience is a virtue, especially when it comes to not burning your tongue.
- Time to Decorate! Once your cookies are completely cool (this is key!), melt your chosen decorating chocolate according to package directions. You can drizzle it over the cookies using a spoon or a piping bag (or even a Ziploc bag with a corner snipped off). Immediately shower them with sprinkles before the chocolate sets.
- Set & Serve: Let the decorated cookies sit until the chocolate hardens. Then, dig in!
Common Mistakes to Avoid
- Melted Butter Mayhem: Using melted butter instead of softened butter. Your cookies will spread out like pancakes. We’re aiming for cookies, not crepes, folks.
- Impatience with Cooling: Trying to decorate warm cookies. The chocolate will just melt into a sad, sticky mess. Cool cookies are happy cookies.
- Overmixing the Dough: As mentioned, tough cookies. Just mix until combined, then stop. Walk away from the mixer!
- Eyeballing Ingredients: Baking is a science, especially with ratios. Use measuring cups and spoons! It’s not like making pasta sauce, where a “pinch of this” and “dash of that” always works out.
Alternatives & Substitutions
Feeling adventurous? Or just out of something? No worries, I got you!
- Butter: Can you use margarine? Technically, yes, but your cookies won’t have quite the same rich flavor or chewy texture. Real butter is always my go-to for taste.
- Chocolate Chips: Mix it up! Try white chocolate, dark chocolate, peanut butter chips, or even chopped candy bars. Why limit yourself?
- Vanilla Extract: Ran out? A tiny splash of almond extract can work in a pinch, but use sparingly – it’s potent!
- Decorations: No melting chocolate? A simple powdered sugar glaze (powdered sugar + a tiny bit of milk/water) can be drizzled too. Or just stick to different kinds of sprinkles! Crushed nuts or mini M&M’s are also fun.
FAQ (Frequently Asked Questions)
- My cookies spread too much! What happened?
Did you use melted butter? Was your oven not hot enough? Or did you skip chilling the dough? Sometimes warmer dough spreads more. A brief chill (20-30 min) in the fridge can save you!
- Can I make the dough ahead of time?
Absolutely! Cookie dough is surprisingly chill (pun intended). Store it in an airtight container in the fridge for up to 3 days, or freeze it for up to 3 months. Just bring it to room temp slightly before scooping.
- What kind of sprinkles should I use?
Any kind that makes your heart sing! Rainbow jimmies are classic, but nonpareils, confetti sprinkles, or even those fancy glitter sugars are all fair game. The more colorful, the better, IMO.
- My cookies are too cakey! Help!
You might have used too much flour or overmixed the dough. Make sure you’re measuring your flour correctly (spoon into cup, then level off) and stopping mixing as soon as everything is combined.
- Can I use margarine instead of butter?
Well, technically yes, you can. But why hurt your soul (and your cookie’s texture/flavor) like that? For the best results, stick with real butter. It makes a difference, trust me.
Final Thoughts
And there you have it, folks! Delicious, chewy chocolate chip cookies, jazzed up and ready to impress. Whether you’re baking for a special occasion, a random Tuesday pick-me-up, or just to prove you can adult, these decorated beauties are sure to be a hit. So go on, unleash your inner cookie artist! Now go impress someone—or yourself—with your new culinary skills. You’ve earned it!


