Ever feel like your sweet tooth is staging a hostile takeover, but your energy levels are strictly in “nap” mode? Yeah, me too. But fear not, my dessert-loving comrade! I’ve got the lowdown on a decorated chocolate cake that’s so easy, it practically bakes itself while you scroll through cat videos. And the “decorating” part? Totally optional, or just an excuse to unleash your inner artist (even if that artist only knows how to sprinkle aggressively). Let’s dive in!
Why This Recipe is Awesome
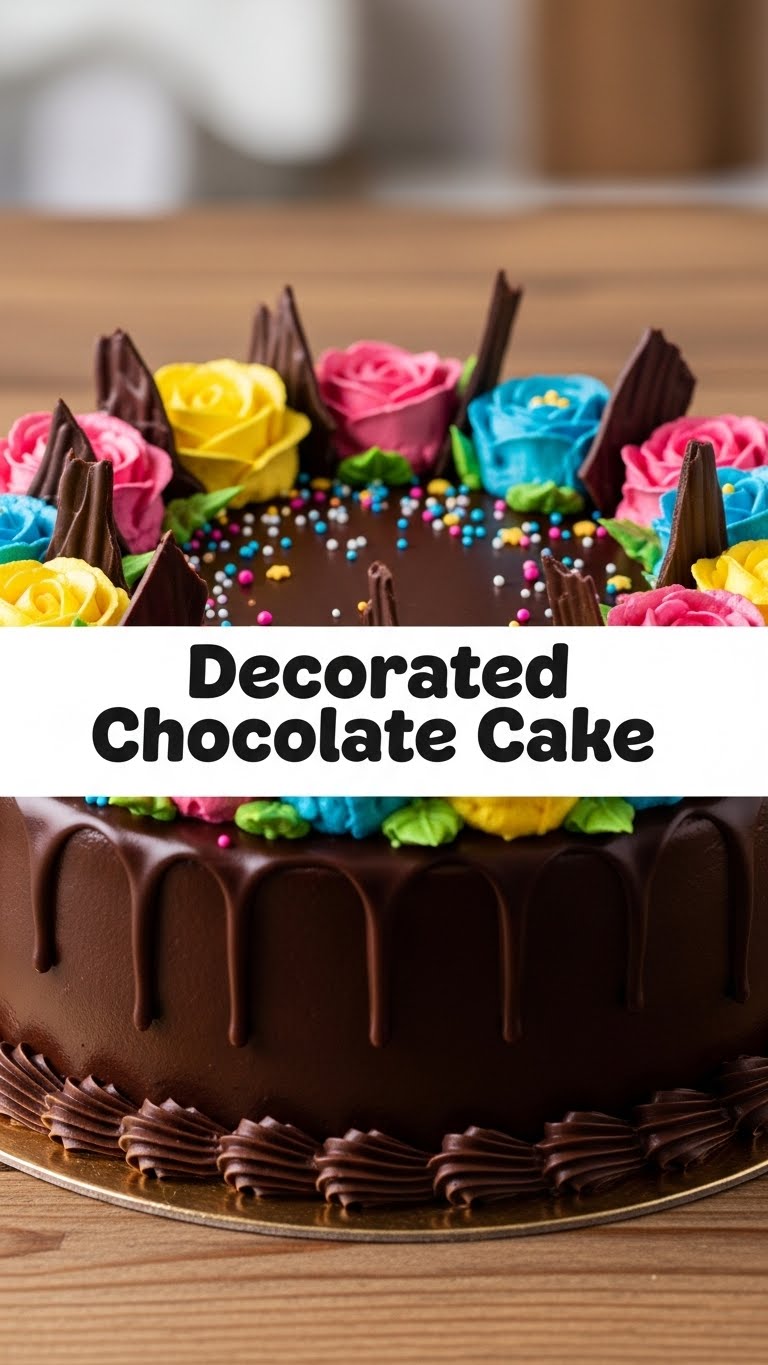
Okay, let’s be real. This isn’t just *any* chocolate cake. This is the “I-pretended-I-slaved-all-day-but-really-it-took-an-hour-ish” chocolate cake. It’s ridiculously moist, incredibly fudgy, and simple enough that your pet hamster could probably follow the instructions (if they had opposable thumbs, that is). It’s basically **idiot-proof**, I swear, even *I* didn’t mess it up! Plus, it’s a fantastic canvas for whatever level of “decoration” you’re feeling – from a sprinkle party to an actual edible masterpiece.
Ingredients You’ll Need
Gather your troops! Here’s what you need to conjure this chocolatey magic:
For the Cake:
- 1 ¾ cups (210g) All-Purpose Flour: Because who needs fancy, specific flour, honestly?
- 1 ¾ cups (350g) Granulated Sugar: Sweetness is next to godliness.
- ¾ cup (65g) Unsweetened Cocoa Powder: The darker, the better for that deep chocolatey goodness.
- 1 ½ teaspoons Baking Soda: Our lift-off agent!
- 1 teaspoon Salt: Balances everything out like a culinary tightrope walker.
- 2 large Eggs: Room temperature, please! They mix better that way.
- 1 cup (240ml) Milk: Whole milk if you’re feeling decadent.
- ½ cup (120ml) Vegetable Oil: The secret to ultimate moistness. **Don’t skimp!**
- 2 teaspoons Vanilla Extract: Because vanilla makes everything sing.
- 1 cup (240ml) Hot Water or Hot Coffee: This is the *real* secret weapon for depth of flavor and moisture. Coffee doesn’t make it taste like coffee, just more chocolatey!
For the Best Fudgy Chocolate Frosting:
- 1 cup (226g) Unsalted Butter: Softened, because cold butter is the enemy of smooth frosting.
- 3 cups (360g) Powdered Sugar: Sifted, unless you like lumpy frosting (you don’t).
- ¾ cup (65g) Unsweetened Cocoa Powder: Again, dark and delicious.
- ½ cup (120ml) Milk or Heavy Cream: Add slowly until you hit your desired consistency.
- 1 teaspoon Vanilla Extract: More vanilla, because why not?
For the Fun Decorations (Optional, but highly encouraged):
- Sprinkles (all the colors!)
- Chocolate shavings or curls
- Fresh berries (raspberries or strawberries look amazing)
- Edible glitter (for extra sparkle, duh)
- Chocolate candies (M&Ms, Kit Kats, whatever your heart desires)
Step-by-Step Instructions
Alright, apron on, battle stations ready! Let’s get baking!
- **Preheat Your Oven:** Set it to 350°F (175°C). Seriously, don’t skip this. While it heats up, grease and flour two 8-inch round cake pans, or line them with parchment paper.
- **Mix the Dry Stuff:** In a large bowl, whisk together the flour, sugar, cocoa powder, baking soda, and salt. Make sure there are no lumpy bits. You want a beautifully uniform brown powder.
- **Combine the Wet Stuff:** In a separate medium bowl, whisk together the eggs, milk, vegetable oil, and vanilla extract until well combined. These are your liquid heroes.
- **Bring Them Together:** Pour the wet ingredients into the dry ingredients. Mix on low speed with an electric mixer (or vigorously by hand) until *just* combined. **Do not overmix!** Nobody wants a tough cake.
- **Add the Hot Liquid:** Carefully stir in the hot water or coffee. The batter will be thin, but that’s totally normal! **Don’t panic**, it’s supposed to be like that for maximum moisture.
- **Bake It Up:** Divide the batter evenly between your prepared cake pans. Bake for 30-35 minutes, or until a wooden skewer inserted into the center comes out clean.
- **Cool Down:** Let the cakes cool in their pans on a wire rack for about 10-15 minutes. Then, carefully invert them onto the wire rack to cool completely. This is **non-negotiable** for frosting success!
- **Whip Up the Frosting:** While the cakes cool, beat the softened butter in a large bowl until creamy. Gradually add the sifted powdered sugar and cocoa powder, alternating with splashes of milk/cream and the vanilla extract. Beat until light, fluffy, and super smooth. Add more milk if it’s too thick, more sugar if it’s too thin.
- **Assemble and Decorate:** Once the cakes are completely cool (I mean it, completely!), level them if needed with a serrated knife. Spread a generous layer of frosting on the first cake layer, top with the second, then frost the top and sides. Now for the fun part: unleash your inner artist with sprinkles, chocolate shavings, berries, or whatever makes you happy!
Common Mistakes to Avoid
Listen up, buttercup! Don’t fall into these common baking traps:
- **Forgetting to Preheat the Oven:** Rookie mistake! Your oven needs to be at the correct temperature *before* the cake goes in, or you’ll end up with dense, sad layers.
- **Overmixing the Batter:** This isn’t a bicep workout. Once the flour is just combined, stop! Overmixing develops gluten, leading to a tough, rubbery cake. We want tender, not chewy!
- **Frosting a Warm Cake:** Oh, honey, no. This is like trying to ice a puddle. You’ll end up with a melted, messy disaster. **Patience is a virtue here.**
- **Eyeballing Ingredients:** Baking is a science, not an art (until the decorating part). Use measuring cups and spoons! For best results, use a kitchen scale for flour and sugar.
- **Not Greasing Your Pans Properly:** Ever had a cake stick? It’s soul-crushing. Take the extra minute to grease and flour (or use parchment!) thoroughly.
Alternatives & Substitutions
Feeling adventurous or missing an ingredient? No stress, we can totally adapt!
- **Dairy-Free?** Swap regular milk for almond, oat, or soy milk. For the frosting, use a good quality vegan butter substitute and your preferred non-dairy milk. It works beautifully!
- **No Coffee?** Hot water is perfectly fine! But IMO, the coffee really *does* deepen the chocolate flavor without making it taste like coffee. Give it a shot if you can!
- **Different Frosting?** Absolutely! This cake would be amazing with a simple cream cheese frosting, a luscious ganache, or even a peanut butter frosting if you’re feeling wild. Live your best cake life!
- **Want Less Sweet?** You can slightly reduce the sugar in the cake by ¼ cup, but I wouldn’t go much lower, as it affects the cake’s structure and moisture.
- **Decorations:** No sprinkles? No problem! A simple dusting of powdered sugar looks elegant. Fresh fruit, chocolate chips, or even a drizzle of melted chocolate are all fair game.
FAQ (Frequently Asked Questions)
Got questions? I’ve got answers (and probably a sarcastic comment or two).
- **”Can I make this cake ahead of time?”** Absolutely! The cake layers can be baked a day or two in advance, wrapped tightly in plastic, and stored at room temperature. The frosting can also be made a day ahead and stored in the fridge (just let it come to room temp and whip it again before using).
- **”My cake came out dry, what did I do wrong?”** Oh dear! Most likely, you either overbaked it (ovens vary, so start checking earlier!) or you overmixed the batter. Less often, but possible, not enough liquid or using too much flour.
- **”Do I *have* to decorate it?”** Nope! A “naked” chocolate cake is still a glorious chocolate cake. Just dust with powdered sugar if you’re feeling fancy but lazy. Zero judgment here!
- **”Can I use margarine instead of butter for the frosting?”** Well, technically yes, but why hurt your soul like that? Real butter gives the best flavor and texture. For a special occasion (like any day you bake cake), splurge on the good stuff.
- **”What if I don’t have two cake pans?”** You can bake one layer at a time, just ensure the second batch of batter sits for a bit. Or, you can bake it all in a 9×13 inch pan for about 40-45 minutes for a sheet cake (adjust cooking time, obviously!).
- **”How long does the cake last?”** Stored covered at room temperature, it’s typically good for 3-4 days. In the fridge, it can last up to a week. If it makes it that long, you’re a stronger person than I am!
Final Thoughts
So there you have it, folks! Your new go-to decorated chocolate cake recipe that’s sure to impress without making you feel like you just ran a marathon. It’s rich, it’s moist, and it’s ridiculously fun to make. Now go forth, bake, decorate (or don’t!), and devour. You deserve every single bite of this deliciousness. Go impress someone—or yourself—with your new culinary skills. You’ve earned it!


