So, you’ve got that irresistible craving for deep, dark chocolate, but your “baking skills” mostly involve opening a box of Oreos, right? No judgment here, because today, we’re not just making a dark chocolate cake; we’re crafting a masterpiece that even *you* won’t believe came out of your kitchen. And guess what? The “design” part is so easy, it’s practically cheating. Let’s get baking, friend!
Why This Recipe is Awesome
Ever dreamt of impressing your friends, family, or even your skeptical pet with a cake that looks like it stepped out of a fancy patisserie but took less effort than untangling your headphones? This is *that* cake. It’s rich, it’s dark, it’s dramatically delicious, and the ‘design’ part is so simple it’s basically witchcraft. Seriously, even if your usual baking adventure ends with the smoke detector serenading you, you’ve got this. This cake is idiot-proof, even I didn’t mess it up (and that’s saying something).
Ingredients You’ll Need
Gather your troops! Here’s what you’ll need for your dark chocolate domination:
- For the Cake:
- 2 cups all-purpose flour (the basic stuff, no fancy flours needed)
- ¾ cup unsweetened cocoa powder (the darker, the better, duh!)
- 2 cups granulated sugar (to make it sweet, obviously)
- 1 ½ teaspoons baking soda (our lift-off agent!)
- 1 teaspoon salt (because flavor balance is key)
- 1 cup milk (or buttermilk for extra drama, see Alternatives!)
- ½ cup vegetable oil (or melted butter for richness)
- 2 large eggs (room temp, don’t ask why, just do it)
- 2 teaspoons vanilla extract (liquid magic in a bottle)
- 1 cup hot water or hot brewed coffee (the secret weapon for ultimate moisture and chocolate punch!)
- For the Dark Chocolate Ganache Design:
- 1 cup heavy cream (the full-fat kind, no skimping – this is for design, after all!)
- 1 ½ cups good quality dark chocolate chips or finely chopped dark chocolate bar (this is where your cake gets its fancy pants!)
Step-by-Step Instructions
- Preheat & Prep: Get that oven fired up to 350°F (175°C). Grease and flour two 8-inch round cake pans. Or, if you’re fancy, line the bottoms with parchment paper. Don’t skip this, unless you enjoy scraping.
- Dry Mix Magic: In a large bowl, whisk together your flour, cocoa powder, sugar, baking soda, and salt. Make sure there are no lumpy bits trying to hide.
- Wet Whisk Wonders: In a separate bowl, whisk the milk, oil (or melted butter), eggs, and vanilla extract until they’re all happy and combined.
- Combine & Conquer: Pour the wet ingredients into the dry. Mix on low speed (or gently by hand) until just combined. Don’t overmix, or you’ll end up with a tough cake, and nobody wants that.
- The Hot Shot: Carefully stir in the hot water or hot coffee. The batter will look thin, and that’s perfectly normal. Seriously, **trust the process!** It’s what makes this cake so moist.
- Bake It Off: Divide the thin batter evenly between your two prepared pans. Bake for 30-35 minutes, or until a toothpick inserted into the center of each cake comes out clean.
- Cool Down: Let the cakes cool in their pans for about 10-15 minutes. Then, gently invert them onto a wire rack to cool completely. Patience, grasshopper. Rushing this step is a rookie mistake.
- Ganache Glam: While the cakes are chilling, let’s make that glorious ganache. Heat the heavy cream in a small saucepan until it just begins to simmer (tiny bubbles around the edge – don’t boil!). Pour the hot cream over your chopped dark chocolate in a heatproof bowl. Let it sit for 5 minutes, then whisk gently until it’s smooth, glossy, and oh-so-inviting. Let it cool a bit until it’s thick but still pourable.
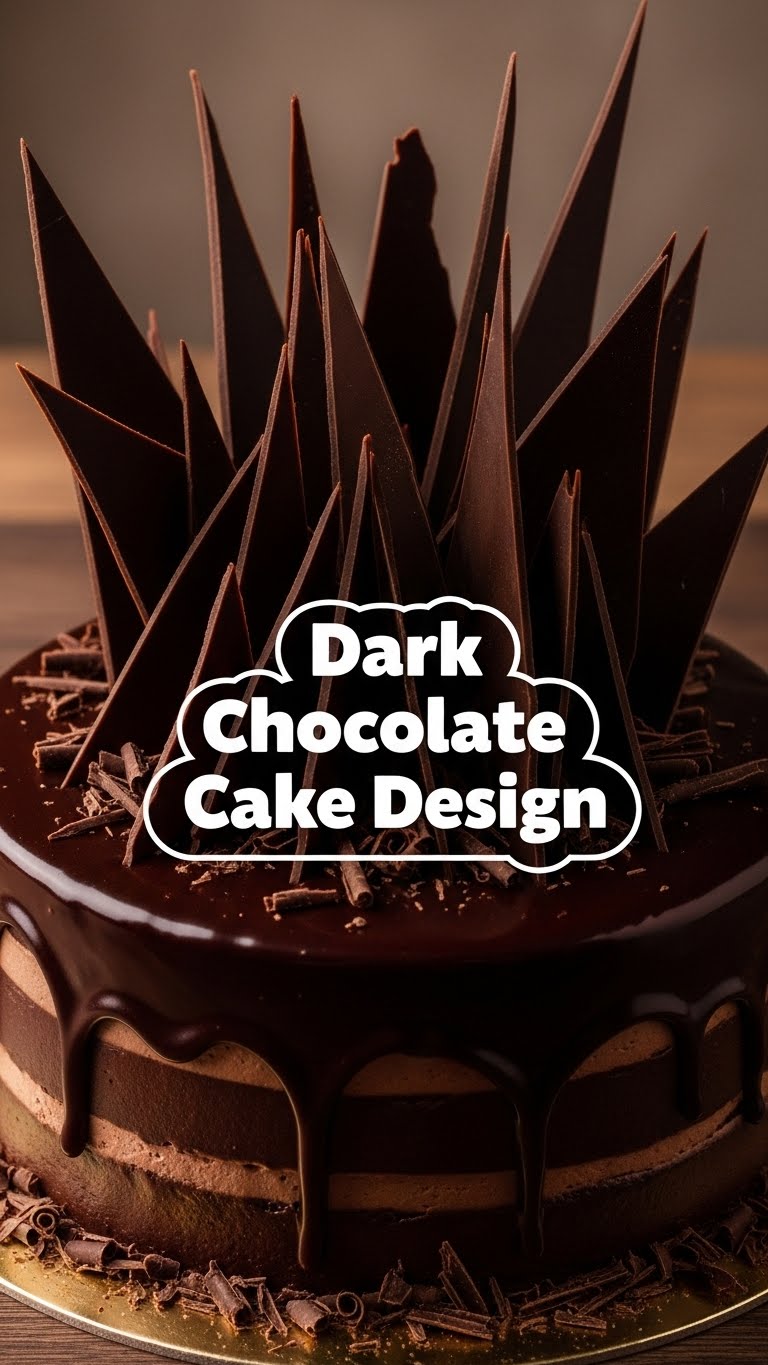
- Design Time! Once your cakes are completely cool (this is crucial!), level them with a serrated knife if needed. Place one cake layer on your serving plate. Spread a thin layer of ganache over the top. Place the second cake layer on top. Now, for the ‘design’ bit: pour the remaining ganache over the top of the cake, letting it drip artfully down the sides. You can use an offset spatula to gently guide the drips, creating those beautiful, dramatic effects. This is your moment to shine!
- Chill Out: Pop the cake in the fridge for 30 minutes to set that gorgeous ganache. Optional but highly recommended: dust with a little extra cocoa powder or add some fancy sprinkles for extra pizzazz.
Common Mistakes to Avoid
Look, we all make mistakes. Let’s try to avoid these:
- Thinking you can wing the oven temperature. Spoiler: you can’t. **Preheat, always!** It ensures even baking.
- Overmixing the batter. You’re making cake, not bread dough. Gentle, gentle. A tough cake is a sad cake.
- Frosting a warm cake. Unless you enjoy soupy, crumbly disasters and tears, let those layers cool *completely*.
- Skimping on good dark chocolate for the ganache. This is the star of your ‘design,’ people! Don’t let cheap chocolate ruin your masterpiece. **FYI, quality matters here.**
- Impatience. Trying to rush cooling the cakes or setting the ganache. Just walk away, do something else, it’ll be worth it. Promise.
Alternatives & Substitutions
Life’s about options, right? Here are a few:
- Milk: No buttermilk? No problem! Just add 1 tablespoon of white vinegar or lemon juice to regular milk and let it sit for 5 minutes. Boom, instant buttermilk, and it adds extra moisture!
- Hot water: Use hot brewed coffee instead. It won’t make your cake taste like coffee, but it will seriously amplify the chocolate flavor. Trust me on this one, it’s a game-changer!
- Oil: Melted unsalted butter works beautifully too for a richer flavor, but oil typically makes cakes a bit more moist.
- Ganache Design Alternatives: If you’re feeling extra fancy, you can add a simple berry compote on top before the ganache sets, or scatter some chocolate curls, or even some edible glitter (if you’re feeling *really* extra).
FAQ (Frequently Asked Questions)
Got questions? I’ve got (casual) answers:
- Can I use milk chocolate for the ganache? Well, technically yes, but then it wouldn’t be a *dark* chocolate cake design, would it? And IMO, dark chocolate ganache just hits different. For true decadence, stick to dark.
- My ganache is too thin/thick, help! Too thin? Let it cool longer, or pop it in the fridge for 10-15 mins, stirring occasionally. Too thick? Add a tiny splash of warm cream or milk, whisking until smooth again. Crisis averted!
- Can I bake this in a 9×13 inch pan? Yep! It’ll likely take a bit less time, around 30-35 minutes. Just keep an eye on it and do the trusty toothpick test.
- How far in advance can I make this cake? You can bake the layers a day ahead and store them tightly wrapped at room temp. Make the ganache fresh for the best pour, then assemble. It often tastes even better the next day!
- Does it need to be refrigerated? If you have ganache, it’s generally best to keep it refrigerated, especially in warmer climates. Bring it to room temp for an hour before serving for optimal texture.
Final Thoughts
There you have it, superstar! You just whipped up a dark chocolate cake that looks like it cost a fortune, but only cost you a bit of time and maybe a few chocolate-covered fingers. Now go impress someone – or yourself – with your new culinary skills. You’ve earned it! **Don’t forget to send me a pic!** Happy baking (and showing off)!


