So, you’re scrolling through impossibly beautiful food pics, craving something utterly decadent but thinking, “Ugh, can I even make that without setting off the smoke detector?” Girl, same. We all want that ‘I woke up like this and baked a masterpiece’ vibe without, you know, actually waking up at 5 AM or making a kitchen disaster zone. And guess what? Your dark chocolate cake aesthetic dreams are about to come true, sans the drama.
Why This Recipe is Awesome
Okay, let’s be real. This isn’t just any cake recipe. This is *the* recipe. It’s basically a therapy session you can eat. Not only does it yield the most ridiculously moist, deeply chocolatey cake that looks like it came straight out of a fancy bakery (but tastes even better because you made it, duh), but it’s also practically foolproof. I mean, idiot-proof. If I, a person whose kitchen sometimes looks like a war zone after making toast, can nail this, you absolutely can too. It’s quick, simple, and delivers maximum chocolate satisfaction with minimal effort. Your inner domestic goddess (or dude) is about to shine!
Ingredients You’ll Need
Alright, gather your troops! These are the essentials for your chocolatey conquest. Don’t worry, no obscure unicorn tears needed.
- All-purpose flour: The backbone of any good cake. Don’t substitute with almond flour unless you want a different kind of adventure.
- Granulated sugar: Because life is sweet, and so should your cake be.
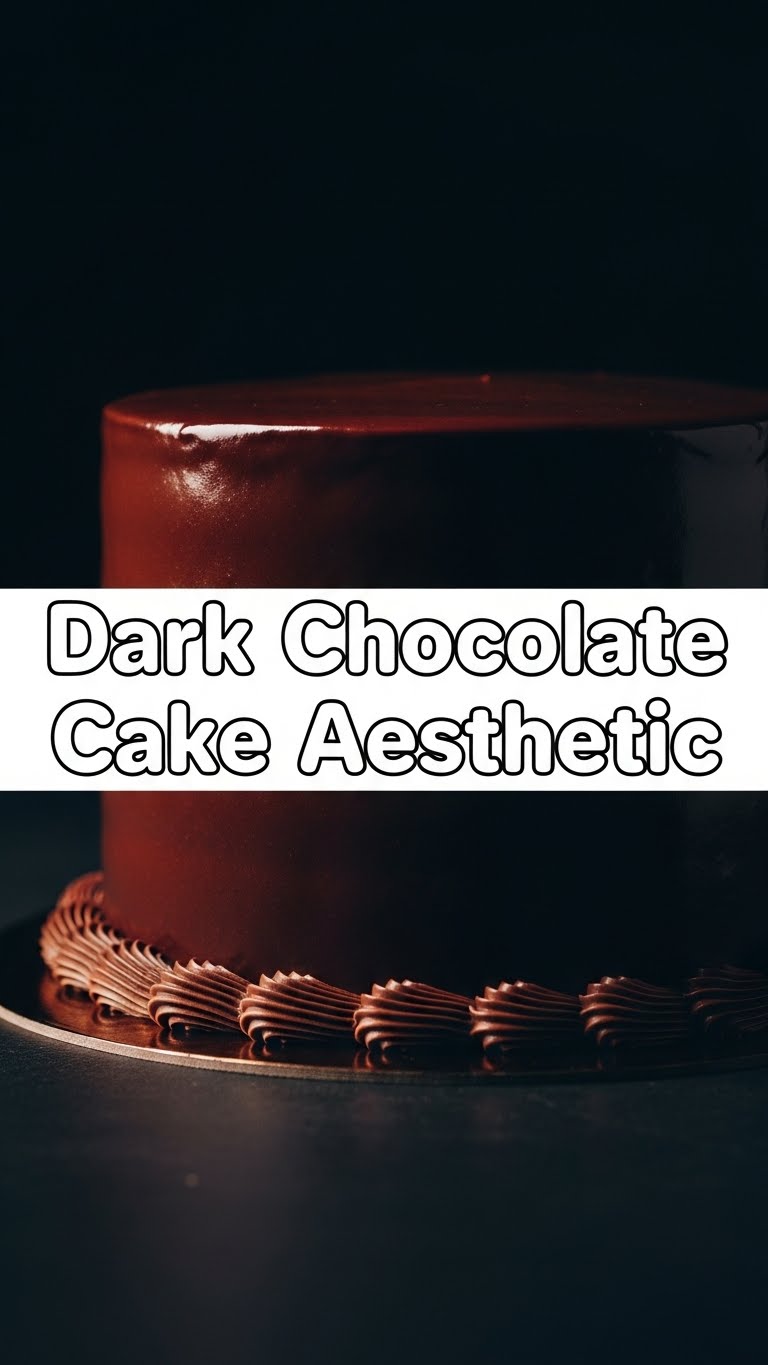
- Unsweetened cocoa powder (good quality!): This is where the “dark” in “dark chocolate cake” comes from. Don’t skimp here, your taste buds will thank you.
- Baking soda: Our little magic poof-maker.
- Salt: Just a pinch to balance out all that sweetness and make the chocolate sing.
- Eggs (large): Room temperature, please! They mix better and give you a fluffier cake.
- Milk (or buttermilk, if you’re feeling fancy): Room temperature again. Buttermilk makes it extra tender, but regular milk is totally fine.
- Vegetable oil (or melted butter): Oil makes it super moist, butter adds richness. Your call, superstar!
- Vanilla extract: A hug in a bottle for your cake. Don’t skip it!
- Hot water or hot coffee: Yep, hot! It blooms the cocoa and makes the cake extra chocolatey. Coffee enhances chocolate without making it taste like coffee, trust me on this one.
Step-by-Step Instructions
- Get Prepped: First things first, preheat your oven to 350°F (175°C). Grease and flour a 9×13 inch baking pan (or two 8-inch round pans if you’re feeling layered and ambitious). Line the bottom with parchment paper for easy release, because nobody wants a cake stuck in the pan.
- Dry Mix It Up: In a large bowl, whisk together the flour, sugar, cocoa powder, baking soda, and salt. Make sure there are no lumps—we’re aiming for smooth sailing here.
- Wet Wonders: In another medium bowl, whisk together the eggs, milk (or buttermilk), vegetable oil (or melted butter), and vanilla extract. Whisk until it’s all nicely combined and looks inviting.
- Combine & Conquer: Pour the wet ingredients into the dry ingredients. With an electric mixer on low speed, or by hand with a whisk, mix until just combined. Do not overmix! A few small lumps are okay, promise.
- The Hot Secret: Carefully pour the hot water or hot coffee into the batter. Mix on low speed until just incorporated. The batter will be quite thin, but don’t freak out—that’s exactly how it should be for a super moist cake.
- Bake Away: Pour the thin batter evenly into your prepared pan(s). Bake for 30-35 minutes for a 9×13 pan, or 25-30 minutes for round pans, or until a wooden skewer inserted into the center comes out with moist crumbs, not wet batter.
- Cool Down: Let the cake cool in the pan on a wire rack for about 10-15 minutes before inverting it onto the rack to cool completely. Patience is a virtue here, my friend. Don’t rush it, or you might have a crumble instead of a cake.
Common Mistakes to Avoid
Listen, we all make mistakes. But these are the ones you want to dodge if you want that perfect cake aesthetic (and taste, obvs).
- Not preheating the oven: Rookie mistake! Your oven isn’t psychic, it needs time to get to temp. A cold oven equals a dense, sad cake.
- Overmixing the batter: This is a biggie. Mixing too much develops the gluten, resulting in a tough, rubbery cake. Mix until *just* combined, seriously.
- Opening the oven door constantly: Resist the urge! Every time you open that door, the temperature drops, and your cake might sink in the middle. Give it at least 20-25 minutes before peeking.
- Not letting the cake cool: I know, I know, the smell is intoxicating. But trying to frost a warm cake is a recipe for a melted, gooey mess. Cool completely, or suffer the consequences.
- Skimping on good cocoa: You’re making a *dark chocolate* cake. Invest in decent cocoa powder, it makes all the difference in flavor.
Alternatives & Substitutions
Life happens, sometimes you don’t have exactly what the recipe calls for. No stress, we can totally hack this!
- No buttermilk? No problem! For every cup of milk, add 1 tablespoon of white vinegar or lemon juice. Let it sit for 5-10 minutes until it looks slightly curdled. Voila! Instant buttermilk substitute. Don’t tell anyone, it’s our little secret.
- Can’t do coffee? Just use hot water instead. The coffee really deepens the chocolate flavor without making it taste like coffee, but hot water works perfectly fine too.
- Vegetable oil vs. melted butter: Vegetable oil gives a consistently moist crumb, while melted butter adds a richer, slightly more buttery flavor. Feel free to use whichever you prefer or have on hand. Both are delicious!
- Different pan sizes: This recipe is pretty versatile. You can use two 8-inch round pans, two 9-inch round pans (they’ll be a bit thinner and bake faster), or even cupcakes (reduce baking time significantly, probably 18-22 minutes). Just keep an eye on it!
FAQ (Frequently Asked Questions)
Got questions? I probably do too, but here are some common ones that might save you a Google search!
- Q: Can I use margarine instead of butter?
A: Well, technically yes, but why hurt your soul like that? Butter just tastes better and gives a richer flavor. If you *must*, use a good quality stick margarine, but I’d always recommend butter for optimal deliciousness. - Q: What kind of cocoa powder should I use?
A: For this recipe, natural unsweetened cocoa powder is best. Dutch-processed cocoa powder (which is treated with an alkali to reduce acidity) would react differently with the baking soda and might affect the rise. So, stick to natural! - Q: My cake sank in the middle! What happened?
A: Oh no! This often happens if the oven door was opened too early, the oven temperature was too low, or the cake was underbaked. Make sure your oven is properly preheated and resist the urge to peek until the very end. - Q: How do I store this cake?
A: If unfrosted, wrap it tightly in plastic wrap and store at room temp for up to 2-3 days, or in the fridge for up to a week. If frosted, store in an airtight container at room temperature (if frosting is stable) or in the fridge. It also freezes beautifully! - Q: Why the hot water/coffee? Does it really make a difference?
A: Absolutely! It “blooms” the cocoa powder, releasing its full flavor potential and making your cake intensely chocolatey. It also helps create that signature super moist crumb. Trust the hot liquid magic!
Final Thoughts
And there you have it, folks! Your very own, incredibly delicious, and ridiculously aesthetic dark chocolate cake. You just conquered a kitchen challenge, and let’s be honest, you did it with style. Pat yourself on the back, you culinary genius! Now go impress someone—or yourself—with your new skills. Slice it up, pair it with some ice cream, or just eat it straight from the pan (no judgment here, IMO). You’ve totally earned this chocolatey goodness!


