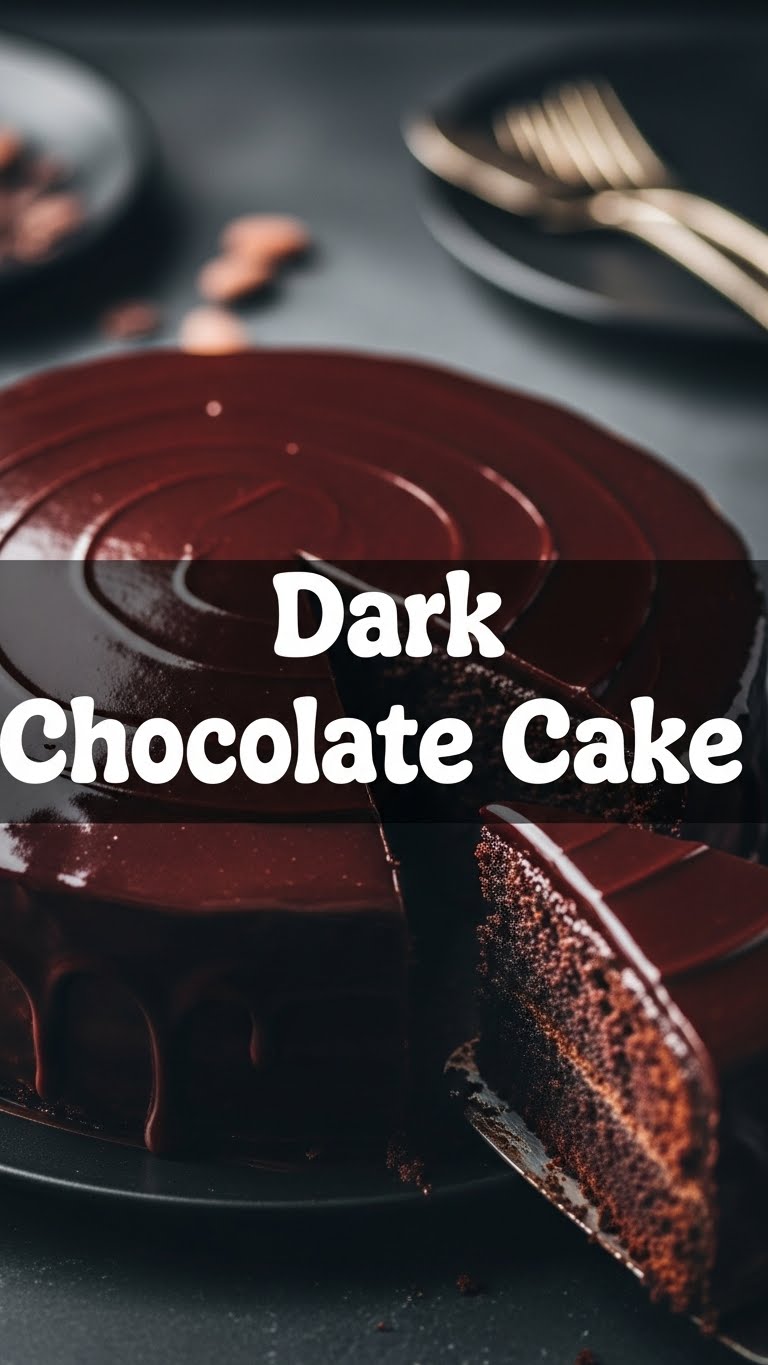
Ever have one of those days where your soul just *demands* chocolate cake, but your brain is like, ‘Nah, too much effort’? Yeah, me too. Good news, my friend, because I’ve cracked the code to making the kind of dark chocolate cake that’s so ridiculously easy, it practically bakes itself. No fuss, maximum deliciousness, and honestly, it’s so good you might just ditch all your other cake recipes. You’re welcome.
Why This Recipe is Awesome
Okay, so why bother with *this* particular dark chocolate cake recipe when the internet is literally drowning in them? Simple. This isn’t just a cake; it’s an *experience*. It’s ridiculously moist (sorry, I said it!), intensely chocolatey without being cloyingly sweet, and honestly, it’s pretty much idiot-proof. And I say that with love, having almost set my kitchen on fire with a simpler recipe last week. Plus, it uses ingredients you probably already have lurking in your pantry, meaning fewer last-minute grocery store runs in your pajamas. Win-win!
Ingredients You’ll Need
- All-purpose flour: The backbone of all good cakes. Don’t substitute with almond flour unless you want a *very* different cake, just sayin’.
- Unsweetened cocoa powder (the good stuff!): This is where the *dark* magic happens. Splurge a little, your tastebuds will thank you.
- Granulated sugar: Sweetness for the soul.
- Baking soda & Baking powder: Our dynamic duo for lift. Don’t skip, or you’ll end up with a chocolate brick.
- Salt: Just a pinch, to make all the other flavors sing.
- Eggs (large): Binders, basically. Don’t use small ones unless you want a dry cake.
- Whole milk: Moisture and tenderness. Or 2%, if that’s all you have, but whole is king here.
- Vegetable oil: Keeps things moist and tender. Canola or sunflower oil works too.
- Vanilla extract: A hug in a bottle. Use the real stuff, please!
- Boiling water: The secret weapon for extra chocolatey-ness and a tender crumb. Trust me on this one.
Step-by-Step Instructions
- Preheat & Prep: First things first, get your oven to 350°F (175°C). Grease and flour two 8-inch round cake pans. Or line with parchment paper for extra non-stick insurance.
- Dry Mix Fun: In a large bowl, whisk together your flour, cocoa powder, sugar, baking soda, baking powder, and salt. Make sure there are no lumpy bits. Lumps are not our friends today.
- Wet Mix Magic: In a separate medium bowl, whisk together your eggs, milk, vegetable oil, and vanilla extract. Get it nice and combined.
- Combine Forces: Pour the wet ingredients into the dry ingredients. Mix on low speed with an electric mixer (or by hand, if you’re feeling strong) until just combined. Don’t overmix! Overmixing leads to tough cake, and nobody wants a tough cake.
- The Hot Water Boost: Carefully pour in the boiling water. The batter will look thin, don’t panic! This is normal and actually helps make the cake super moist. Mix until just incorporated.
- Divide & Conquer: Divide the batter evenly between your two prepared cake pans. Give them a gentle tap on the counter to release any air bubbles.
- Bake It ‘Til You Make It: Bake for 30-35 minutes, or until a wooden skewer inserted into the center comes out clean (or with a few moist crumbs).
- Cool Down: Let the cakes cool in the pans for about 10-15 minutes before inverting them onto a wire rack to cool completely. Patience is a virtue, especially when cake is involved.
Common Mistakes to Avoid
- Not preheating the oven: Rookie move! Cold ovens mean uneven baking and sad, dense cakes.
- Overmixing the batter: This is probably the number one offender. Mixing too much develops the gluten, making your cake tough and chewy instead of light and fluffy. Mix until *just* combined, then stop. Seriously.
- Opening the oven door constantly: Resist the urge! Every time you peek, you let out heat, which can make your cake sink in the middle.
- Not greasing your pans properly: Ever had a cake stick? It’s soul-crushing. Grease generously, or use parchment paper.
- Cutting into warm cake: I know, I know. The temptation is real. But warm cake is fragile and prone to crumbling. Let it cool completely for a clean cut and better frosting application.
Alternatives & Substitutions
- Milk: Out of whole milk? You can use 2% or even buttermilk (it’ll add a slight tang, which is kinda nice!).
- Oil: Vegetable oil is great, but melted coconut oil (neutral kind) or even unsalted butter (melted and cooled) can work. Just know the texture might be slightly different.
- Cocoa Powder: If you only have Dutch-processed cocoa, that’s fine, but your cake might not rise *quite* as much as with natural cocoa because of the pH difference. Still delicious though, IMO.
- Coffee: Want to amp up the chocolate flavor even more? Substitute strong brewed coffee for the boiling water. It won’t taste like coffee, just more intensely chocolatey. It’s a pro move!
FAQ (Frequently Asked Questions)
- Can I make this in a 9×13 inch pan? Totally! Just keep an eye on the baking time; it might be slightly shorter, around 25-30 minutes. Always do the skewer test!
- My cake sunk in the middle, what happened? Ah, the dreaded sinkhole! Could be a few things: oven too hot/cold, opening the oven door too early, or maybe too much leavening. Next time, double-check your oven temp and resist peeking!
- Can I use margarine instead of butter/oil? Well, technically yes, but why hurt your soul like that? Stick to oil or butter for the best flavor and texture, unless it’s an allergy thing.
- How long does this cake last? Covered at room temp, it’s usually good for 3-4 days. In the fridge, maybe up to a week. If it lasts that long, you’re stronger than I am!
- Can I freeze this cake? Absolutely! Wrap cooled cake layers tightly in plastic wrap, then foil, and freeze for up to 2-3 months. Thaw overnight in the fridge before frosting.
- What kind of frosting should I use? A classic chocolate buttercream is divine, or a rich ganache for extra decadence. Don’t be shy with the frosting, it’s half the fun!
Final Thoughts
There you have it, folks! Your new go-to, stress-free, intensely delicious dark chocolate cake recipe. Seriously, it’s so good, you might just find yourself making it every week. Go ahead, whip up a batch, impress your friends, or just hoard it all for yourself (no judgment here!). You’ve earned this slice of chocolatey heaven. Now get baking, you culinary superstar!

