So you’re craving something tasty but too lazy to spend forever in the kitchen, huh? Same. And maybe your tummy throws a tantrum at the mere mention of dairy? Double same, friend. But what if I told you we could have our cake (or, well, French toast casserole) and eat it too, totally dairy-free and with minimal fuss? Buckle up, buttercup, because your breakfast game is about to get a serious, dairy-free upgrade.
Why This Recipe is Awesome
Okay, let’s be real. This isn’t just *any* recipe. This is “I woke up late but still want to impress people with my breakfast prowess” awesome. It’s also “feed a crowd without actually losing your mind” awesome. The best part? It’s all done in one glorious dish, so clean-up is a breeze. Think less scrubbing, more Netflix. Plus, it’s dairy-free, which means no sad, stomach-grumbling moments after indulging. **Bonus point: it’s pretty darn hard to mess up**, even if your usual cooking adventures involve setting off the smoke detector. Trust me, I speak from experience.
Ingredients You’ll Need
Gather ’round, pantry explorers! Here’s your treasure map to breakfast bliss:
- **1 loaf of day-old bread (about 1 pound):** Stale is your friend here! Challah, brioche, or a sturdy sourdough work wonderfully. Don’t go buying fresh, fluffy stuff unless you want soggy disappointment.
- **1 ½ cups non-dairy milk:** Oat, almond, soy, coconut (the drinkable kind, not canned!)—whatever tickles your fancy. I’m partial to oat milk for its creamy vibes.
- **6 large eggs:** The binding magic!
- **½ cup pure maple syrup:** Please, for the love of all that is holy, use the *good* stuff. No Aunt Jemima imposters allowed. Your taste buds will thank you.
- **2 teaspoons vanilla extract:** Because vanilla makes everything better, it’s just science.
- **1 teaspoon ground cinnamon:** Cozy spice alert!
- **¼ teaspoon ground nutmeg:** A tiny pinch for that extra warmth.
- **Pinch of salt:** Enhances all the other flavors. Don’t skip it, even if it feels rebellious.
- **Optional Topping Goodness:**
- **2 tablespoons non-dairy butter, melted:** For greasing the dish and a little extra richness.
- **¼ cup brown sugar:** Sprinkled on top for a delightful caramelized crust. You know you want it.
Step-by-Step Instructions
Ready to make some magic? Let’s get cooking!
- **Prep Your Bread:** Grab that slightly-stale loaf and tear or cut it into 1-inch cubes. Don’t be shy, get those cubes nice and uniform. Spread them evenly in a greased 9×13 inch baking dish. **Pro tip: if your bread isn’t quite stale, you can lightly toast the cubes in the oven for 10-15 minutes at 300°F (150°C) to dry them out a bit.**
- **Whisk the Wet Stuff:** In a large bowl, whisk together the non-dairy milk, eggs, maple syrup, vanilla extract, cinnamon, nutmeg, and salt until everything is beautifully combined and no eggy streaks remain. Give it a good vigorous whisk!
- **Drench and Soak:** Pour the wet mixture evenly over the bread cubes in the baking dish. Gently press down on the bread with the back of a spoon or spatula to make sure all those cubes get a good soaking. Every piece needs love!
- **The Chill Factor (Highly Recommended):** Cover the baking dish with plastic wrap and pop it in the fridge for at least 4 hours, or even better, overnight. This step is crucial for letting the bread really absorb all that custardy goodness, preventing dry spots. **FYI, if you skip this, it’ll still be good, just maybe not *epic*.**
- **Preheat & Top:** When you’re ready to bake, pull the casserole out of the fridge and let it sit at room temperature for about 30 minutes. Meanwhile, preheat your oven to 375°F (190°C). If you’re using the optional topping, drizzle the melted non-dairy butter over the casserole and sprinkle with brown sugar.
- **Bake It Till Golden:** Pop that beautiful dish into the preheated oven and bake for 40-50 minutes, or until the top is golden brown and a knife inserted into the center comes out mostly clean (a little moistness is fine, it’s a casserole!).
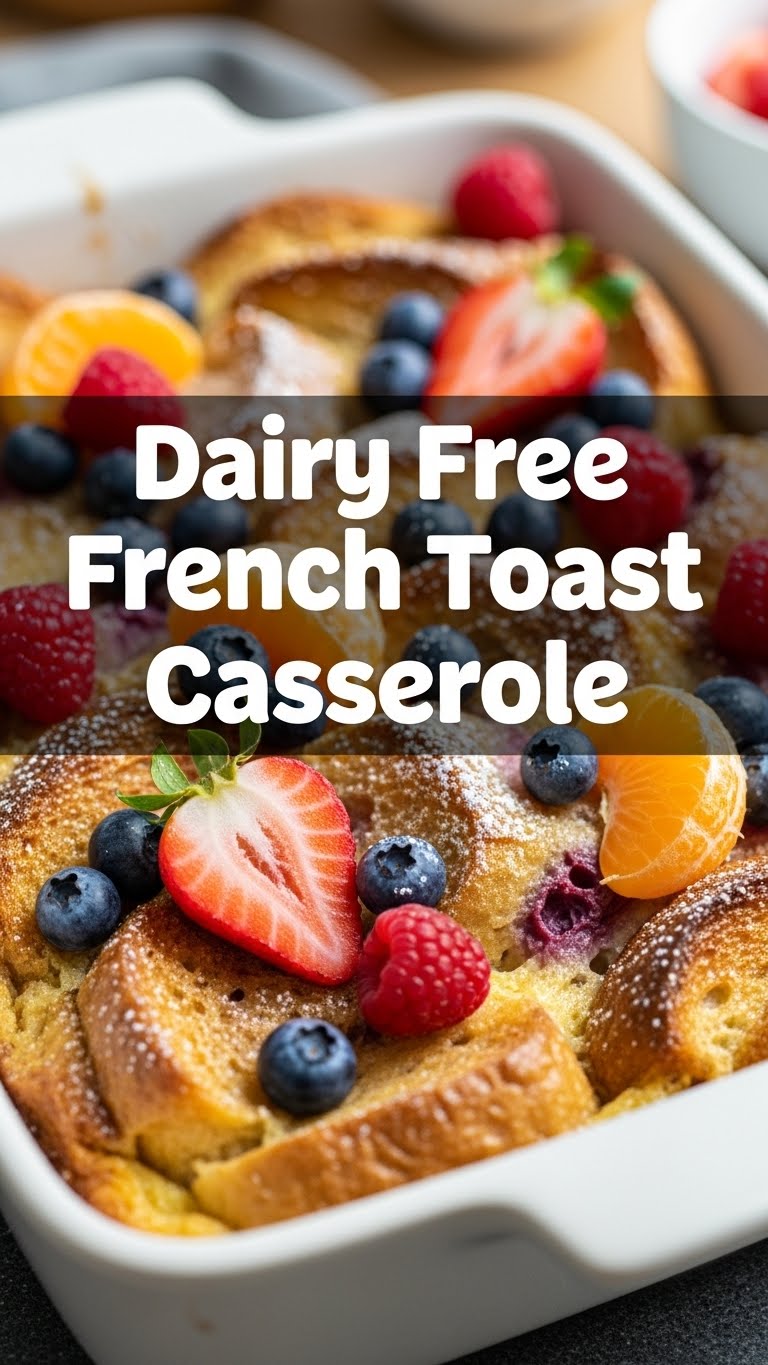
- **Serve and Devour:** Let it cool for a few minutes before serving. Drizzle with extra maple syrup, add some fresh berries, or a dollop of dairy-free whipped cream if you’re feeling fancy. Now, go impress someone (or yourself)!
Common Mistakes to Avoid
Listen up, buttercup, nobody wants a breakfast disaster. Steer clear of these rookie errors:
- **Using Super Fresh, Soft Bread:** This is the express lane to soggy, mushy town. Stale bread is your MVP; it holds its shape and soaks up the custard perfectly.
- **Not Soaking Long Enough:** If you rush it, your casserole will have dry, sad bread chunks instead of moist, custardy goodness. **Patience, young padawan, is key here.**
- **Forgetting to Grease the Dish:** Unless you enjoy chiseling your breakfast off the bottom, a little non-dairy butter or cooking spray goes a long, long way.
- **Overbaking:** Keep an eye on it! A burnt top is no fun, and an overly dry interior defeats the purpose of “custardy.”
Alternatives & Substitutions
Feeling creative? Mix and match to your heart’s content!
- **Bread Choices:** Challah or brioche give you a richer, sweeter result, while sourdough adds a delightful tang. Gluten-free bread works beautifully too, just make sure it’s a sturdy loaf.
- **Non-Dairy Milk:** Any non-dairy milk you enjoy drinking will work here. Oat milk gives a lovely creamy texture, but almond, soy, or even light coconut milk (from a carton, not a can!) are great too.
- **Vegan Eggs:** For a fully vegan version, substitute the 6 eggs with a flax egg mixture (1 tbsp ground flaxseed meal + 3 tbsp water per egg, let sit for 5 minutes). The texture will be slightly different, but still delicious!
- **Spices:** Feeling bold? Add a pinch of cardamom or allspice for a different flavor profile. A tiny bit of ginger can be lovely too.
- **Add-ins:** Sprinkle in some chocolate chips, blueberries, sliced bananas, or chopped nuts (pecans are my fave!) before baking. **IMO, fruit is always a good idea.**
FAQ (Frequently Asked Questions)
Got questions? I’ve got answers (mostly humorous ones):
- **Can I make this entirely vegan?** Absolutely! Swap the eggs for flax eggs and make sure all your other ingredients are vegan-certified. Voila, plant-based perfection!
- **How long can I store leftovers?** Pop it in an airtight container in the fridge for up to 3-4 days. Reheat gently in the microwave or oven.
- **Is pre-soaking really necessary? I’m impatient!** Look, you *can* bake it right away, but it won’t be as deeply custardy and might have some drier spots. For the best, most amazing results, **the overnight soak is worth it.**
- **What if I don’t have maple syrup?** You could try agave nectar or make a simple brown sugar syrup. Just don’t use corn syrup, okay? That’s a different vibe entirely.
- **Can I add fruit *before* baking?** You betcha! Blueberries, raspberries, or sliced peaches are fantastic. Just sprinkle them amongst the bread cubes.
- **Can I freeze it?** You can! Bake it, let it cool completely, then wrap individual portions or the whole casserole tightly in plastic wrap and foil. It’ll keep for up to a month. Thaw overnight in the fridge and reheat.
- **My casserole isn’t browning on top, what do I do?** If it’s cooked through but needs more color, pop it under the broiler for 1-2 minutes. **Watch it like a hawk though—broilers are notoriously fast at going from golden to burnt!**
Final Thoughts
So there you have it, my friend. A truly epic, dairy-free French toast casserole that will make your taste buds sing and your lazy morning dreams come true. It’s comforting, it’s delicious, and it proves that dairy-free doesn’t mean flavor-free. Now go forth and conquer that breakfast game! You’ve earned those bragging rights (and that extra serving, let’s be real).


